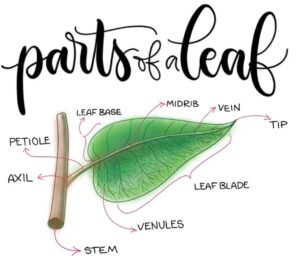
Hello children! welcome, today in this article will learn in this tutorial how to draw a leaf with super easy and simple steps with pictures for your reference. The leaf is a green color organ of plants projecting out from the stems. It assists in the food processing of plants known as photosynthesis.
Each plant contains varying shapes and sizes of leaf. They are predominantly green in color but some plants contain reddish and brown color leaves. All leaves of the plant differ from each other with shape, veins, and tilt angle.
How to Draw a Leaf
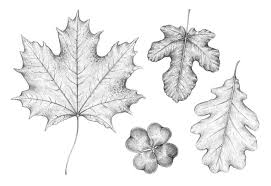
As we know all the trees have different kinds of leaves so in this session we will learn drawing mapple tree leaf, oak tree leaf, four clove leaf and few other simple leaves. So let us begin with the drawing tutorial.
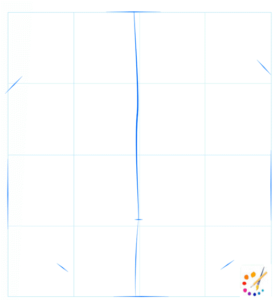
How to draw pot leaf:

Step 1: From the middle of leaf draw a vertical line. Also mark the margin for leafs.
Step 2: Draw an outline as shown in picture for petiole and vein from the vertical line.
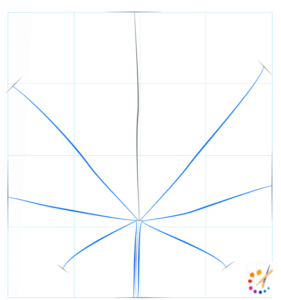
Step 3: Draw outline for the leaflets.

Step 4: Paying attention draw zig-zag as we drawn in image lines at the leaflet outline.
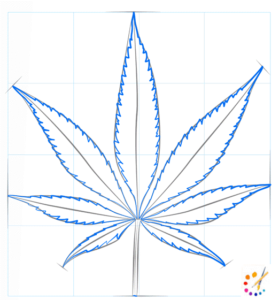
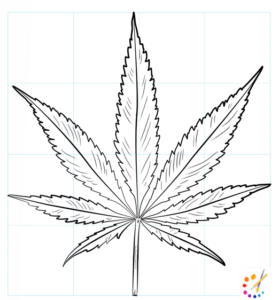
Step 5: Give final touch and finishing to the leaf and erase extra lines.

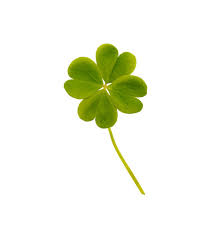
How to Draw Four Leave Clover
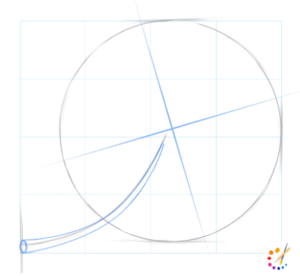
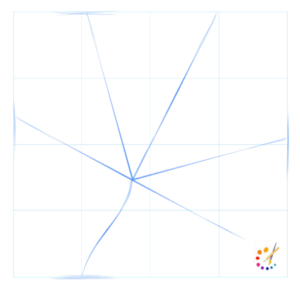
Step 1: For the clover base drawing a circle follow it with pictures a line for stalk.
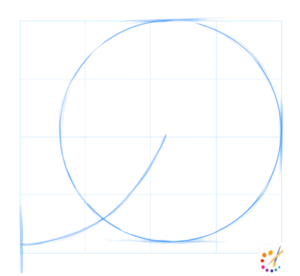
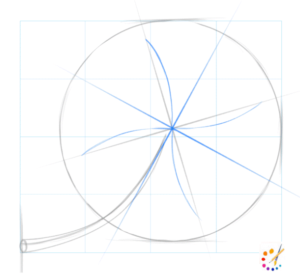
Step 2: Crossing at the 90 degree draw lines to indicate the veins growth direction of clove leaf.
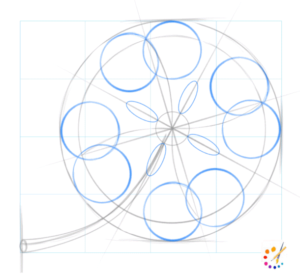
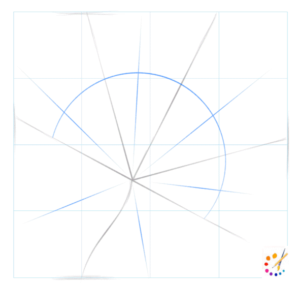
Step 2: Label the points of the clover leaves by drawing two circles with pencil of different diameters. upper middle point at large circle and lower intersection at smaller diameter.
Step 4: Draw heart shaped tip with the two overlapping circles. Draw the part of the clover using oval shape, where two leaves are joint.
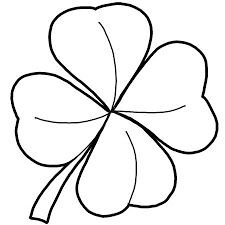
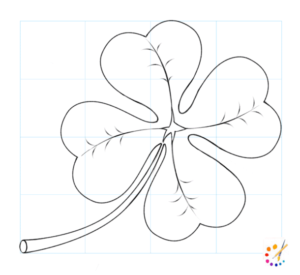
Step 5: To draw clove silhouette use smooth lines and your clover is ready.

Step 6: By erasing extra lines your clover leaf is ready.
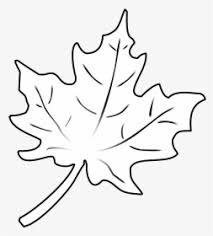
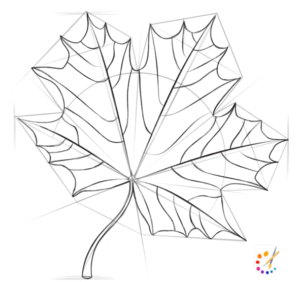
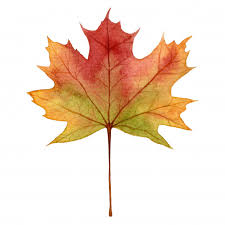
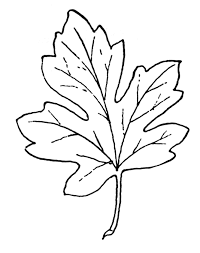
How to draw maple leaves:
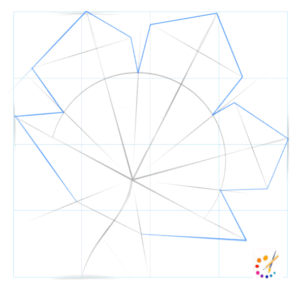
Step 1: As indicated in image draw straight lines for central veins. Put small curved line for stalk.
Step 2: To represent the finger of leaf draw hemisphere as a mark and draw straight lines for boundaries of each leaf “finger”
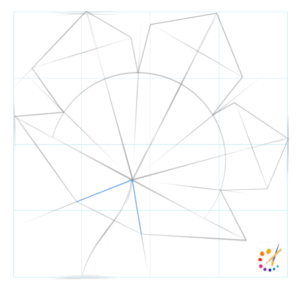
Step 3: Using zig-zag triangle lines sketch the leaflets.
Step 4: To represent the point where stalk and leaf finger merges draw a line.
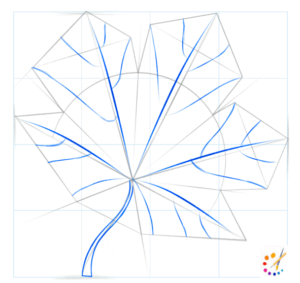
Step 5: Draw curves for central veins and leaf stalk and then draw smaller veins.
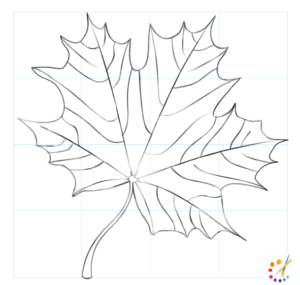
Step 6: Begin to draw side edges of leaf in zig-zag pattern. Refer image provided below.
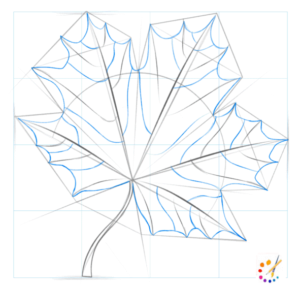
Step 7: Add finishing lines and remove extra ones.
Step 8: Your maple leaf is complete.
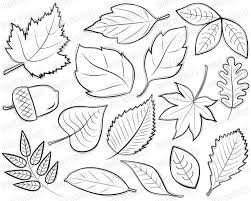
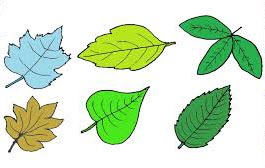
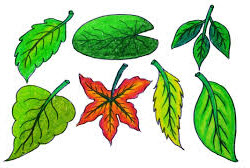
Few more leaf drawing:
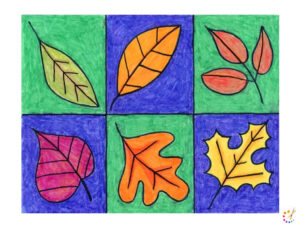
Here is few simple leaf tutorial for you guys, they are really easy to make.
1. Willow leaf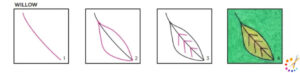
2. Beech leaf.k

3. Walnut leaf

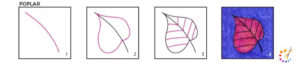
4. Poplar leaf
5. Oak leaf

See it’s very simple to draw various types of leaves. Take your imagination and observation on paper, you will surely get some more leaves. We are here to assist you with more simple drawings as how to draw tree, how to draw deer, how to draw dog etc.

Skilled teacher, knowledgeable in and in adapting state content standards to individual needs in
Elementary-6th grade classrooms. Utilizes instructional materials, technology, and teaching methods to
engage students in effective learning opportunities in individual, small group, and whole-group settings to
maximize instructional time. Differentiates instruction for ELLs while exposing them to rigorous content,
with a focus on literacy skills in all subject areas. Establishes and maintains appropriate standards of
behavior in an inclusive and respectful environment for students from all socio-economic and cultural
backgrounds. Develops lesson plans using Backwards Planning Method to align content standards and
assessments with effective learning activities. Communicates and collaborates effectively with staff and
parents, and creates a safe and positive learning environment for students. Has taught in both in-person
and virtual environments. Professional Communicator with 20+ years of experience.