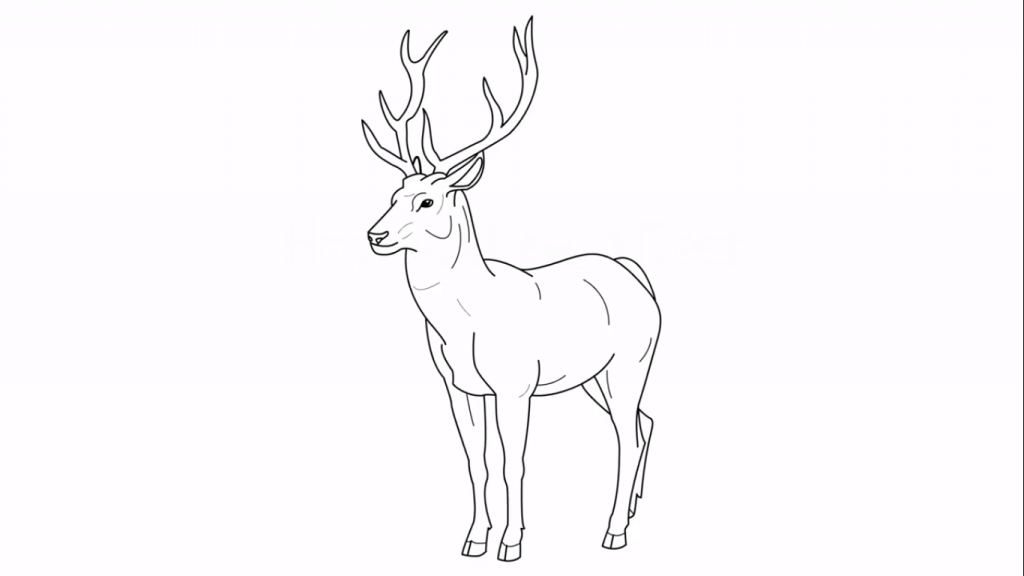
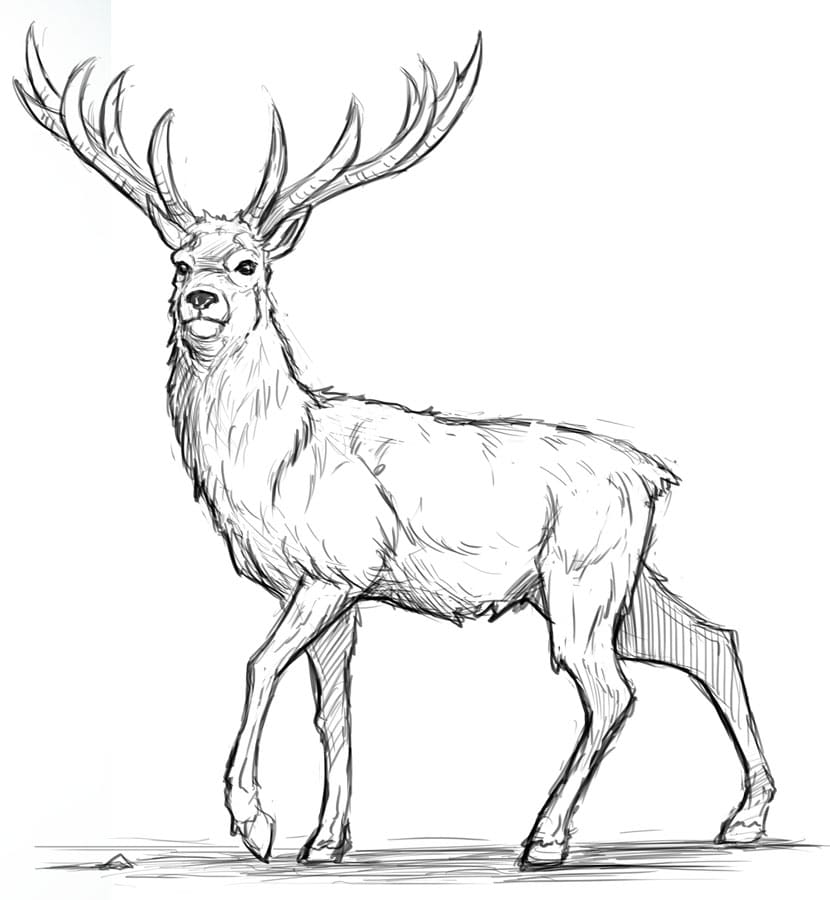
This article is about how to draw a deer step by step for kids. Before practicing it we must know a few facts about what we are drawing.
Deer are herbivore mammals and lives in groups called as a herd. There are many species of deer ranging from small to very large. They are found mostly in Australia and Antarctica.
Their life span is 20yrs, and are the most common food of predators. They are very much capable of jumping and swimming and start walking within half an hour of their birth. Antlers are found on male deer only but reindeer are exceptional. As they are herbivore, eats grass and leaves.
Now it’s time to learn drawing deer. I have been through many deer drawing practices. In this article, I’m sharing a most effective and realistic way to draw deer. As I always say, by using your thoughts and practices only you can improve your drawing skill. keep Sketching whatever good is coming to your mind. So, keep on practicing various things and objects.
How to draw Deer Step by Step:
Step 1: Start by drawing the light shaded grid on your drawing sheet, which will help you in dimension. By analysing width and height of deer draw two ovals, a large one for the body and second small circle kind of, for the head body of the deer. Afterwards, draw a line in head portion for the center.
Step 2: By joining the ovals draw the shape of a deers body and neck, refer to the image given below. At this step also add a small line for the tail.
Step 3: In this step draw lines for the limbs of deer i.e, fore legs, and hind legs.
Step 4: Draw the shapes of legs, ears and snout as shown in the image below. Also, add guidelines for horns.
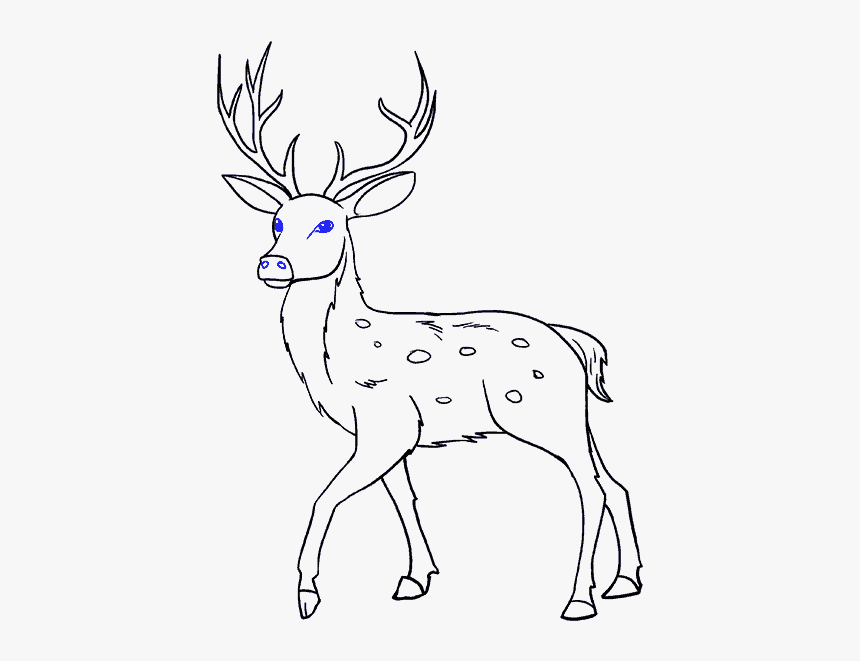
Step 5: Complete the horn by following guidelines drawn, at the same time draw hoof, eyes, nose, and tail of your deer.
Step 6: Paying attention to the details, draw horn and whole figure of your deer.
Step 7: For carrying thickness and darkness add a few lines and shades to your deer and erase all extra lines.
Your deer is complete and ready to run and jump.
If you learn the basic core shapes of your drawing, it will help you in your study also.
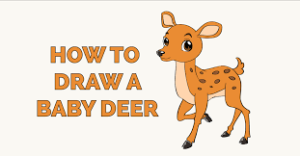
Cute Baby Deer Drawing for Kids:
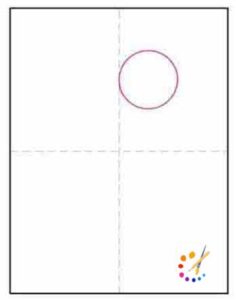
Step 1: Just draw a circle a little right on top of the paper.
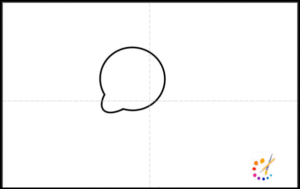
Step 2: Below this circle add tilted pills shape.
Step 3: Connect bother the shapes with the neck.
Step 4: In the circle add nose and mouth.
Step 5: Draw two ears on the top of the head.
Step 6: Draw front and back legs referring the image below.
Step 7: Attached to the legs drawn draw 2 other legs and erase all extra lines.
Step 8: Add very light lines to help during coloring for background of your deer and body details.

Step 9: Color your drawing by following the image below or keep it simple and plain with your choice.
Here is the beautiful and cute baby deer is ready to hop everywhere. Hope you liked the drawing.
Cartoon Deer Drawing for Kids:
You can also draw cartoon deer with very few and easy steps by following the below guidelines.
1. Draw head for deer.
2. Draw eyes, ears, and horns.
3. Start drawing body.
4. Complete the body by drawing legs and tail.
5. Add few little details.
6. Color it with your imagination.
Hope you enjoy today’s session, you can learn more easy drawing likewise here. You can also get to learn more drawing as to how to draw a monkey, how to draw a dolphin, how to draw book, how to draw tree etc.
Here is a step-by-step guide to drawing a deer:
Step 1: Draw the Basic Body Shapes
- Sketch two ovals—one for the deer’s body and one for its chest. Connect them with a curved line to shape the torso.
Step 2: Outline the Head and Neck
- Draw a small circle for the head and attach it to the chest with a slender neck. Add a snout by extending a small oval from the head circle.
Step 3: Add the Ears and Eyes
- Draw two long, pointed ears on top of the head. Place a small oval for the eye and a tiny circle for the nose on the snout.
Step 4: Sketch the Legs
- Use thin rectangles or cylinders to shape the front and back legs. Make sure the back legs are bent slightly to reflect the natural pose of a deer.
Step 5: Draw the Tail
- Add a small triangular shape at the rear for the tail.
Step 6: Add Antlers (Optional)
- If drawing a male deer, sketch branching antlers starting from the top of the head. Use curving lines that fork into smaller segments.
Step 7: Refine the Body Shape
- Smooth out the lines of the body, legs, and neck. Add muscle details to give the deer a natural look.
Step 8: Draw the Hooves
- At the bottom of each leg, sketch two small hooves using a “V” shape to capture the cloven hoof structure.
Step 9: Add Fur and Texture Details
- Draw short, curved lines along the neck and chest to indicate fur. Add some fur texture at the tail and ears.
Step 10: Shade and Finalize
- Add shadows under the belly and legs to create depth. You can shade lightly along one side of the body to represent light direction.
Step 11: Inking and Coloring (Optional)
- Use ink or a darker pencil to finalize the lines. If desired, color the deer using browns and tans for the fur, with a lighter shade on the underbelly.

Skilled teacher, knowledgeable in and in adapting state content standards to individual needs in
Elementary-6th grade classrooms. Utilizes instructional materials, technology, and teaching methods to
engage students in effective learning opportunities in individual, small group, and whole-group settings to
maximize instructional time. Differentiates instruction for ELLs while exposing them to rigorous content,
with a focus on literacy skills in all subject areas. Establishes and maintains appropriate standards of
behavior in an inclusive and respectful environment for students from all socio-economic and cultural
backgrounds. Develops lesson plans using Backwards Planning Method to align content standards and
assessments with effective learning activities. Communicates and collaborates effectively with staff and
parents, and creates a safe and positive learning environment for students. Has taught in both in-person
and virtual environments. Professional Communicator with 20+ years of experience.

