Every human wants hair on their head thus, today we will learn how to draw female hair for kids and beginners. Every human on the planet earth is fond of hair either men or women.

People love to change it from curly to straight, short to long as well different styles as bun, pony, braid etc. It needs lot of time as well as money to care them and maintain them. Hair effects facial look very much.
Thus, if you love your hair definitely you will love to draw it. Each style of hair has a different technique to draw and needs concentration while drawing.
How to Draw Female Hair
This hair drawing tutorial will also help you in drawing a full face as it’s part of the face and defines the look. It’s quite easy than other facial parts and by following this tutorial it will be easier.
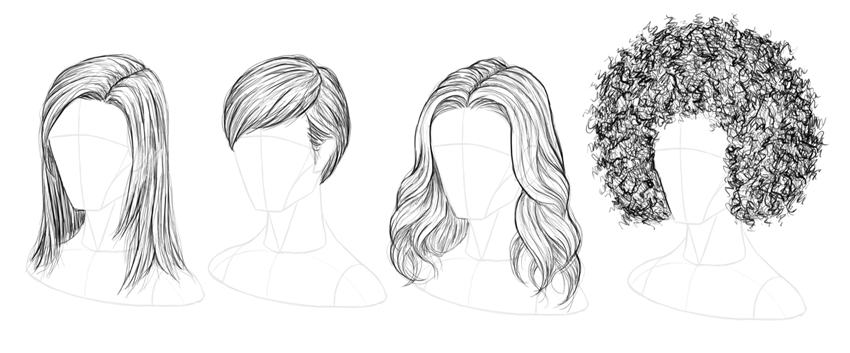
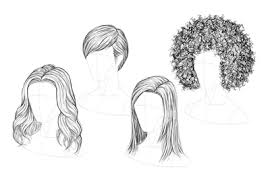
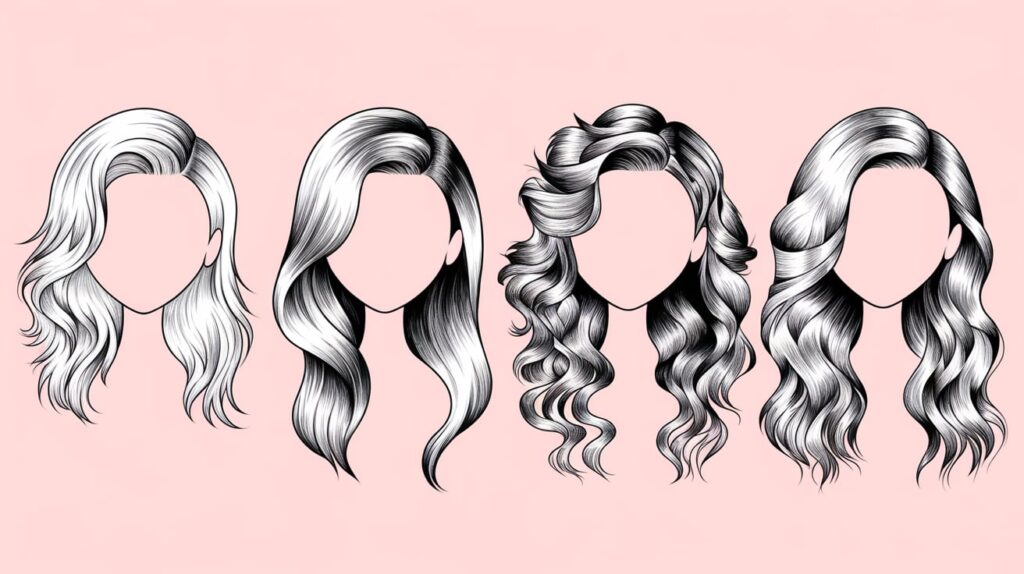
In today’s tutorial, we will draw female straight and curly hair drawing. Thus, let us not waste our time and start our Hair drawing.
Draw Straight Hair
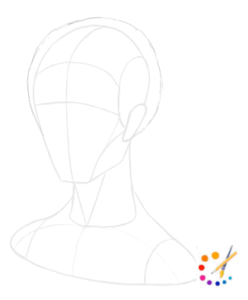
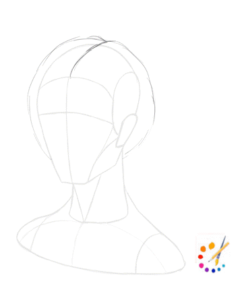
Step 1: Firstly draw an outline of the head. And then, draw the outline for the haircut, refer to below image.
Step 2: Draw partition for hair.

Step 3: Draw stroke from the partition, covering the face.

Step 4: Now, start drawing elevated hair covering the gap in the scalp. Draw a few long strands without touching ends of each other.

Step 5: Sharpen the tip of hair stands drawn. So that it will look realistic and straight.

Step 6: On top of the head give the finishing to the strands.

Step 7: Fill all the head with fine lines following the strand and scalp line.
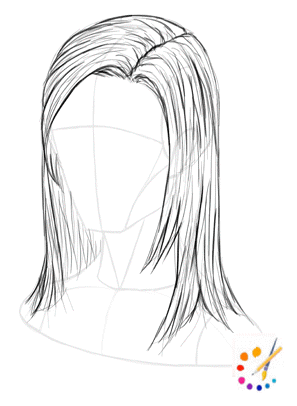
Step 8: By adding some more finishing to the hair stand and shades will make it more realistic.

Thus, your straight hair drawing is completed here.
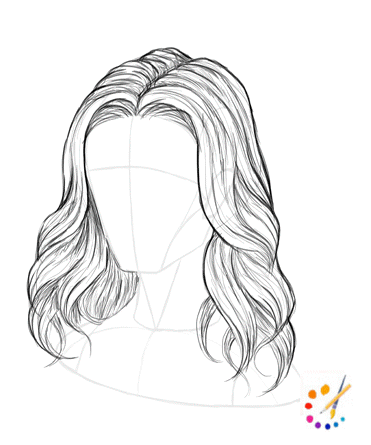
Draw Wavy Hair Step by Step
Step 1: In the same pattern draw outline of the head and the partition.
Step 2: Draw 2 s shape curves line both sides of the face.

Step 3: In this step draw elevated hair from the scalp covering the face.

Step 4: Start drawing wavy lines along the side of the strand drawn.

Step 5: Close the ends of wavy lines with similar lines forming hair locks and strands.
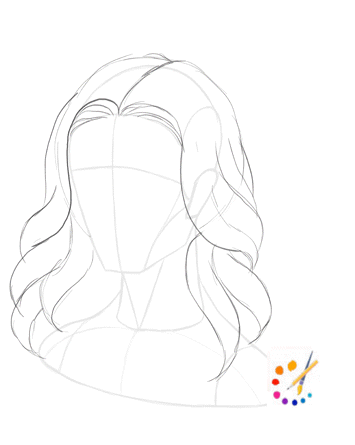
Step 6: To give it volume draw more strands attached with long hairs.

Step 7: In this step draw curves on top of head to form hair strand alongside the scalp partition.

Step 8: Draw fine lines with easy strokes to fill the strands with hair. Keep the movement of lines in same direction for each strand.

Step 9: Define hair strands by darkening it.

Step 10: Strand on the top of the head darken them too.
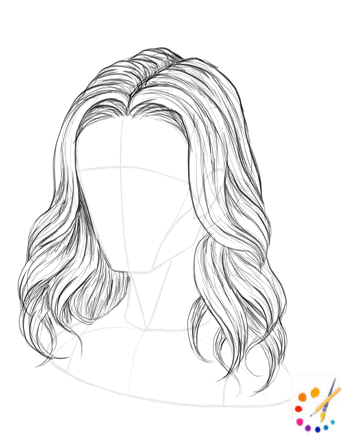
Step 11: Give every strand a finishing touch and blend it.
Step 12: With help of shading add details and give smooth look.

Here our hair drawing is ready, hope you did well with yours too. It’s an easy task to perform only need to keep in mind the flow of your hair. Draw it upside down, smooth, and in strands. Hair in one strand should be in the same direction so that will give the finished look.
Please follow our more drawings as eyes, cat, mouse, tree, leaf, etc.

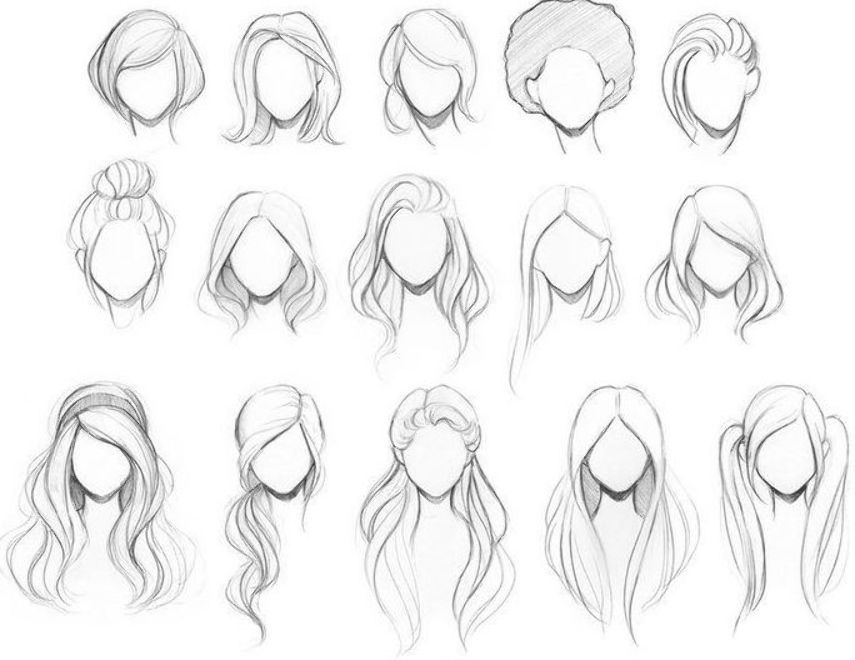
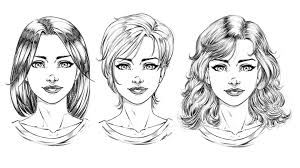
Here’s a step-by-step guide to drawing female hair, capturing its flow, texture, and volume. You can use these steps to draw different hairstyles, whether straight, wavy, curly, or any other style!
Step-by-Step Guide to Drawing Female Hair
- Draw the Head Shape:
- Start by drawing an oval or circle to represent the head. This will serve as a base for the hair and help you position the hairline correctly.
- Define the Hairline:
- Draw a curved line a little below the top of the head to indicate the hairline. This line will guide where the hair starts. For a natural look, make the line slightly uneven or angled.
- Sketch the Overall Hair Shape:
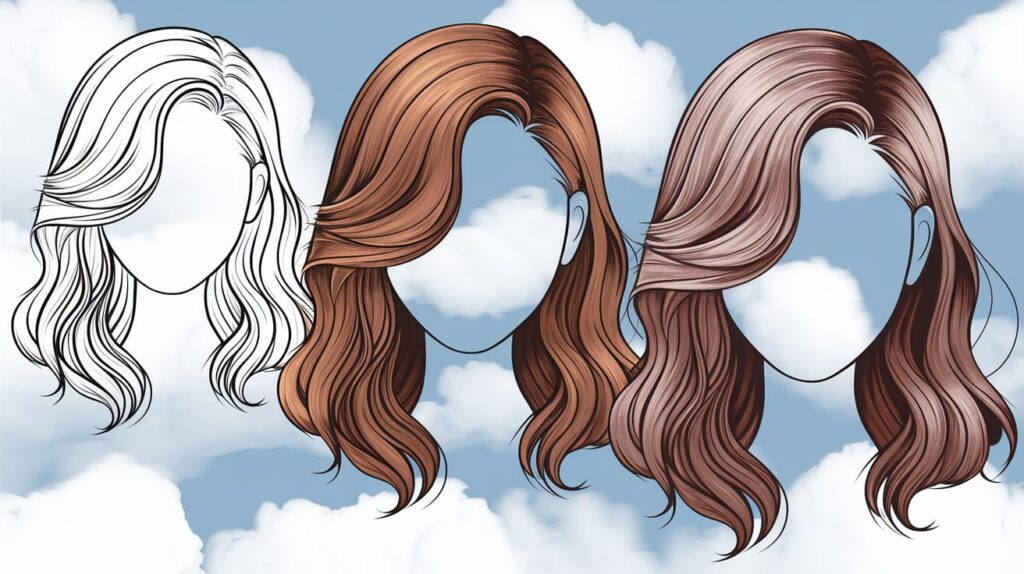
- Lightly sketch the outline of the hair around the head, focusing on the volume and general shape. Female hair often has more volume on the sides and top, so let the outline extend slightly away from the head shape.
- Determine the hair length and style (short, shoulder-length, long, etc.). Draw an outer shape that follows the desired length and flow, such as straight, wavy, or curly.
- Add the Parting and Sections:
- Decide where the hair will part (middle, side, etc.). Draw a line to indicate the parting, and use it as a guide to draw sections of hair falling naturally from the part.
- For a side part, have more hair on one side. For a middle part, keep the sections equal.
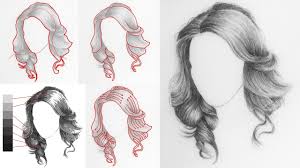
- Draw Individual Strands and Locks:
- Begin refining the hair by adding more detailed strands or locks. Start with larger chunks or locks to establish the flow of the hair.
- Use curved lines to follow the direction of the hair. For straight hair, draw long, smooth lines. For wavy or curly hair, draw more curved or spiral-like lines.
- Add Texture and Layers:
- Add layers to the hair by drawing additional lines within the larger sections. The lines should vary in length and curve to create a natural, layered look.
- Focus on different directions and thicknesses to give depth and movement to the hair. For curly hair, add more spirals and loops to mimic the curl pattern.
- Refine the Hair Tips and Ends:
- Pay attention to the ends of the hair, making them look slightly wispy or pointed to enhance the natural look.
- For straight hair, keep the ends more uniform. For curly or wavy hair, let the ends twist or curl.
- Add Highlights and Shadows:
- Add shading to the areas where the hair is naturally darker (like under layers or where the hair is tucked behind the ear). This adds depth and makes the hair look more three-dimensional.
- Leave some areas lighter or add soft lines to suggest highlights, which can make the hair look shiny.
- Outline and Detail the Hair:
- Go over the main lines with a darker pencil or pen to outline the hair, emphasizing the strands and locks you want to stand out.
- Erase any unnecessary sketch lines to clean up the drawing.
- Finalize the Drawing:
- Review the drawing for any final touches. Add extra details, shading, or highlights as needed to complete the look.
Tips:
- Volume: Make the hair slightly bigger than the head to give it volume. Hair rarely lies flat against the scalp.
- Flow: Follow the natural flow of the hair. Imagine how it falls or moves in different directions.
- Texture: Use different line techniques to indicate texture (e.g., smooth lines for straight hair, more jagged or looped lines for curly hair).

Skilled teacher, knowledgeable in and in adapting state content standards to individual needs in
Elementary-6th grade classrooms. Utilizes instructional materials, technology, and teaching methods to
engage students in effective learning opportunities in individual, small group, and whole-group settings to
maximize instructional time. Differentiates instruction for ELLs while exposing them to rigorous content,
with a focus on literacy skills in all subject areas. Establishes and maintains appropriate standards of
behavior in an inclusive and respectful environment for students from all socio-economic and cultural
backgrounds. Develops lesson plans using Backwards Planning Method to align content standards and
assessments with effective learning activities. Communicates and collaborates effectively with staff and
parents, and creates a safe and positive learning environment for students. Has taught in both in-person
and virtual environments. Professional Communicator with 20+ years of experience.