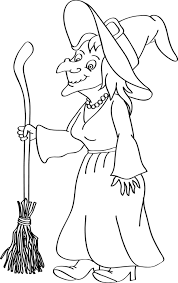
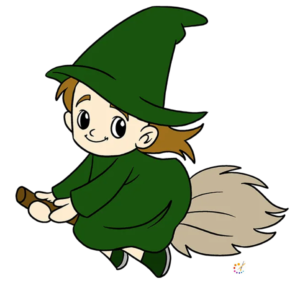
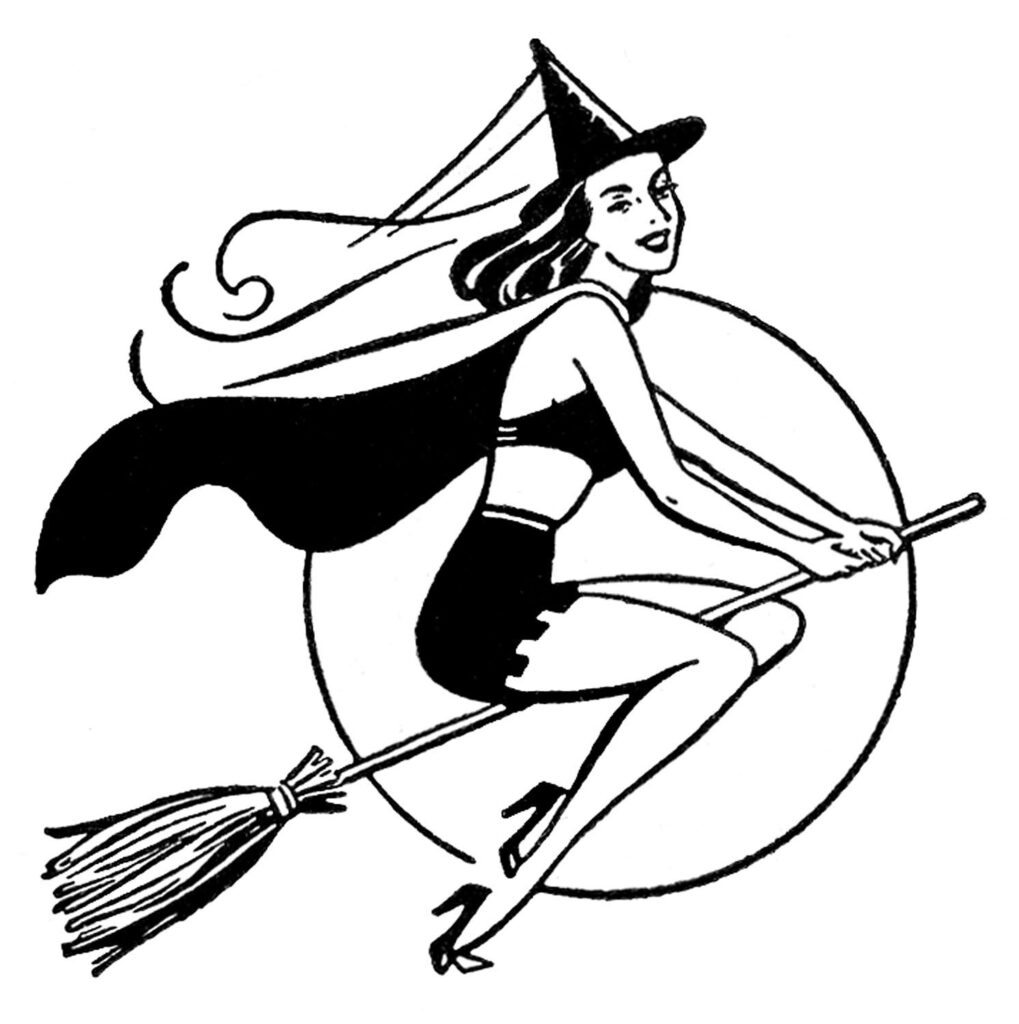
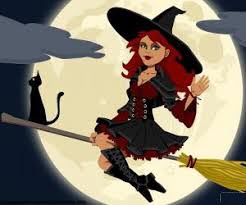
Witches are scary a few times but our today tutorial on how to draw a witch is super fun to follow for kids and novices. Witches are considered as women who are engaged in magic with supernatural power, and worship many goddesses and nature.
The modern era depicts witches wearing a coned hat as it resembles horns of evil. If you really want to draw a witch this easy witch drawing is for you. Just follow the given guidelines step by step after grabbing your tools of drawing. To depict this you need a pencil, eraser and a few colors of your choice.
We have illustrated how to draw a witch with a broom and a kid witch with a broom step by step. If you liked this tutorial follow us for more easy drawings as: how to draw a Squirtle.
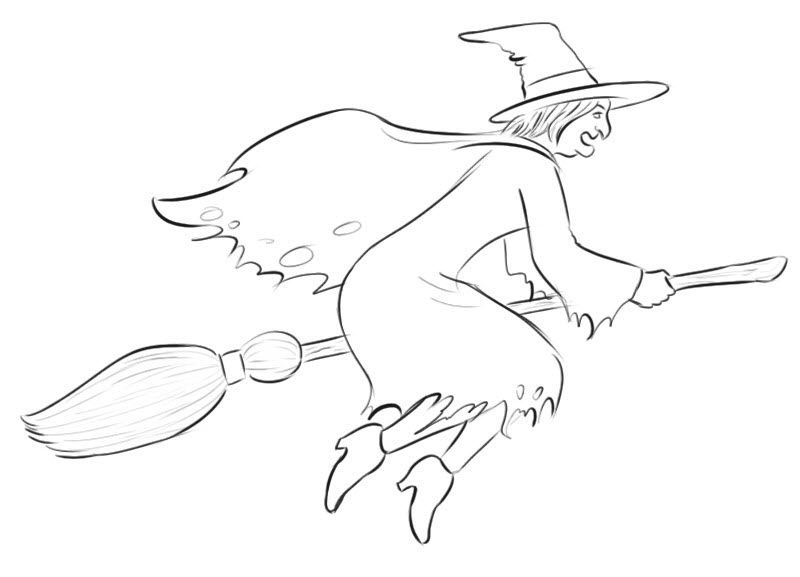
How to draw a Witch on a broom
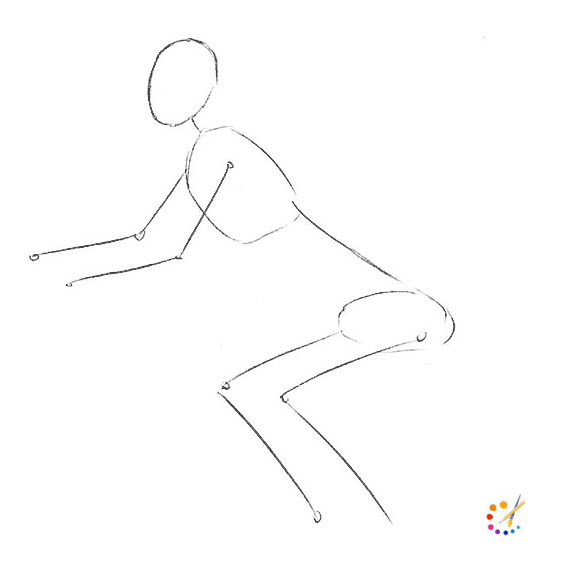
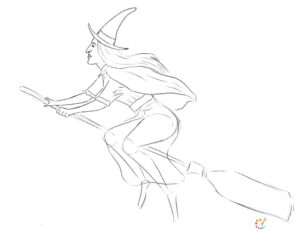
Step 1: Draw a long oval for the face, a rectangular chest, a line for the spine, and a flattened oval for the pelvis. Draw 2 lines for arms and 2 for legs from the pelvis.
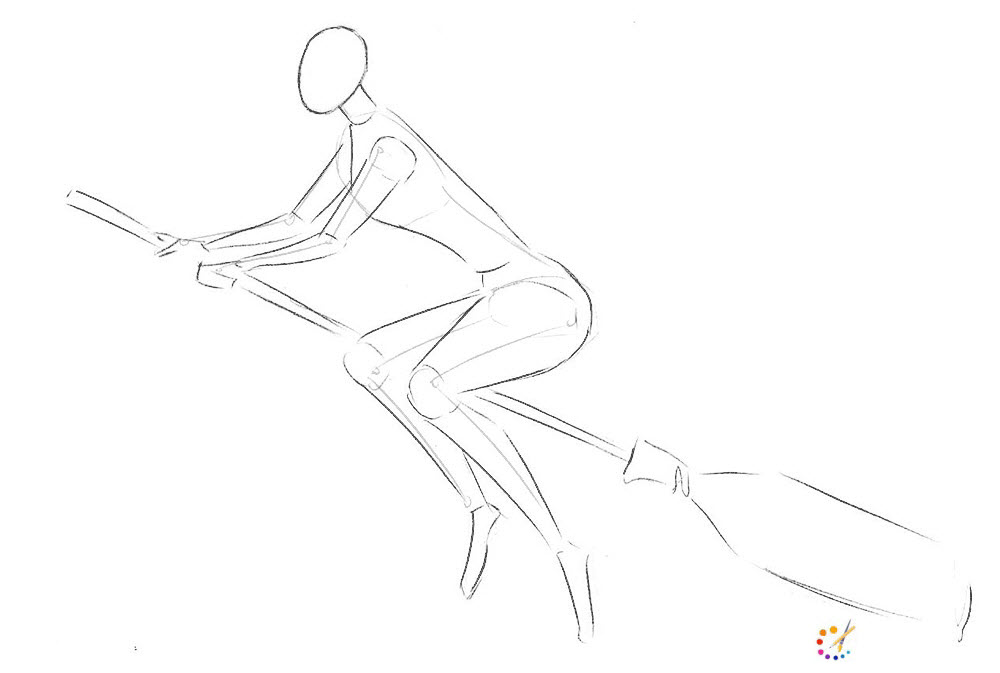
Step 2: Draw the torso area which includes a broader chest and narrow waistline. Draw a hand with simple lines from the chest. Draw legs broader on thighs and narrow at the ankle. Also, depict the broom of the witch.
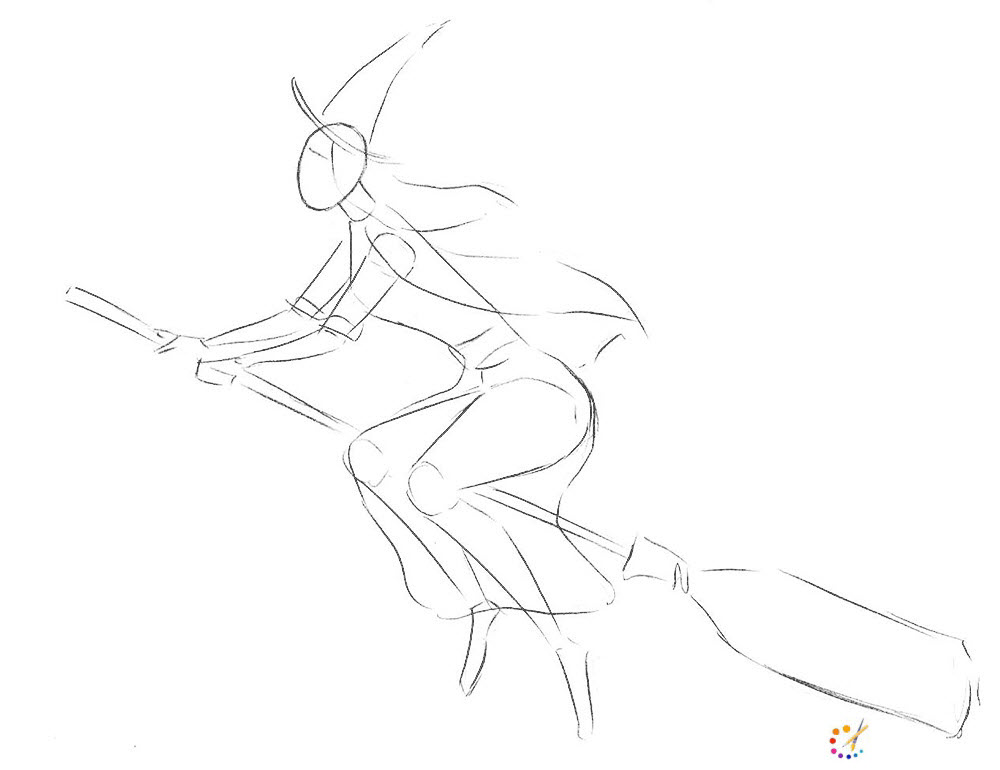
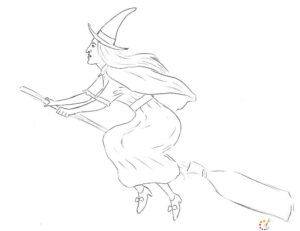
Step 3: In this step work on the details, draw a pointed hat, outline the dress as a skirt and cape or long jacket. At this point, all the details are added.
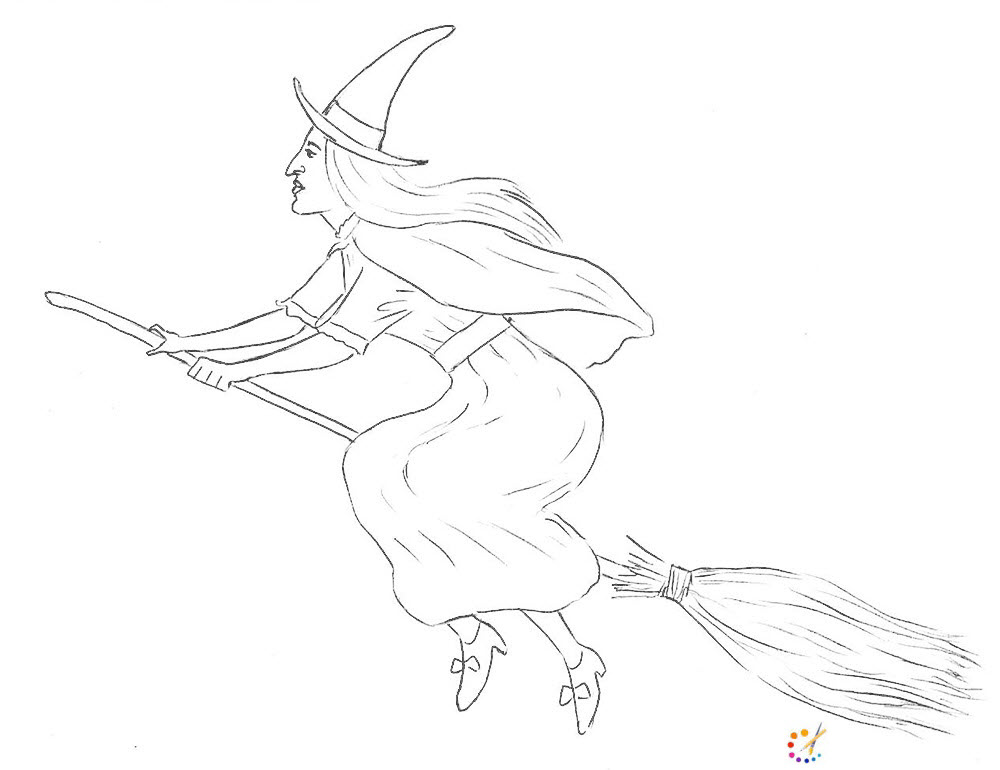
Step 4: Add details to the flowy hair, draw a long pointed nose, chin, and eyes. Contour the hat with the clear visible line.
Step 5: In this step focus on the upper body, draw frills at the top arms, and shrinks carefully. Do everything with clear lines.
Step 6: Draw a long dress of the witch’s legs out of the dress, add details to the shoes and after it, you can delete all the extra lines.
Step 7: Add fine lines of the broom bristles, it’s easy to draw the long broom of the witch.
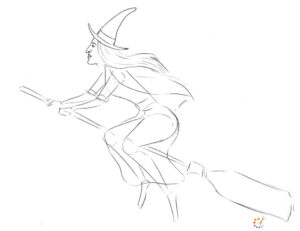
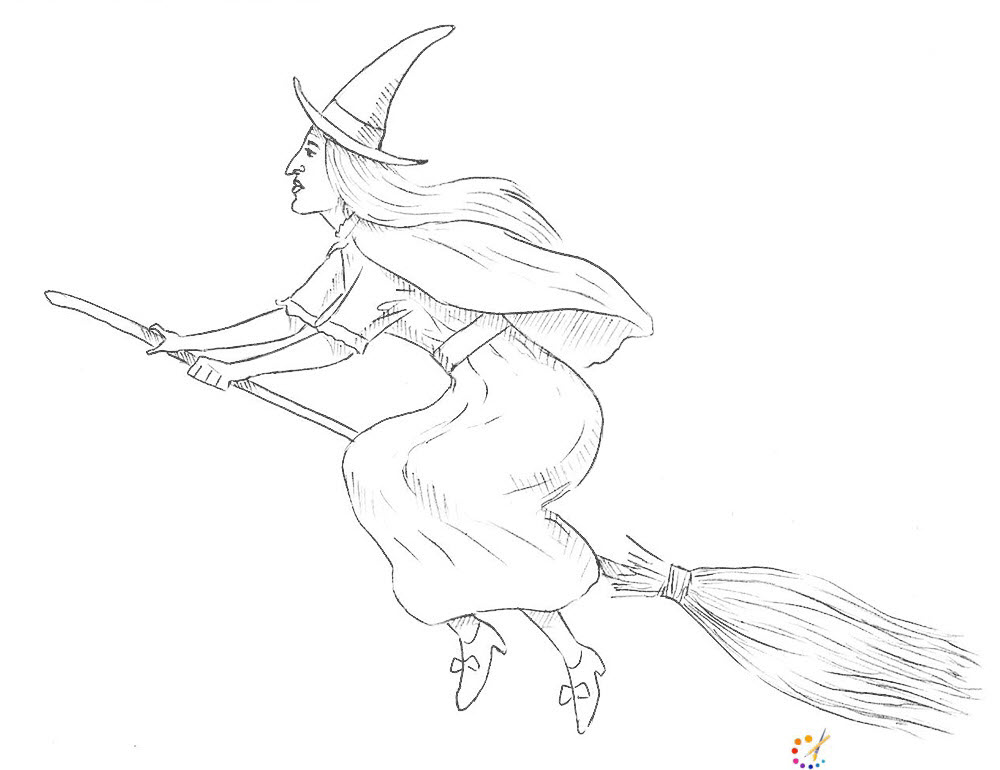
Step 8: Drawing is complete, still you can add some volume to make it realistic, for use hatching technique, or just draw simple shading.
How to draw a cartoon kid Witch :
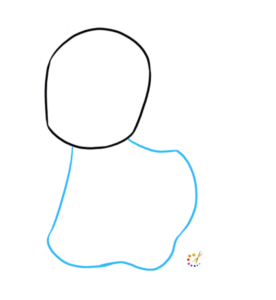
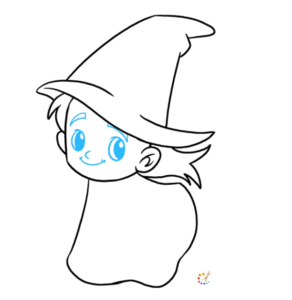
Step 1: To form a witch head draw an irregular circle, flattened from both side.
Step 2: To form the witch gown start drawing with a long curve line an enclosed irregular shape from the head.
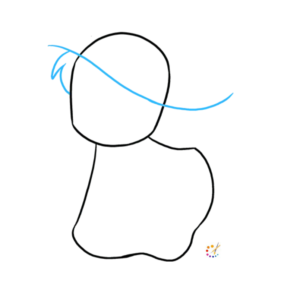
Step 3: Draw a long curve line for the rim of the hat, and hair strand coming out of it.
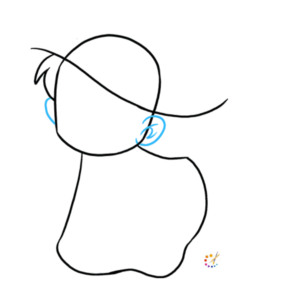
Step 4: Draw two ears on both sides of the head. Finish it with the curved line.
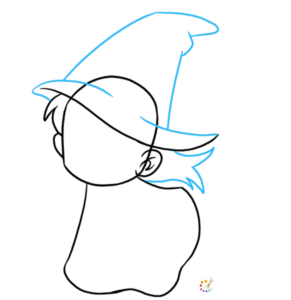
Step 5: Draw the hat above the rim, a long coned shape. On the back of the hat draw jagged flowy hair.
Step 6: Draw 2 cute sparkling eyes using an oval shape. Above the eyes draw triangular eyebrows, a curved smiley mouth, and a cute nose.
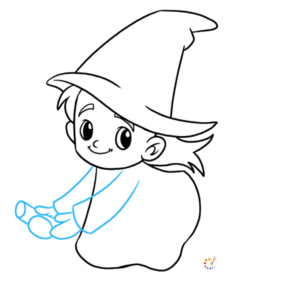
Step 7: Draw the arms using the long curved line for the outline of the sleeves. From the hand draw the end portion of the broom with the rectangular shape.
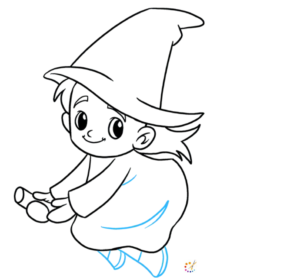
Step 8: Below the gown draw 2 legs add 2 curved lines for the sole of the shoes. Draw shrinks on the dress with the help of 2 curve line.
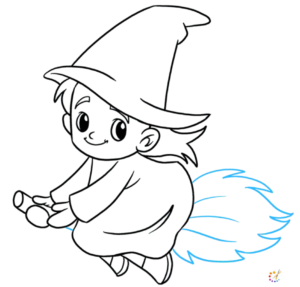
Step 9: At the back of the witch draw brooms bush with the help of textured curvy lines.
Step 10: Trace the drawing with the marker and color it with your choice of colors.
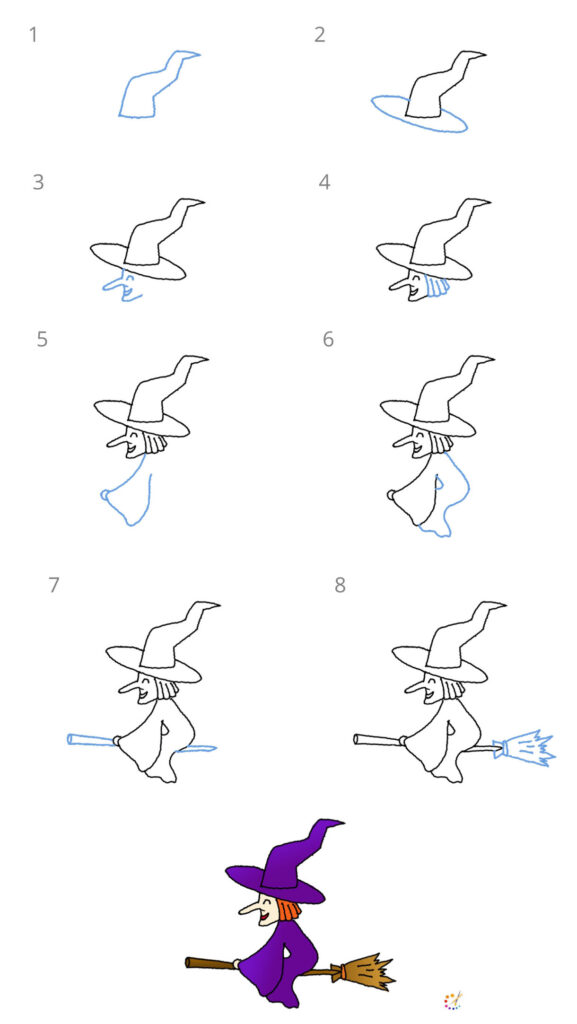
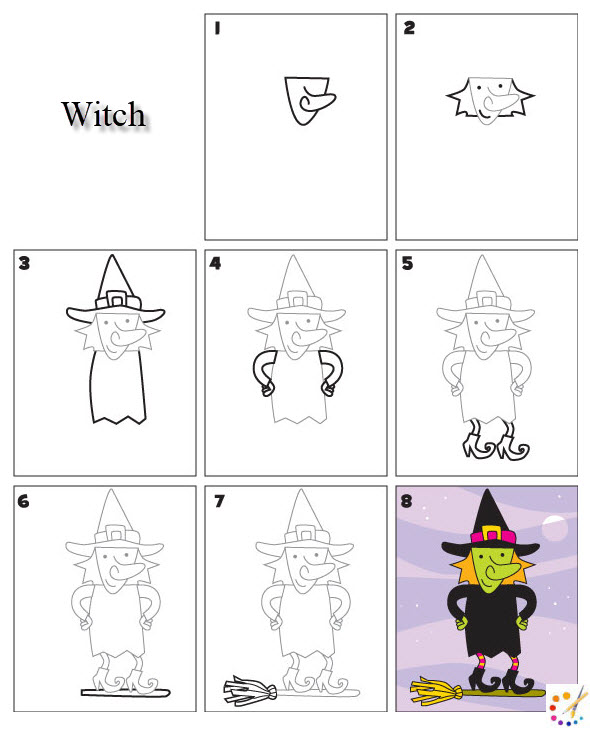
How to draw Step by step cartoon Witch
Learn step by step witch on broom drawing with the below-given illustration.

Skilled teacher, knowledgeable in and in adapting state content standards to individual needs in
Elementary-6th grade classrooms. Utilizes instructional materials, technology, and teaching methods to
engage students in effective learning opportunities in individual, small group, and whole-group settings to
maximize instructional time. Differentiates instruction for ELLs while exposing them to rigorous content,
with a focus on literacy skills in all subject areas. Establishes and maintains appropriate standards of
behavior in an inclusive and respectful environment for students from all socio-economic and cultural
backgrounds. Develops lesson plans using Backwards Planning Method to align content standards and
assessments with effective learning activities. Communicates and collaborates effectively with staff and
parents, and creates a safe and positive learning environment for students. Has taught in both in-person
and virtual environments. Professional Communicator with 20+ years of experience.

