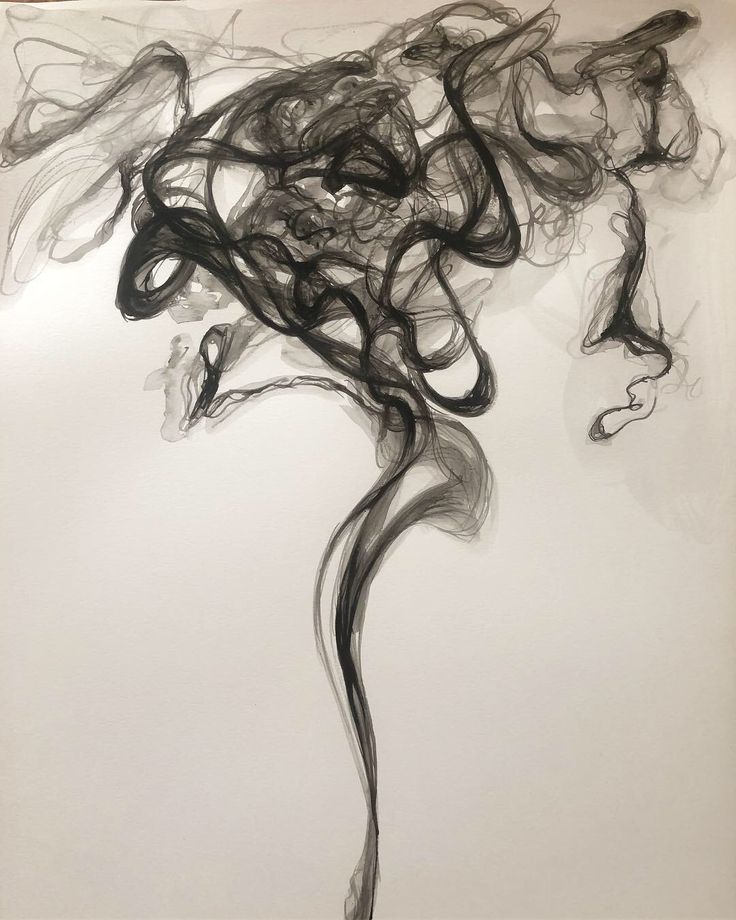
How to draw smoke? Well, that sounds huge, but I am offering you a better perception and an easy method of sketching smoke. Predominantly, we observe the smoke outlet while there is a four-alarm fire, someone smoking a cigarette, someone cooking in the kitchen, serving a hot bowl, a campfire, etc. To render the scene observed realistic and depicted in the diagram makes the image to be more real. It can be achieved through applying a wonderful blend of colors and texturing.
How to Draw Smoke
The fundamental Instruments you require are pencils such as HB and softcore pencils such as B2 and B3. A piece of paper with your desired color and a pad of paper. Some fundamental requirements such as a sharpener, eraser, colors, and shading tool. Here is the step-by-step process to draw the smoke.
STEPS TO DRAW SMOKE ARE AS FOLLOWS :
- Create a series of curved lines as an outline in a sharp point. Choose a stretched, curved outline to come together in a sharp point. Create a stretched, curved line that nearly instantly intersects at the middle of the flame.
- Create the lines in sharp points with curved lines of a chosen length. Assign the lines at a sharp point.
- Create supplementary flames by adding them to the foreground of the drawing. Curve the lines in order to make them convene in pointed tips.
- Create a few more groups of small, curved lines. Since that each group of lines converge into a point.
- Create pieces of flame in order to depict ash from the flame. Do not forget to draw 2 small, curved lines to surround the figure for each spark on every direction.
- Add some additional sparks that form a pointed shape with curved lines. Add some additional small circles or dots to form ash.
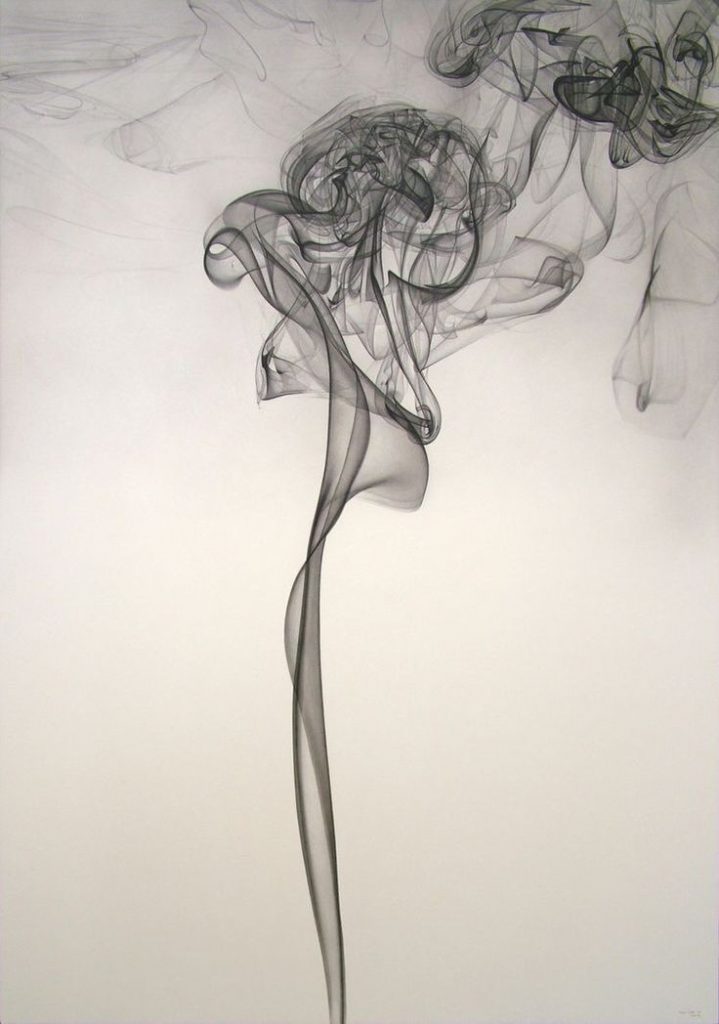
- Draw a cloud of smoke, to envelop a lopsided shape on the fore in a curved connected line.
- Add some smoke on the cloud that appears to resemble one floating above the fire.
- Don’t add any forgetting some progress in curved lines.
- Now close the overall vapors of smoke you added, with linked and curved lines. Add some more dots to depict ash in the smoke.
- To enhance the picture, add shades to your fire. The steam has a range of white shades with black and grey shades. Generally, the fires appear to see up as a combination of orange, yellow, and red.
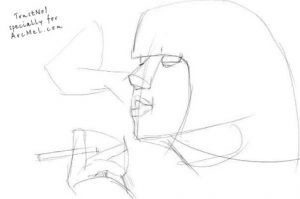
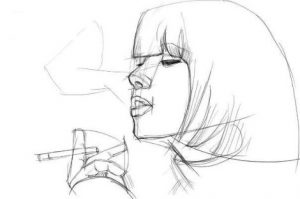
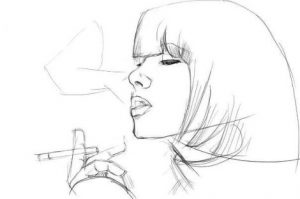
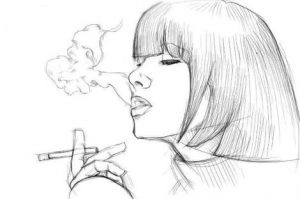
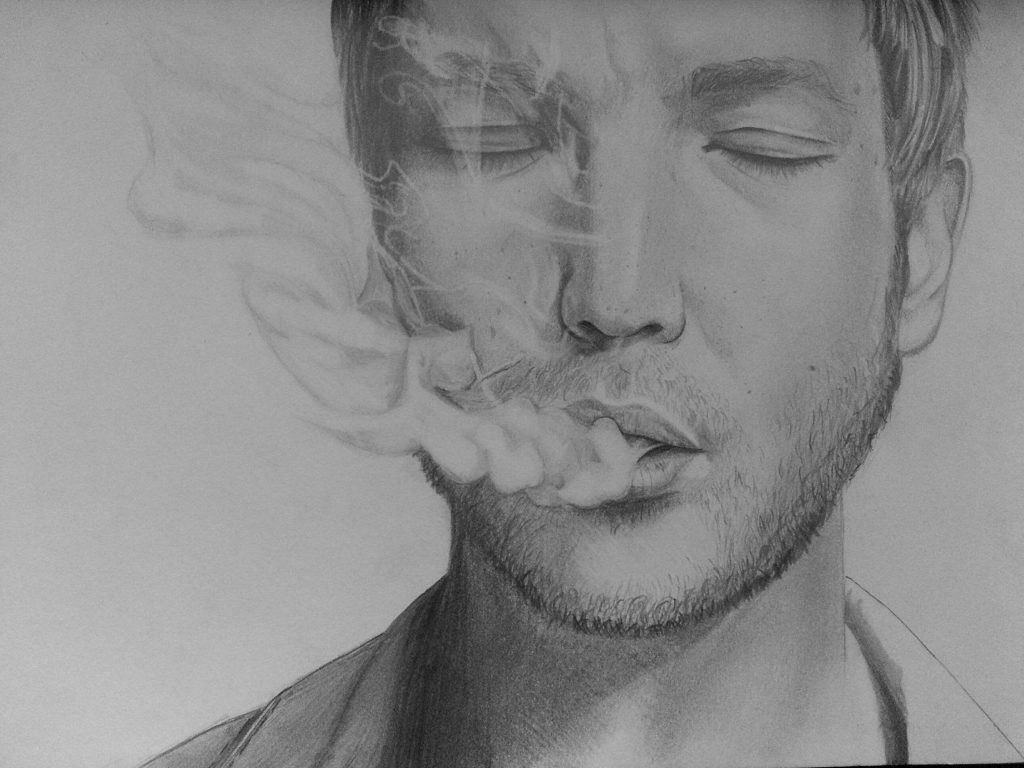
Smoke Drawing with Face
Add the shades of colors in a more efficient manner to make the fire appear brighter or lighter based on the scene of Instance. The colors to use in drawing smoke primarily transform between grey, white, black, red, and orange.
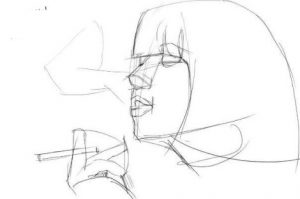
You may use the same process while sketching the incense stick extinguishing the fire, a steam engine expelling fire, an individual smoking, in burning some unwanted materials, the fire for cooking, and many more scenarios. The method of sketching the smoke is prevalent in all cases as stated above. Depending on the situation, you can include some floating of fire, ash, the cloud of smoke, vapors, and some more curved lines to make it appear larger.

Skilled teacher, knowledgeable in and in adapting state content standards to individual needs in
Elementary-6th grade classrooms. Utilizes instructional materials, technology, and teaching methods to
engage students in effective learning opportunities in individual, small group, and whole-group settings to
maximize instructional time. Differentiates instruction for ELLs while exposing them to rigorous content,
with a focus on literacy skills in all subject areas. Establishes and maintains appropriate standards of
behavior in an inclusive and respectful environment for students from all socio-economic and cultural
backgrounds. Develops lesson plans using Backwards Planning Method to align content standards and
assessments with effective learning activities. Communicates and collaborates effectively with staff and
parents, and creates a safe and positive learning environment for students. Has taught in both in-person
and virtual environments. Professional Communicator with 20+ years of experience.