This tutorial is about how to draw a Waterfall for kids and beginners, in addition to landscape drawing. When the water of rivers flows from the mountain areas and steeps on land they form waterfalls. They are natural, amazing, and breathtaking with the structure.

Few waterfalls are world-famous because of their size and height. They attract people with their structure of formation. One of the world-famous landscape drawings belongs to a waterfall. Thus, today we will draw our waterfall. It’s very easy, you only have to follow the steps given below for your Waterfall drawing. We are providing you with a pencil sketch of the waterfall and a colored waterfall drawing, follow both or whichever you find easy.

How to Draw a Waterfall
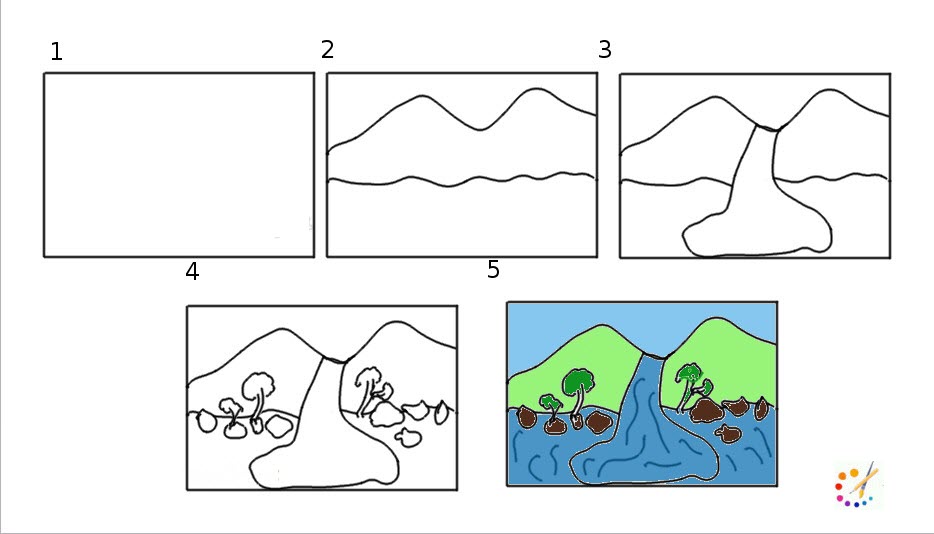
Step 1: Start drawing your waterfall by drawing 2 lines, not very even. Draw one line at the upper part of the paper and a second at the bottom of the paper, these lines should not be even.

Step 2: By drawing two uneven lines downward to the upper line. These lines will be outline for the waterfall. By contouring these lines your waterfall will be ready.
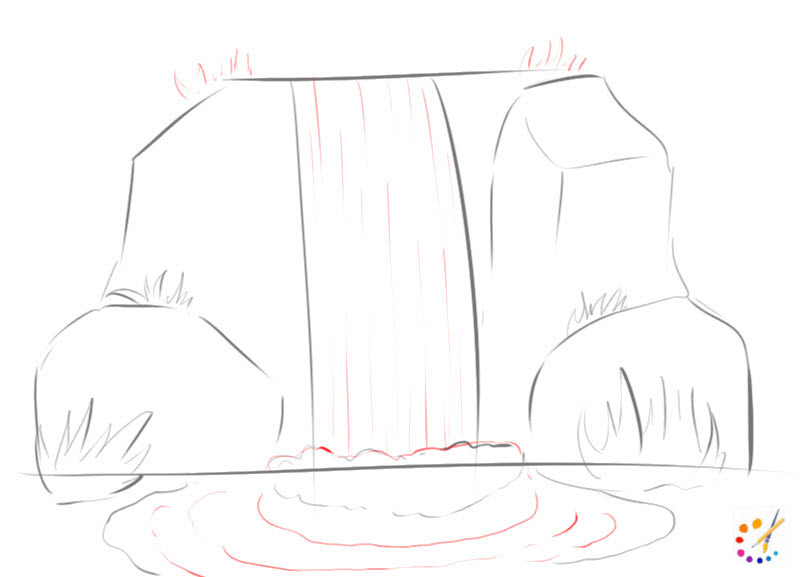
Step 3: Every step in this drawing process is easy to draw, at this stage draw rocks. Under the waterfall, on both side of the waterfall outline draw random curvy lines to form rock. You can use your own imagination to draw it.
Step 4: Mark line at the bottom where your water will fall on the ground and around its depict pond area too.
Step 5: Give your waterfall some lively structure, draw grass on the rocks. You can also draw tree with your imagination.
Step 6: Draw fine random lines on the area drawn for the waterfall to depict water, also draw grasses on the top of rocks around the waterfall. In the pond draw water waves representing water moment.
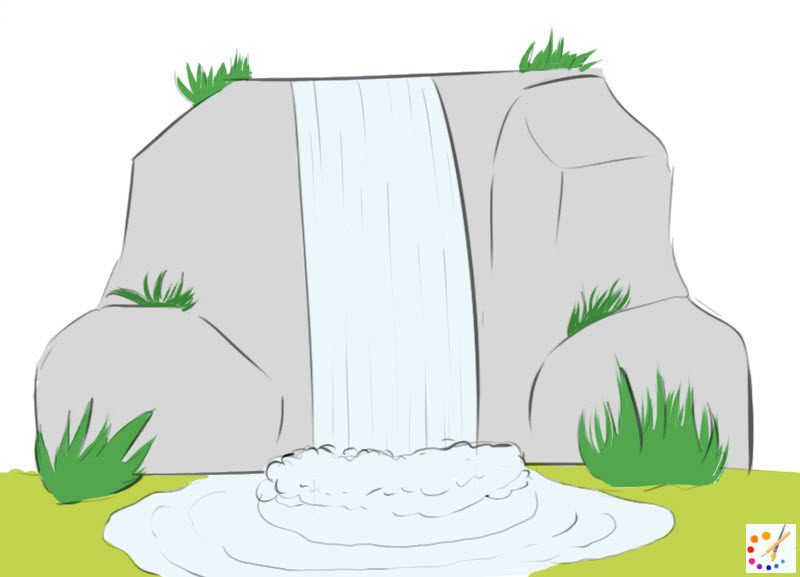
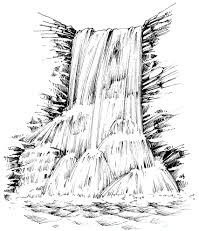
Step 7: Your waterfall is ready, draw it according to your choice or you can do it by following the example given below.
Waterfall Pencil Drawing for Kids
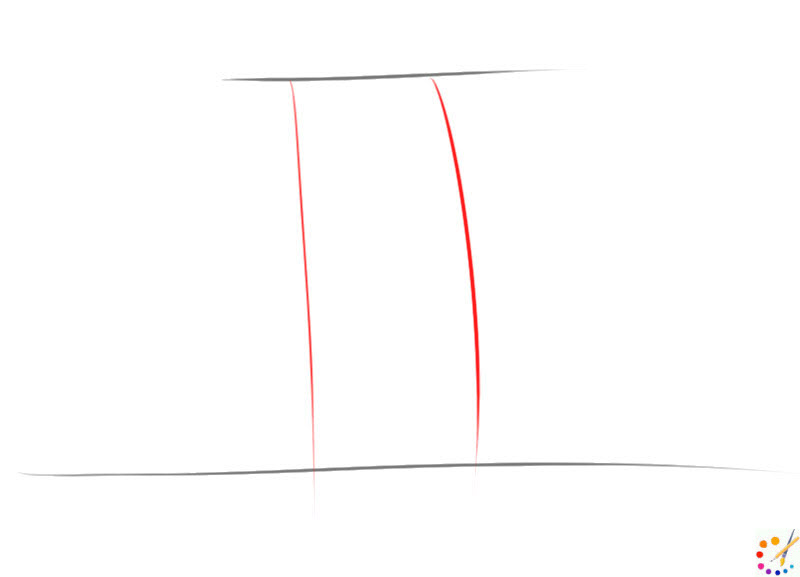
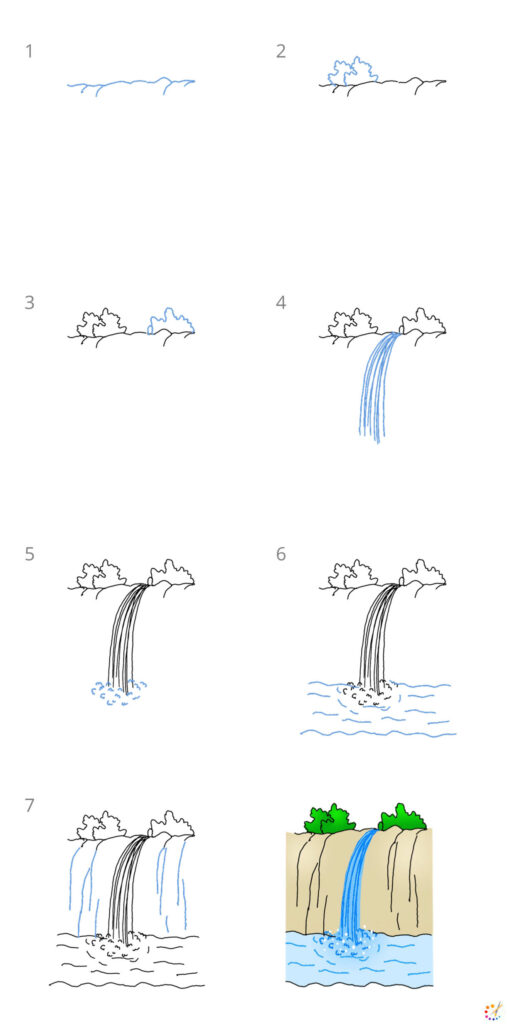
Step 1: Start with drawing a straight horizontal line as the base of the waterfall, and at the top of the paper draw a curvy line to depict the origin of the waterfall.

Step 2: Now its time to draw falling water, for this draw vertical lines from the rising part towards the base.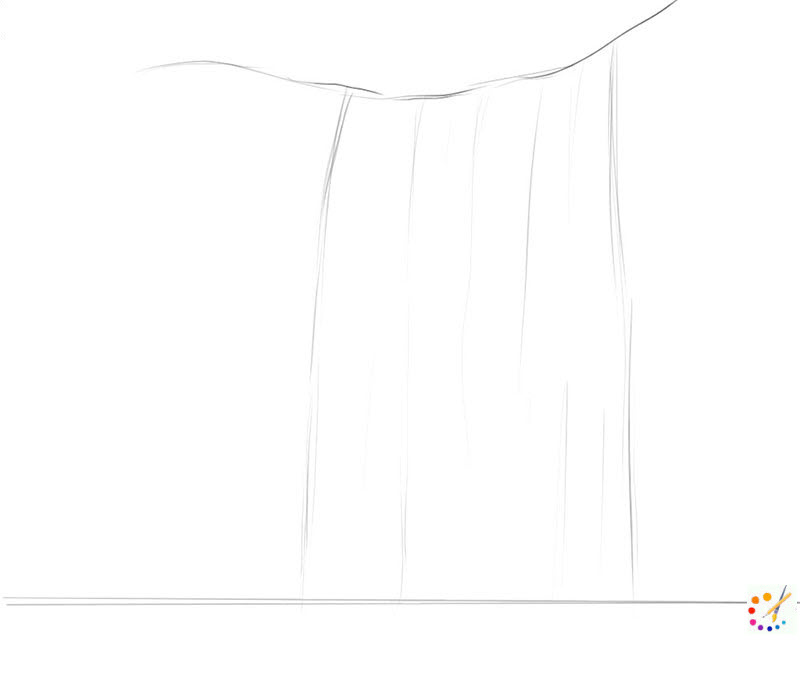
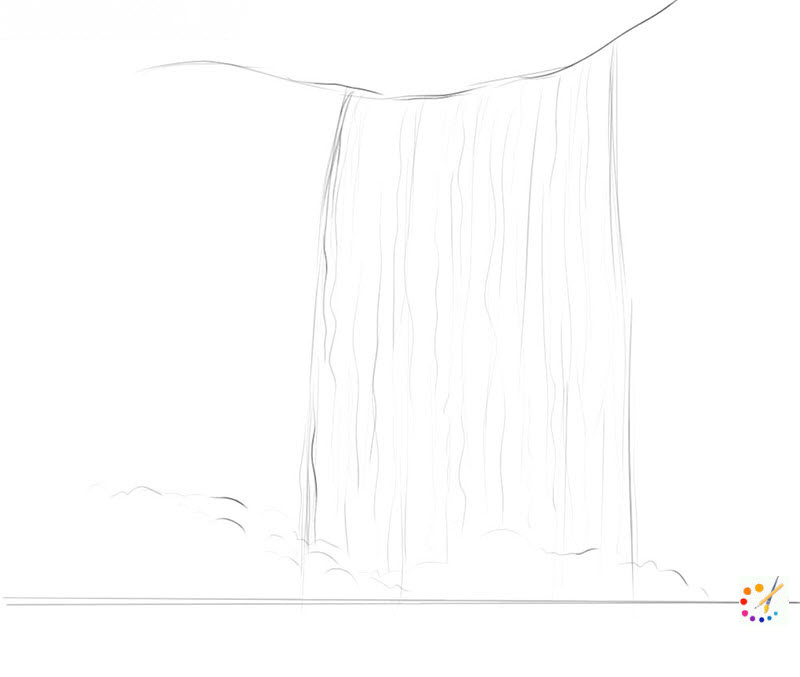
Step 3: Draw many wavy lines on the horizon depicting the clouds of the water. Then draw many slightly curvy lines for the waterfall. Lines must be random no need to follow any particular format.
Step 4: To increase volume and look more realistic draw many fine lines to the waterfall. Draw these lines more on upper and lower part than middle, to create glare.
Step 5: Shade your waterfall to give it more realistic look, finish the coastline and the surface water using lines and curves.
Drawing water fall is part of nature drawing and landscape drawing. Its not so difficult if you exactly know how it looks like. Below we are giving few more steps for waterfall drawing for kids. You will find them easy to follow and draw.
Hope you enjoyed your waterfall drawing and practice it. You can also see:

Here’s a step-by-step guide to drawing a waterfall:
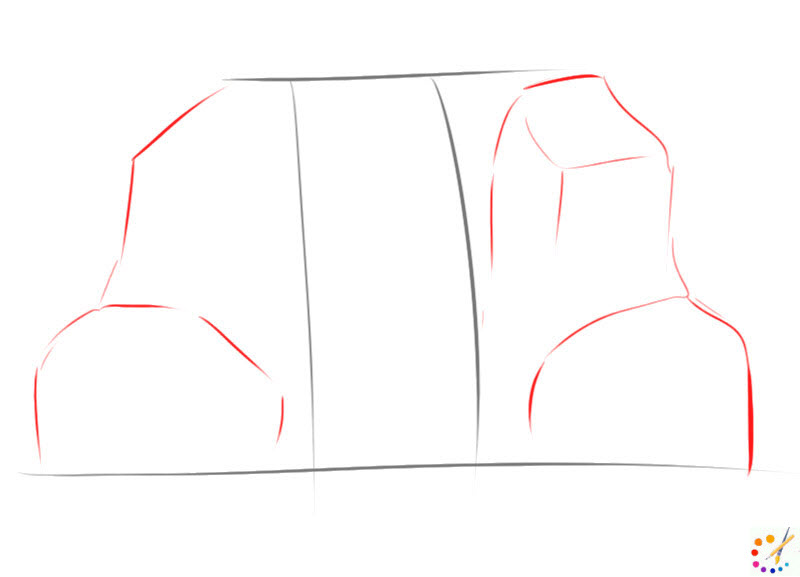
Step 1: Draw the Landscape Outline
- Lightly sketch the cliff or rocks where the water will flow. Outline the top edge of the waterfall and mark how far down the water will cascade.
Step 2: Shape the Waterfall Path
- Draw two vertical lines from the top to the bottom of the fall to create the water’s path. Make the edges irregular to show natural movement.
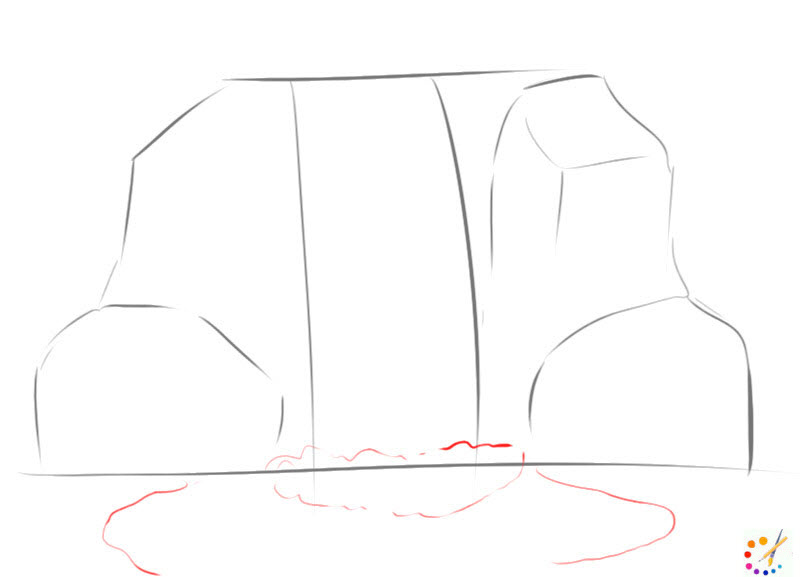
Step 3: Add Flowing Water Streaks
- Inside the waterfall, sketch uneven lines to mimic flowing water. Some lines can curve slightly, and leave gaps between them to suggest water’s motion.
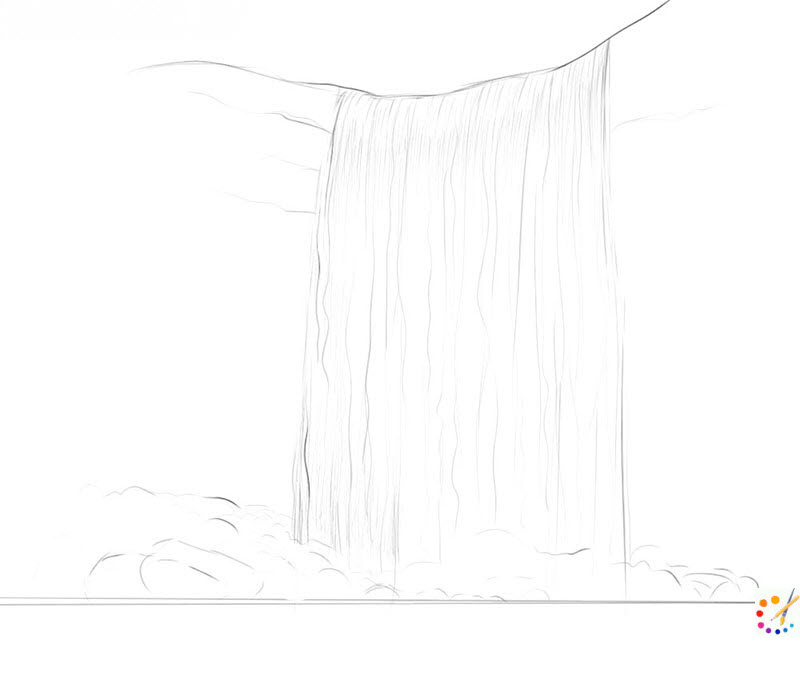
Step 4: Draw Rocks and Mist
- Add rocks at the base of the waterfall, showing where the water lands. Use small circular or cloud-like shapes near the bottom to indicate mist or spray.
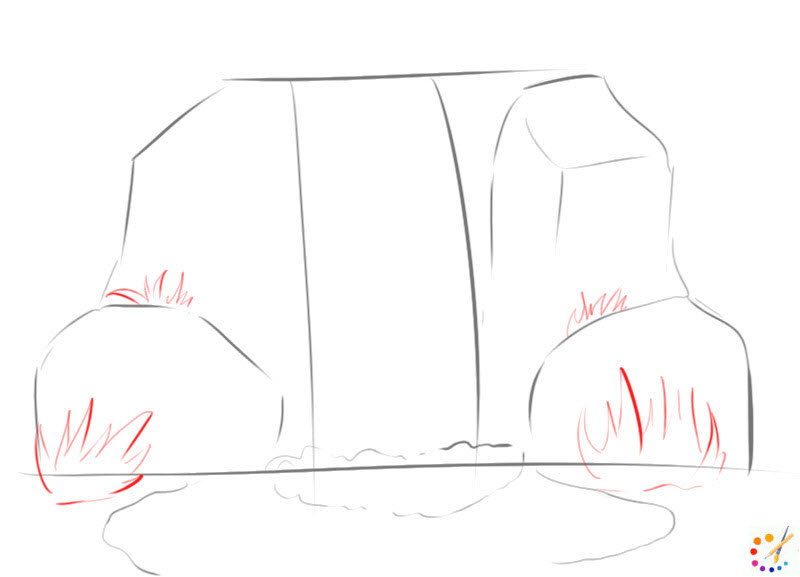
Step 5: Sketch Surrounding Elements
- Draw trees, bushes, or cliffs around the waterfall to frame it. Add a river or pool where the water collects at the bottom.
Step 6: Add Texture to Water and Rocks
- Use small, wavy lines across the water to show ripples. Add shading on the rocks and uneven surfaces to create depth and texture.
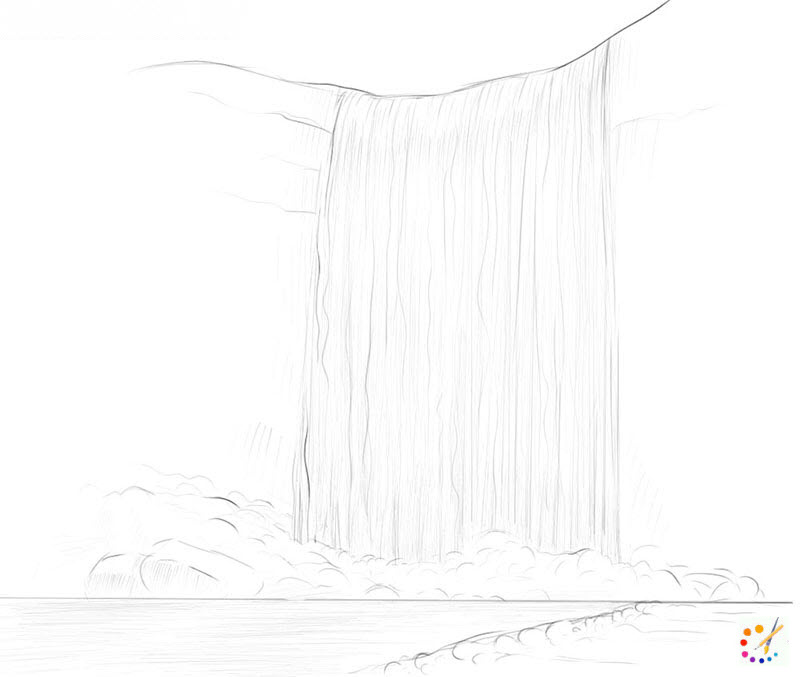
Step 7: Shade the Waterfall
- Lightly shade one side of the waterfall to suggest light and shadow. Leave some areas unshaded to represent the transparency of the water.
Step 8: Refine Details and Blend
- Use a blending tool to smooth out the shading on water and rocks. Add finer details like splashes and waves for a realistic look.
Step 9: Highlight the Mist and Light Areas
- Use an eraser or white pencil to emphasize highlights on the water and mist. This adds brightness and contrast to the drawing.
Step 10: Finalize the Drawing
- Check for symmetry and balance. Add finishing touches like small stones or plants around the waterfall for visual interest.

Skilled teacher, knowledgeable in and in adapting state content standards to individual needs in
Elementary-6th grade classrooms. Utilizes instructional materials, technology, and teaching methods to
engage students in effective learning opportunities in individual, small group, and whole-group settings to
maximize instructional time. Differentiates instruction for ELLs while exposing them to rigorous content,
with a focus on literacy skills in all subject areas. Establishes and maintains appropriate standards of
behavior in an inclusive and respectful environment for students from all socio-economic and cultural
backgrounds. Develops lesson plans using Backwards Planning Method to align content standards and
assessments with effective learning activities. Communicates and collaborates effectively with staff and
parents, and creates a safe and positive learning environment for students. Has taught in both in-person
and virtual environments. Professional Communicator with 20+ years of experience.