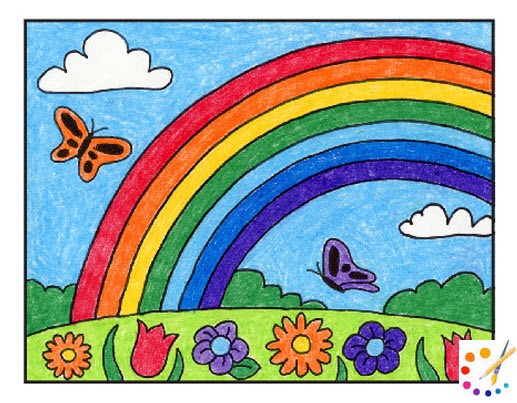
And so here we go again with one more lesson how to draw a rainbow for you. It’s extremely easy to draw a rainbow. Did you ever see a rainbow, observe it, shape of the rainbow, how is it? We have a plain way of how we know about realistic rainbow drawing with very easy coloring and easy steps. It is a half circle having lot of colors within. Rainbows occur as a result of weather when the sun’s light passes over the rainwater droplets rainbows occur on the other side of the sun. Rainbows are invisible hence the painting must also appear as real as suspended in the sky.
Rainbow colors are in a particular sequence, for which you can recall VIBGYOR from bottom to going upside. If this sequence is disturbed while coloring it will be incorrect in terms of originality.
How to Draw a Rainbow in Sky
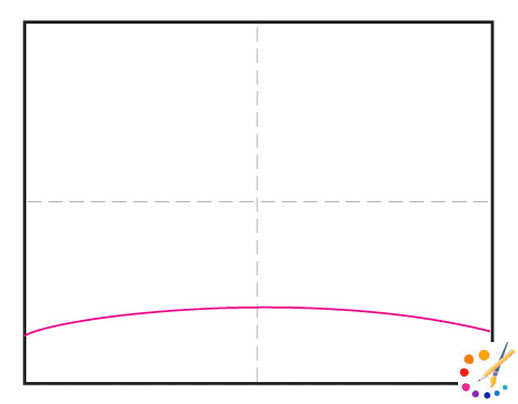
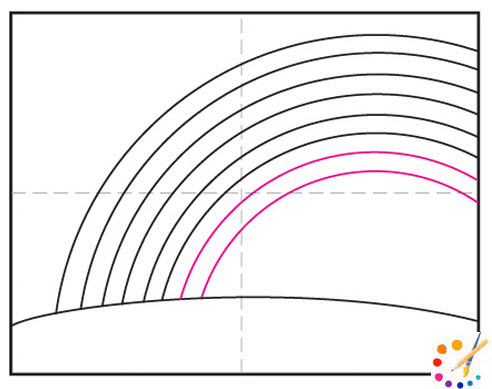
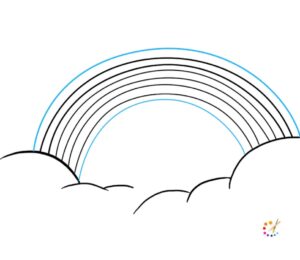
Step 1: Make a line on the below side of the paper as a horizon.
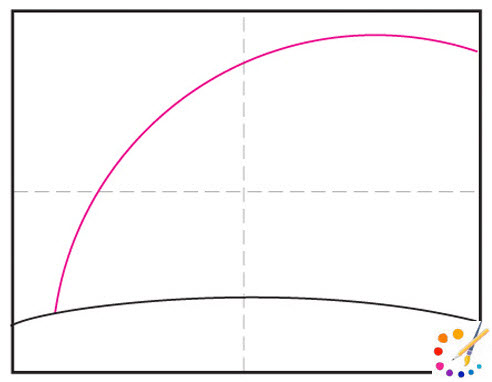
Step 2: Begin the topmost layer of the layer by making a curve from the left side of the horizon to the right side of the paper.
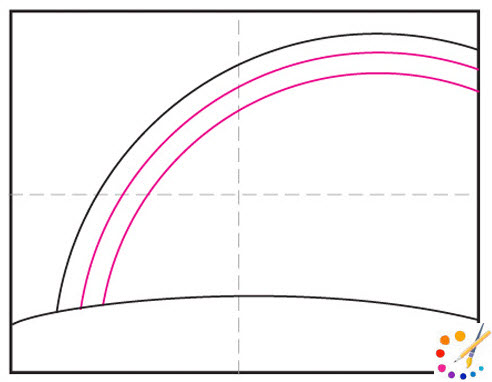
Step 3: Make another two parallel curves to the already made curve.
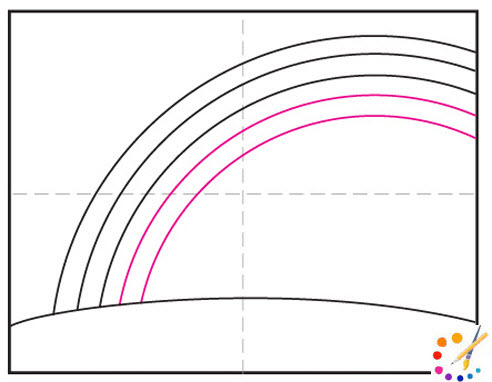
Step 4: Under the curves made make 2 more parallel and even curve.
Step 5: Finally make 2 more parallel curves.
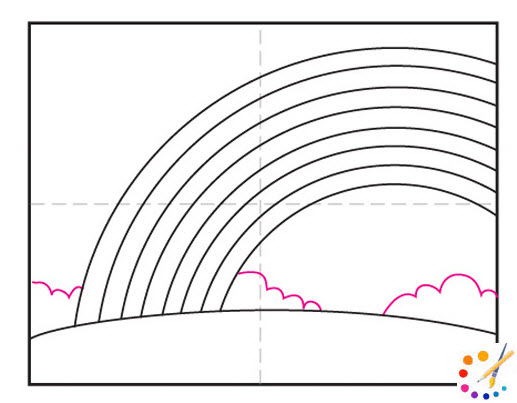
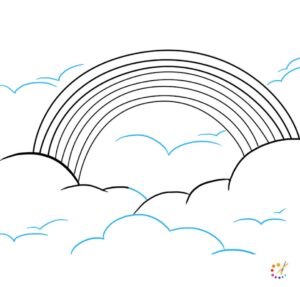
Step 6: In the background of rainbow draw busesh to make it look natural.
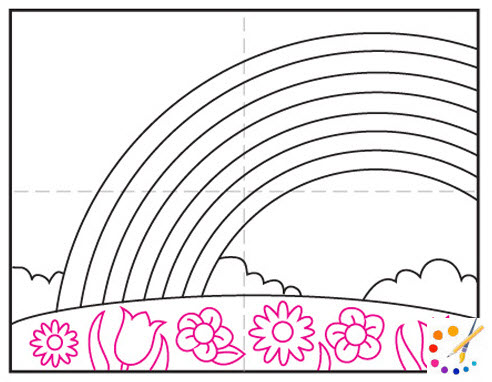
Step 7: In the horizon area draw lovely flowers.
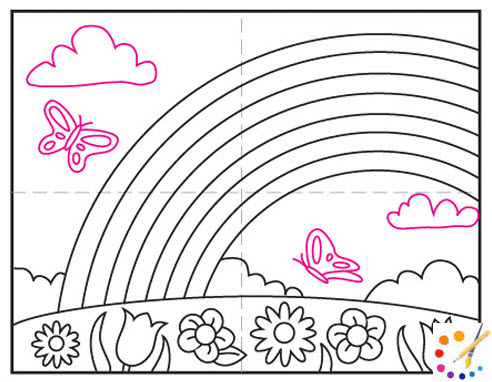
Step 8: In the sky draw butterflies and clouds.
Step 9: Use fill colour to your rainbow and the colourful aura is ready to provide you joy and happiness.
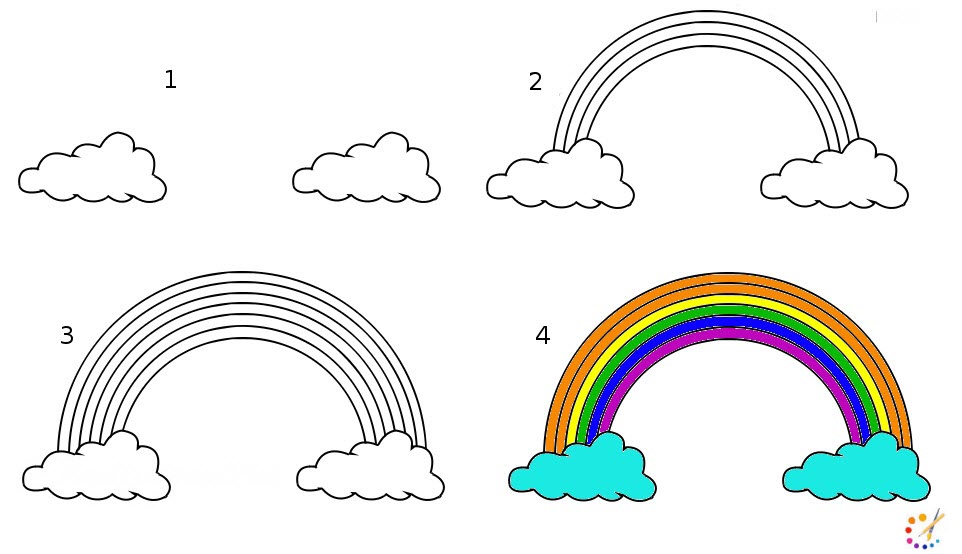
How to Draw a Cartoon Rainbow
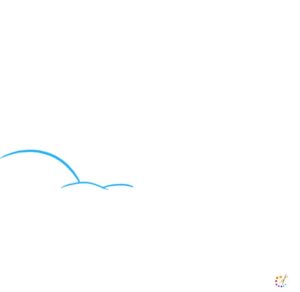
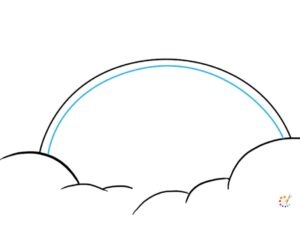
Step 1: With the assistance of small curves draw overlapping clouds.
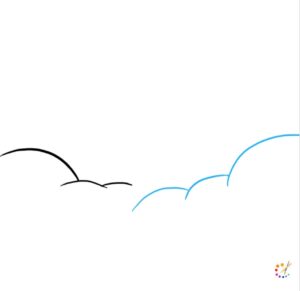
Step 2: On the other side once more draw the same type of curve and create a cloud.
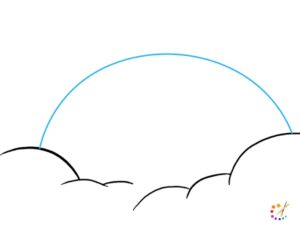
Step 3: Between the one cloud and another draw a big curve as the uppermost layer of rainbow.
Step 4: Below the line drawn in step 2 draw another parallel line, this will create the first and outermost band of rainbow.
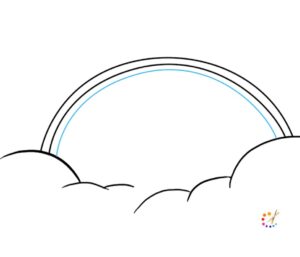
Step 5: Make second band of rainbow by drawing second curved line underneath already drawn.
Step 6: For creation of second band draw another horizontal curve below already drawn.
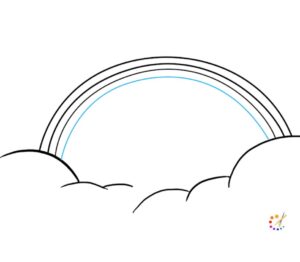
Step 7: Make 5th and 6th curved line to shape 2 additional band.
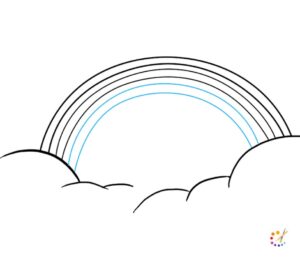
Step 8: Make 2 curves one in the outer part and one inner side, now there is enough band to make a rainbow.
Step 9: Make numerous curved lines big and small to bring depth to the drawing as well as the texture of cloud.
Step 10: Color your rainbow as per VIBGYOR direction or take reference from the below image.
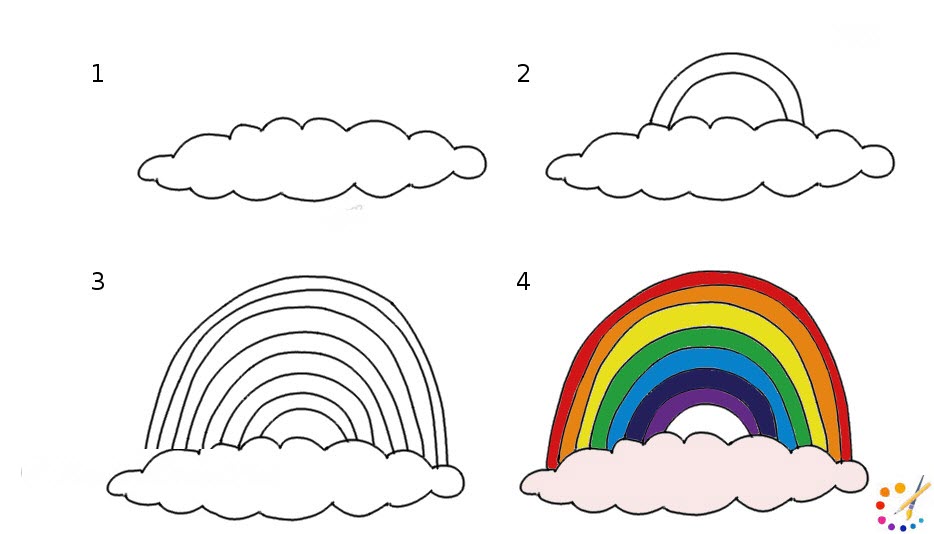
Rainbows are rarely seen but they are very calm and joyful when you get a chance to see them. They symbolize the beauty of nature. Below we are providing a few more step-by-step rainbow formations for you.
Drawing 1:
Drawing 2:
Rainbows are quite easy to draw and I will recommend you to draw them freehand instead of a compass or any other device. Always keep in mind practice makes one perfect.
I hope you will do an excellent job. Please visit our more lessons:
- How to draw a house
- How to draw a tree
- How to draw a bee
- How to draw a mouse
- How to draw a cat
- How to draw a dolphin

Skilled teacher, knowledgeable in and in adapting state content standards to individual needs in
Elementary-6th grade classrooms. Utilizes instructional materials, technology, and teaching methods to
engage students in effective learning opportunities in individual, small group, and whole-group settings to
maximize instructional time. Differentiates instruction for ELLs while exposing them to rigorous content,
with a focus on literacy skills in all subject areas. Establishes and maintains appropriate standards of
behavior in an inclusive and respectful environment for students from all socio-economic and cultural
backgrounds. Develops lesson plans using Backwards Planning Method to align content standards and
assessments with effective learning activities. Communicates and collaborates effectively with staff and
parents, and creates a safe and positive learning environment for students. Has taught in both in-person
and virtual environments. Professional Communicator with 20+ years of experience.


