Welcome to all in this tutorial on drawing a chandelier, which is a suspended light utilized for enhancing the look of a space. Chandeliers consist of numerous small and large lights based on their characteristics, form, and dimensions.
Step by step guide to learn how to draw a chandelier in a very simple and easy manner is provided below. We have provided a different kind of drawing guide for your assistance and to enhance your knowledge and ability of drawing it. If you like it, let’s follow the steps below to give it a try!
How to draw a Chandelier
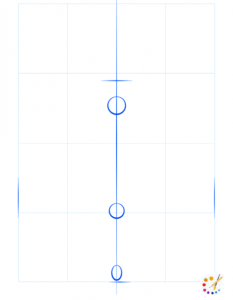
Step 1: Chandelier is a hanging of long length for which you are required to begin with drawing along the string with 3 circles.
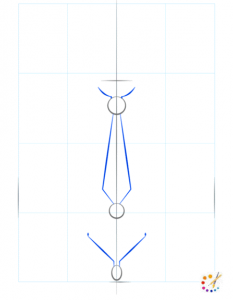
Step 2: Above the first circle draw 2 upside curve. Below this draw 2 diagonal lines and then a small line running on the middle circle. From the top of the lower circle draw 2 more lines diagonally.
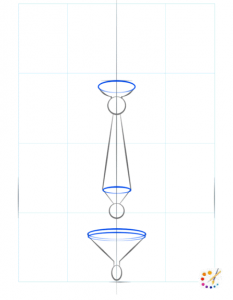
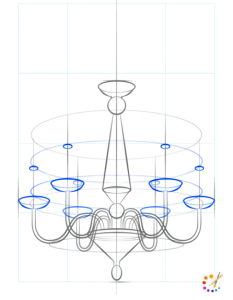
Step 3: To finish the middle portion of the chandelier draw an oval at the top of it and at the lower part draw a modern oval in middle. Also, draw a funnel shape on top curve.
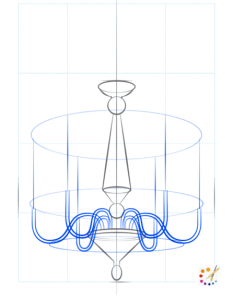
Step 4: Draw curved lines from the middle center portion of the chandelier moving in upward direction. The drawn lines should be equal and uniform on both sides.
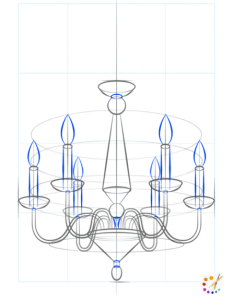
Step 5: Draw flat oval shapes at the top of each strand going upwards. They are again identical to strand in quantity. Above them draw small circles.
Step 6: Draw pair of lines between the drawn ovals and circles showing the candles. At the top of these draw flames using curved line or a tear drop shape.
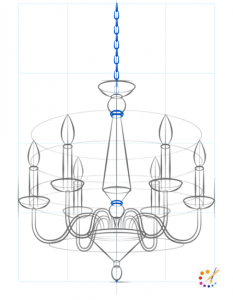
Step 7: At the very top of this chandelier draw series of small ovals and curves making chain through which is is hanged.
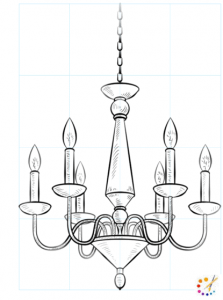
Step 8: Add your chandelier finishing touch and remove what ever is excess.
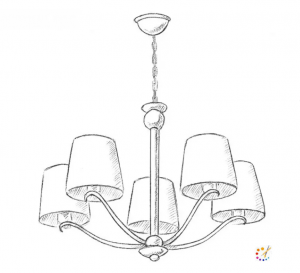
How to draw step by step Chandelier:
Step 1: Make a straight line at the start. Once you are finished draw 4 curved lines below this straight line which are transforming into curve.
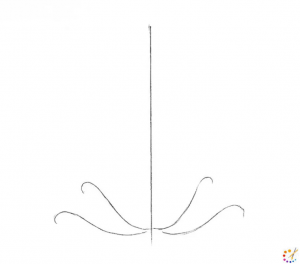
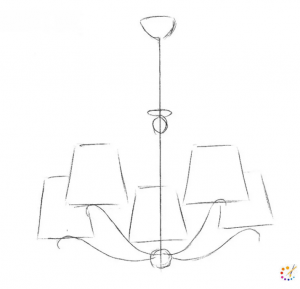
Step 2: Draw 5 quadrilaterals on the 4 curved lines. These quadrilaterals will represent the lamp. Draw 2 side lamps overlapped while the middle one overlapped with the chandelier hanger.
Step 3: On the string draw 2 more parallel lines with the middle one.
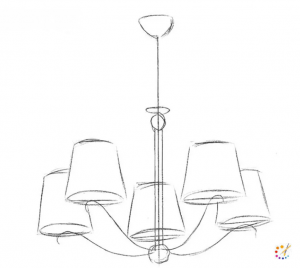
Step 4: Complete the lamp base with ovals. Remove the unnecessary lines and complete the drawing.
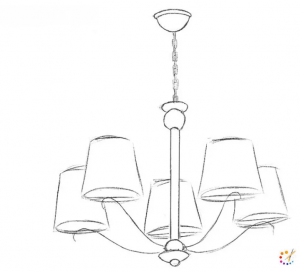
Step 5: Sketch chains and strings on the top of the chandelier. Double the curved line moving towards the lamp.

Step 6: Shade the lamp stand string using the hatching method.
Step by step chandelier drawing:
The chandelier are ornamental light which we can use to drape and increase the beauty of corners of our home, office, cafe. Drawing a chandelier can range from easy to complicated based on its shape and style. We have provided you with the 3 types of light style with which you may experiment using your own choice.


Skilled teacher, knowledgeable in and in adapting state content standards to individual needs in
Elementary-6th grade classrooms. Utilizes instructional materials, technology, and teaching methods to
engage students in effective learning opportunities in individual, small group, and whole-group settings to
maximize instructional time. Differentiates instruction for ELLs while exposing them to rigorous content,
with a focus on literacy skills in all subject areas. Establishes and maintains appropriate standards of
behavior in an inclusive and respectful environment for students from all socio-economic and cultural
backgrounds. Develops lesson plans using Backwards Planning Method to align content standards and
assessments with effective learning activities. Communicates and collaborates effectively with staff and
parents, and creates a safe and positive learning environment for students. Has taught in both in-person
and virtual environments. Professional Communicator with 20+ years of experience.