This is certainly going to be an interesting tutorial because we will be taught how to draw flames for beginners and kids. For centuries humans have used fire and smoke for various purposes. It made people able to cook their food, to remain warm in cold weather.
There are even other uses of fire like in the manufacturing process. Fire is a natural process and occurs due to rapid oxidation.
What you must draw flame is a pencil, paper and, eraser and the following step by step guidance. With this tutorial, we are giving a step-by-step illustrations to make this simple for you. Let’s start the tutorial for you.
How to Draw a flame
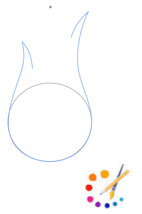
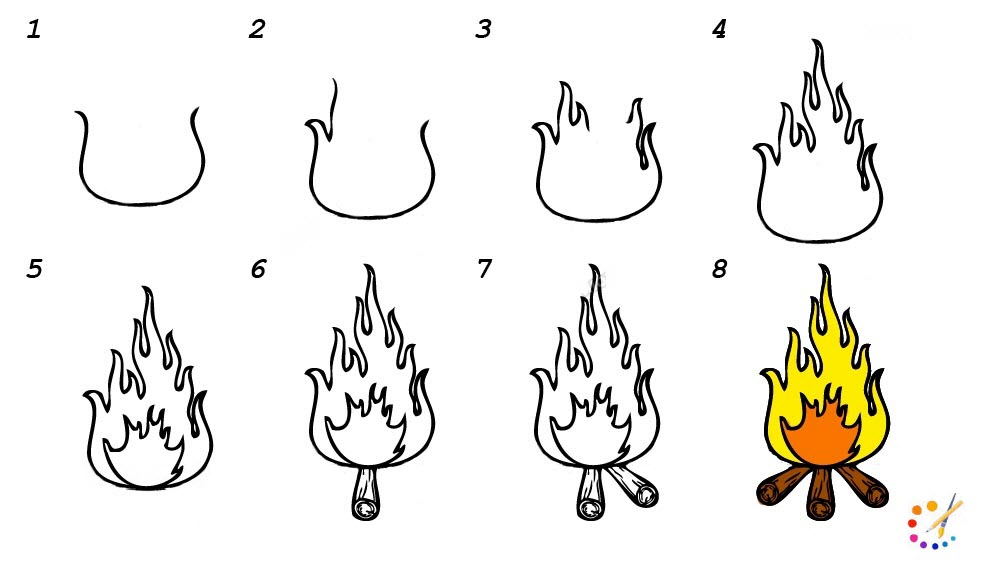
Step 1: Begin with drawing a circle, it will be your reference to begin for the firebase. Draw the circle with the assistance of a compass or do it freehand.
Step 2: Draw 2 lines from both sides left and right to begin a flame, take it to the direction upward in a slightly S shape and the from end draw it in the backward direction. See the image below for the reference to begin your flame.
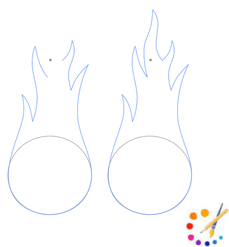
Step 3: Draw spike-like structure above the circle drawn using the same type of small curves. Close the endpoint as we closed in the image below.
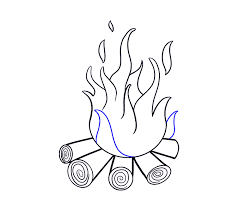
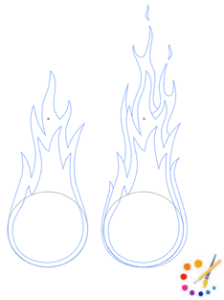
Step 4 :This is the last layer for the flame, draw few more layers inside the drawn fire flames in above steps. Once you finished with the inside flame draw few fires out side the flame and shape up the circle to make it look realistic.
Step 5: Your flame drawing is done, are we missing anything, yes! add color to your flame. Color it with a mixture of red and orange color.
How to draw flame with Smoke step by step
Here is the step by step guide for how to draw flame with smoke:
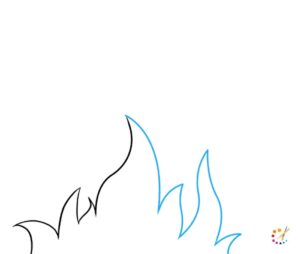
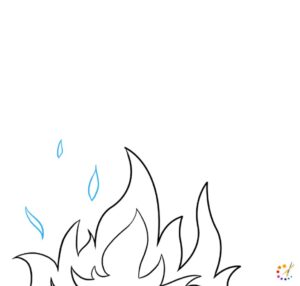
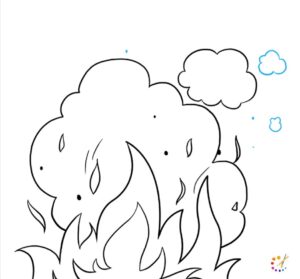
Step 1: Begin with sketching the outline of the flame, using lots of curved lines draw these curves to intersect at a pointed vertex. Once more, draw a large long curve for the center of the flame.
Step 2: Draw more flames lit on the opposite side of the flame drawn, using curved lines intersecting at the vertex.
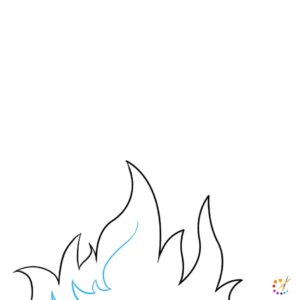
Step 3: To the inner part of the drawing draw more similar small flames with the assistance of curve meeting at the same point.
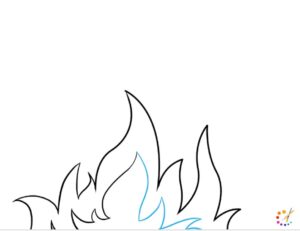
Step 4: On the opposite side of the inner flame draw curved lines and create a short flame.
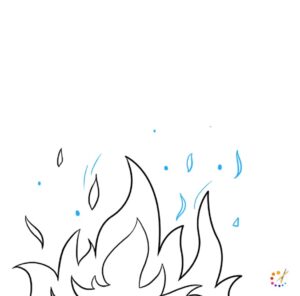
Step 5: Draw some flames outside the flames drawn as flying ashes. Draw 2 enclosed curved lines for each formation.
Step 6: Make some more ashes and flames on the other side. These will depict the rising heat from the flame.
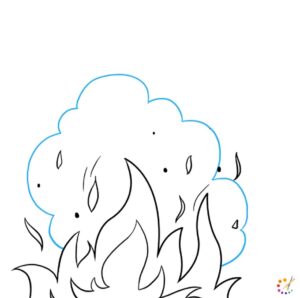
Step 7: Make a large fume of smoke on top of the flame. To do this, you need to make a large large irregular circle shape.
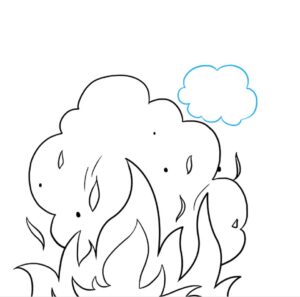
Step 8: Make a more round cloud type formation on the right side of the flame. It will be fire smoke.
Step 9: Make some more curved clouds for smoke.
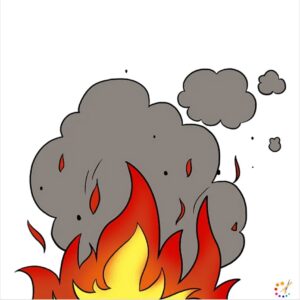
Step 10: Now draw the flame, use shades of grey and black for the smoke and red, orange, and yellow to represent the flame.
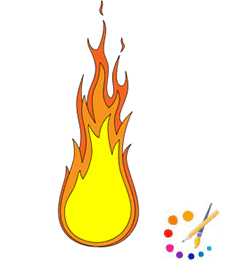
Here below we are providing images to draw cartoonic flame image reference for you. Follow it if willing to draw cartoonic flame.
Drawing 1:
How to Draw Fire
Hope you enjoyed this flame drawing tutorial, see also the following guidelines: Mouse, Mickey mouse, Rat, Cat, Camel.

Skilled teacher, knowledgeable in and in adapting state content standards to individual needs in
Elementary-6th grade classrooms. Utilizes instructional materials, technology, and teaching methods to
engage students in effective learning opportunities in individual, small group, and whole-group settings to
maximize instructional time. Differentiates instruction for ELLs while exposing them to rigorous content,
with a focus on literacy skills in all subject areas. Establishes and maintains appropriate standards of
behavior in an inclusive and respectful environment for students from all socio-economic and cultural
backgrounds. Develops lesson plans using Backwards Planning Method to align content standards and
assessments with effective learning activities. Communicates and collaborates effectively with staff and
parents, and creates a safe and positive learning environment for students. Has taught in both in-person
and virtual environments. Professional Communicator with 20+ years of experience.

