How to draw a Tulip: Flowers are all our favorite backyards and when it comes to tulips they are just great. Therefore we are here to give a tutorial on Tulip Flowers for kids and beginners.
Tulips are the sign of love and affection, they attract flower enthusiasts like a flame of passion. There are approximately 75 tulip species are available across the globe with numerous colors.
Also, tulip festivals are organized to decide the most beautiful new tulip colors and designs. So if you dreamed of its beauty and want to sketch go with the provided tutorial.
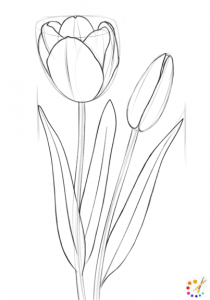
How to Draw a Tulip with bud
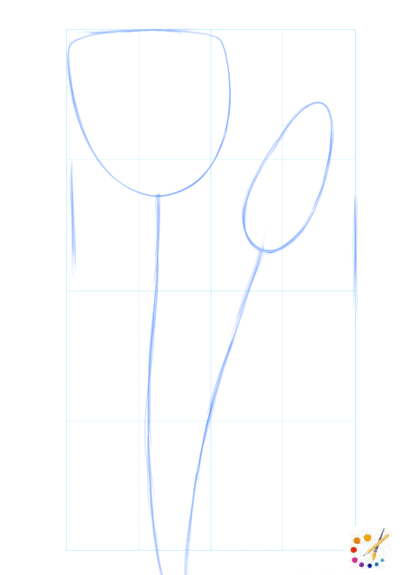
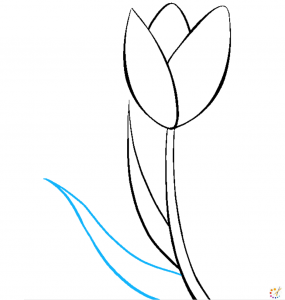
Step 1: Begin with a simple guideline for the height and width of the drawing. For this, you must begin with 2 curved lines as the stem. On the top of the first line, draw a deep half curve with a flat top. Then on the second line, draw a flat sleek oval, it will show the flower bud.
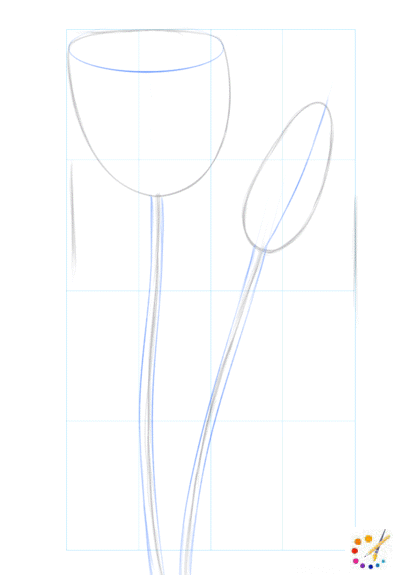
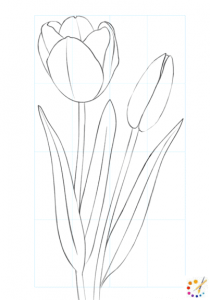
Step 2: Draw a half curve at the top and below it draw a curved line, and it will turn into an oval, as you can observe in the image. Now draw a straight line between the bud and give a finishing touch to the stem.
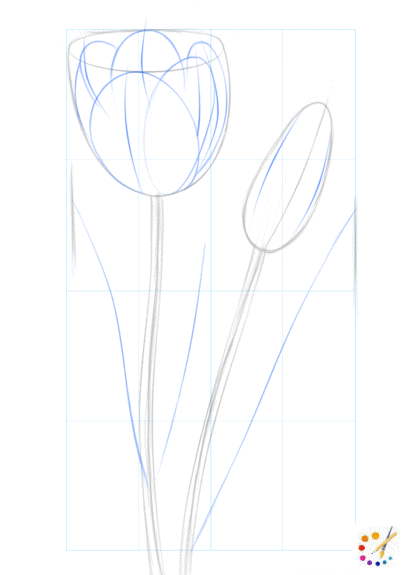
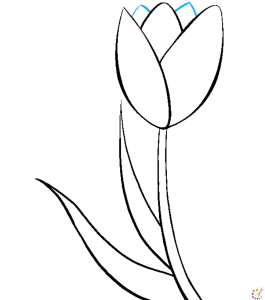
Step 3: Draw 5 half downward ovals or curves inside the half-circle. Also, draw 2 lines close to the border of the bud. Draw 3 lines from the stem showing the leaves.
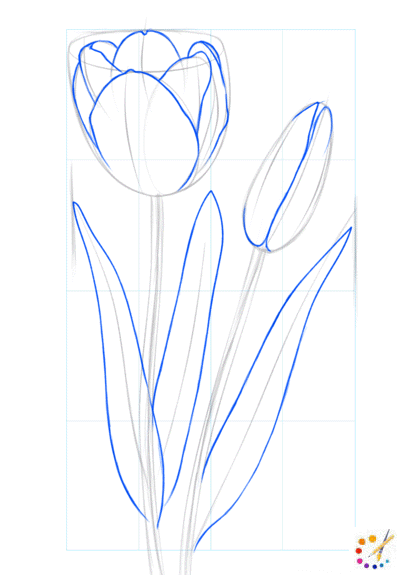
Step 4: After the sketches, shade realistic silhouettes blackening the sketches. Use long curved lines with pointed tips to draw leaves. Draw 2 petals inside the flower bud.
Step 5: Study the given flower sketch and outline your drawing with the light and dark shades.
Step 6: After completing you can erase all the unnecessary lines and put a finishing touch.
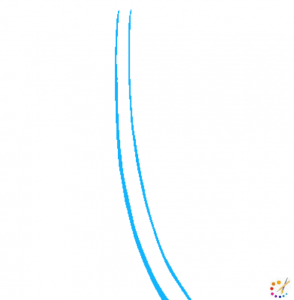
How to draw tulip flowers:
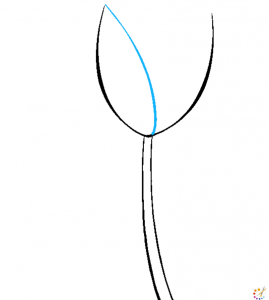
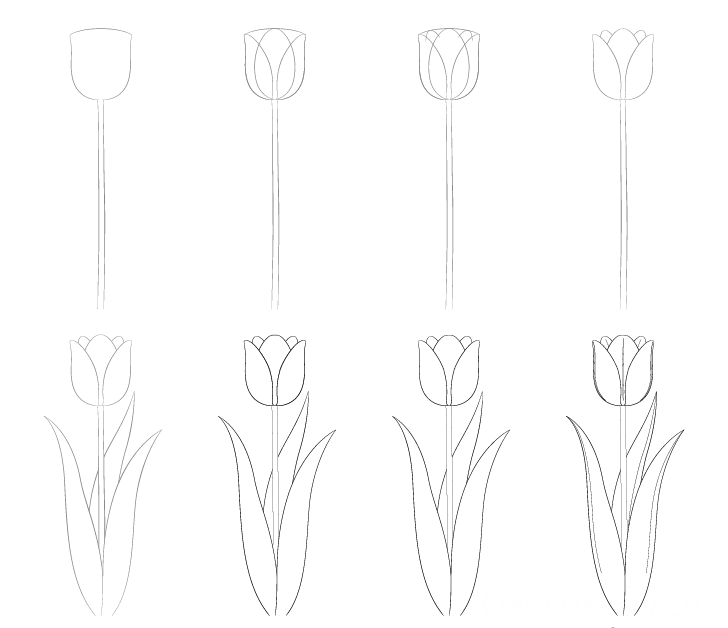
Step 1: We will start with drawing stems of the flower. Draw 2 long curved lines as the stem of it. Lines get nearer as moving towards the top.
Step 2: At the end of the stem draw a long, “U” shape by using 2 curved lines of equal length. This shape will be the guideline for the flower.
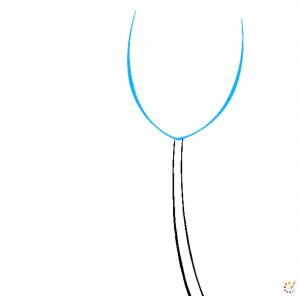
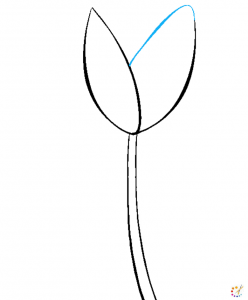
Step 3: On the second side of the U shape draw another curved line, from the tip and connect the middle of the U. It will resemble the teardrop shape.
Step 4: Draw another curve from the second side of the flower covering another semi teardrop shape. 2 petals of the tulip is complete.
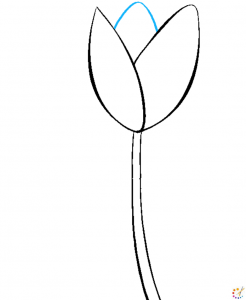
Step 5: Between the drawn 2 petals draw an upside-down U shape. This will enclose another petal which is half visible in middle.
Step 6: On the side of the stem begin drawing a leaf. Draw curved lines with a sharp pointed tip.
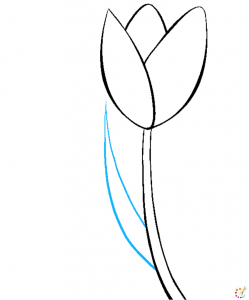
Step 7: Draw another set of leaves below the drawn leaf. Again follow the same pattern of drawing with 2 curved lines going outward and meeting at a sharp point.
Step 8: Between every petal draws tiny petals in a downward V shape. It will show the density with more petals inside the flower.
Step 9: The flower is complete only you need to add details to it. Use tiny short curved lines and leaves and petals. Establish the texture and depth by contouring it.

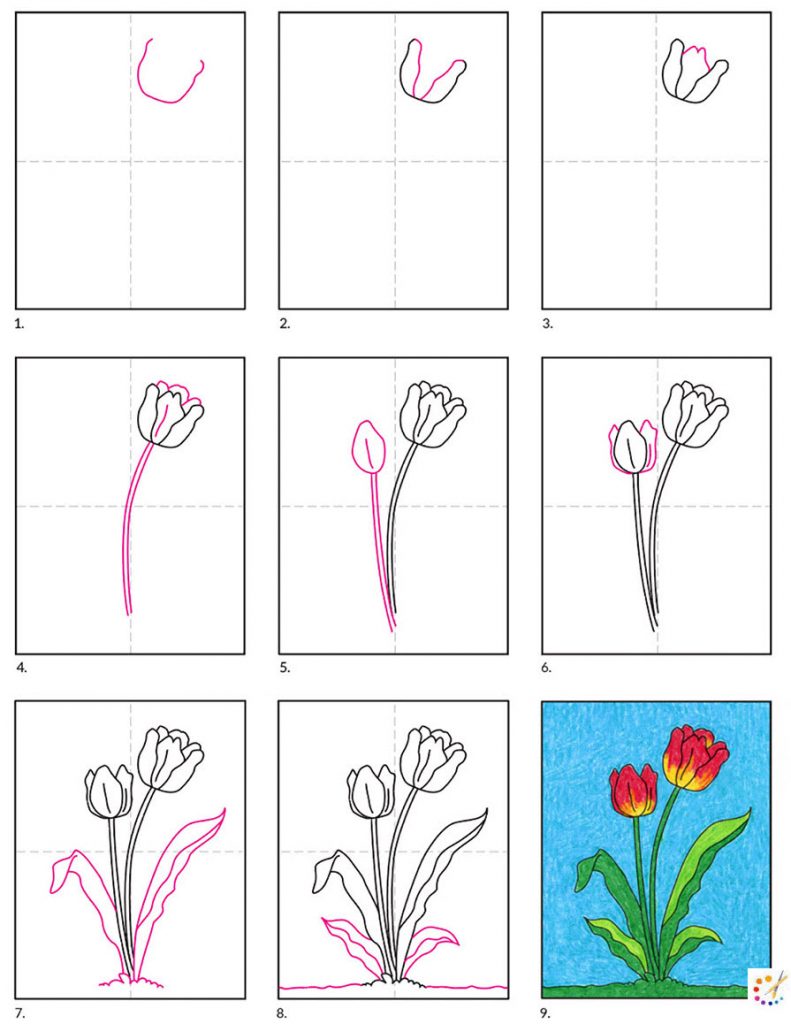
Step 10: Give your flower a pinkish-red shade and yellowish-green shade to the leaves You may use the dark green to outline your drawing.

Step-by-step tulip drawing tutorial
The most significant producer of the tulip flower is Holland, and there farmers are taking the color spectrum of the rainbow as a principle to attract travelers. In the past, Holland has seen days when individuals were utilizing tulip flowers as a medium of money to trade items. Therefore, some simple step-by-step tutorials of tulips are provided below for you.

Skilled teacher, knowledgeable in and in adapting state content standards to individual needs in
Elementary-6th grade classrooms. Utilizes instructional materials, technology, and teaching methods to
engage students in effective learning opportunities in individual, small group, and whole-group settings to
maximize instructional time. Differentiates instruction for ELLs while exposing them to rigorous content,
with a focus on literacy skills in all subject areas. Establishes and maintains appropriate standards of
behavior in an inclusive and respectful environment for students from all socio-economic and cultural
backgrounds. Develops lesson plans using Backwards Planning Method to align content standards and
assessments with effective learning activities. Communicates and collaborates effectively with staff and
parents, and creates a safe and positive learning environment for students. Has taught in both in-person
and virtual environments. Professional Communicator with 20+ years of experience.