Hey, kids if you want to learn how to draw snowflakes we are here to help you in drawing your very own snowflake with the tutorial which is for kids and beginners.
You can use these snowflakes for your greeting cards, decorations, or other artwork. Snowflakes represent winters you can welcome winter using this easy, step-by-step snowflake drawing tutorial. Take your pencil, an eraser, and a piece of paper to render this easy and simple drawing. Each step is accompanied by explanatory text to help you.
Use light lines for guidelines so that you can erase them in further steps to improve your drawing. Hope you are ready with your supplies to draw for your school project, then follow the given guidelines.
How to Draw Snowflakes for kids
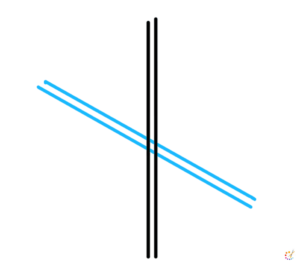
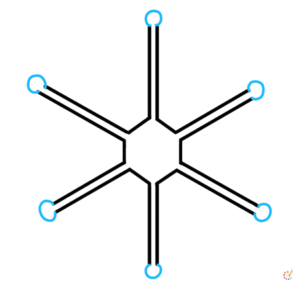
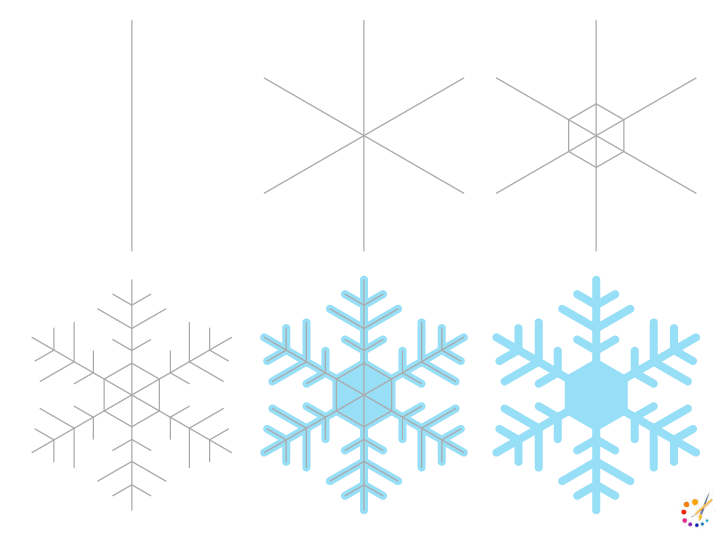
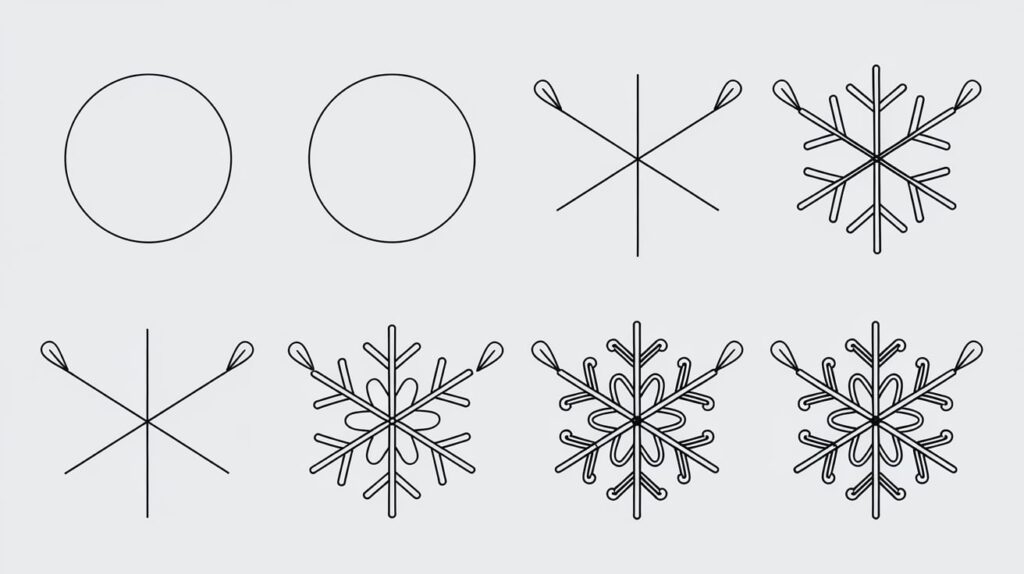
Step 1: Draw 2 closely parallel verticle lines to start your drawing.
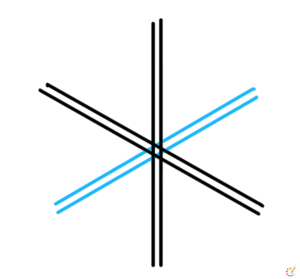
Step 2: draw another 2 parallel lines diagonally intersecting the verticle lines.
Step 3: Draw 2 other diagonally intersecting lines from the other side also as depicted below.
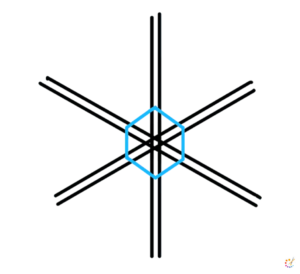
step 4: In the center or the intersecting point draw a hexagon.
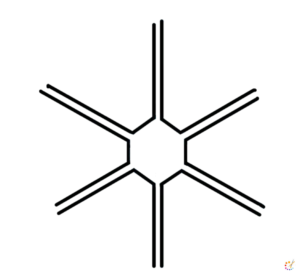
Step 5: Erase the extra lines and you will get the image as shown below.
Step 6: On the tip of these 6 lines draw small circles enclosing the end.
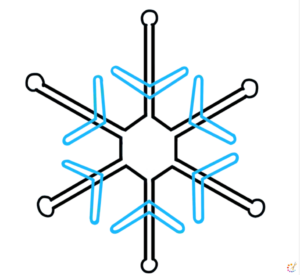
Step 7: In each strand already drawn draw a flattened double lined V shape near the starting point.
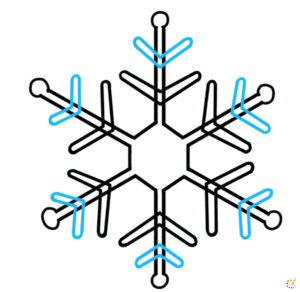
Step 8: Draw another V shape similar to the last one above to that, follow the given image for reference.
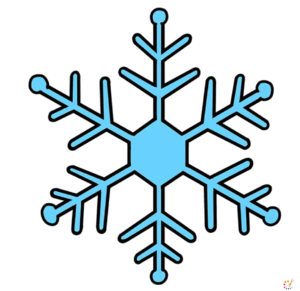
Step 9: Your snowflake is ready, color it blue or leave it as it is.
Step by step snowflake Drawing
Draw a straight line and then 2 other diagonally intersecting lines from the center of the first one. Draw a hexagon at a short distance from the center. Draw small lines on both sides of the straight line as we draw leaves or flattened V shape. Always keep in mind you have to draw with a very light hand so that you can erase it easily. Now outline your drawing with a blunt flat color pen and erase all the pencil drawings.
Draw Snowflakes for Kids
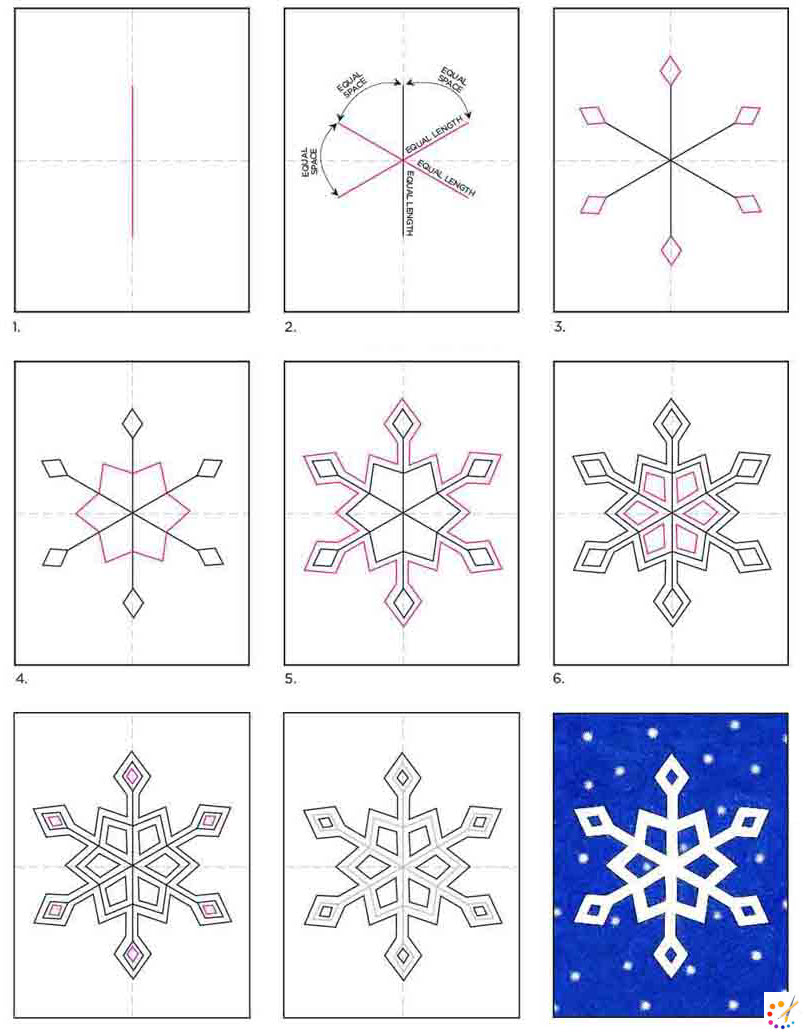
- Draw a vertical line
- Draw an X. The length and spacing need to be the same.
- Draw diamonds on the ends.
- Add matching V shapes inside.
- Draw outline around the outside.
- Add diamond shapes inside.
- Draw small diamonds as shown.
- Erase the inside lines.
- Trace with marker and color.
Just by drawing few X you can learn to draw snowflakes easily which will be very close to the real ones. Snowflakes are totally geometrical and symmetrical. Once you will start drawing them you can also learn about symmetry and there is no fixed rule to draw them. In the place of diamond use circles or other shapes as per your choice. For younger students, it is an elementary topic to learn.
Experiment with the shape and design your own, use V with inverted V, only draw 6 sides intersection at some point, and repeat all the ornamental drawing same as you start with. This is the way symmetry works.
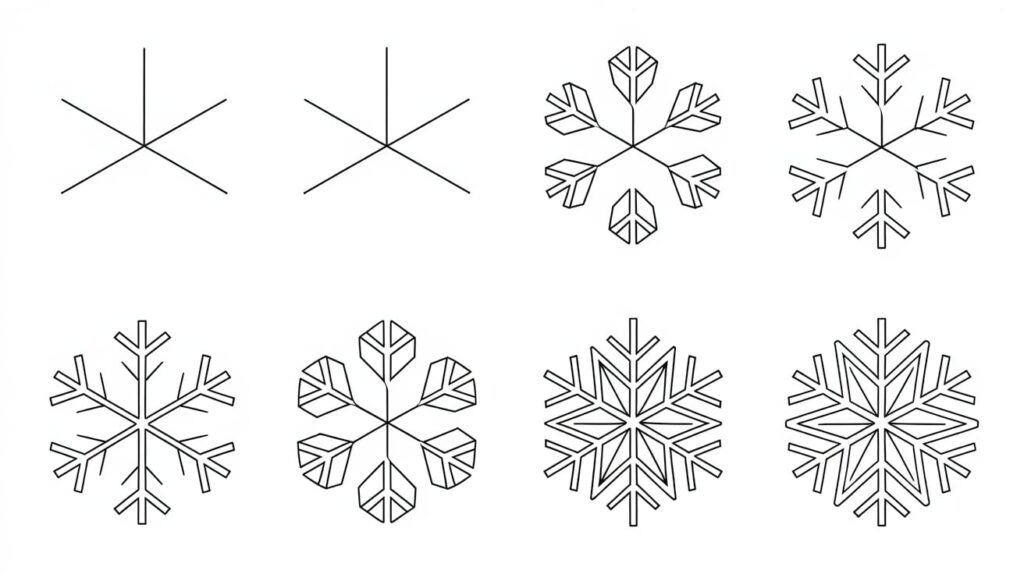
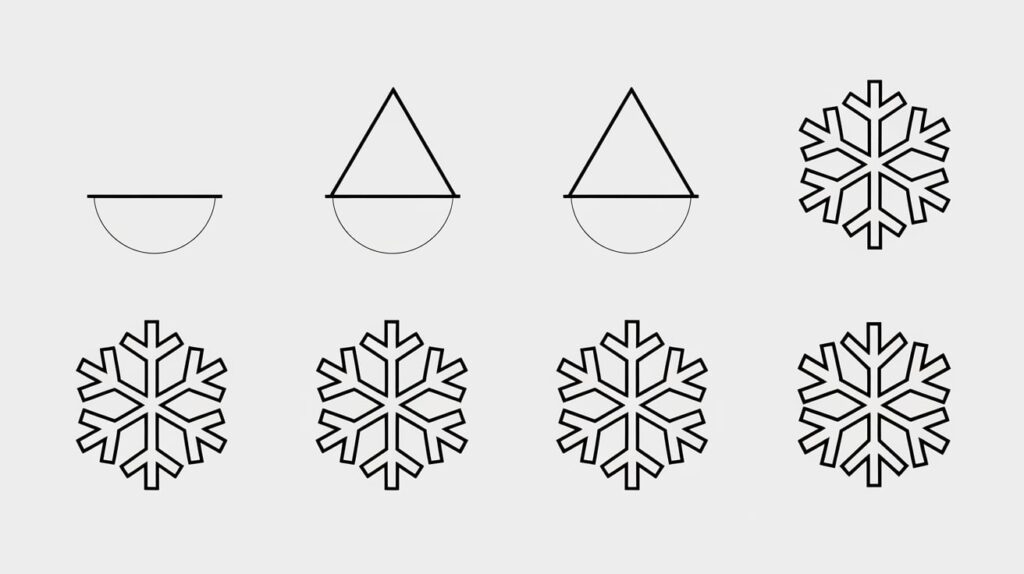
Here’s a step-by-step guide to drawing snowflakes:
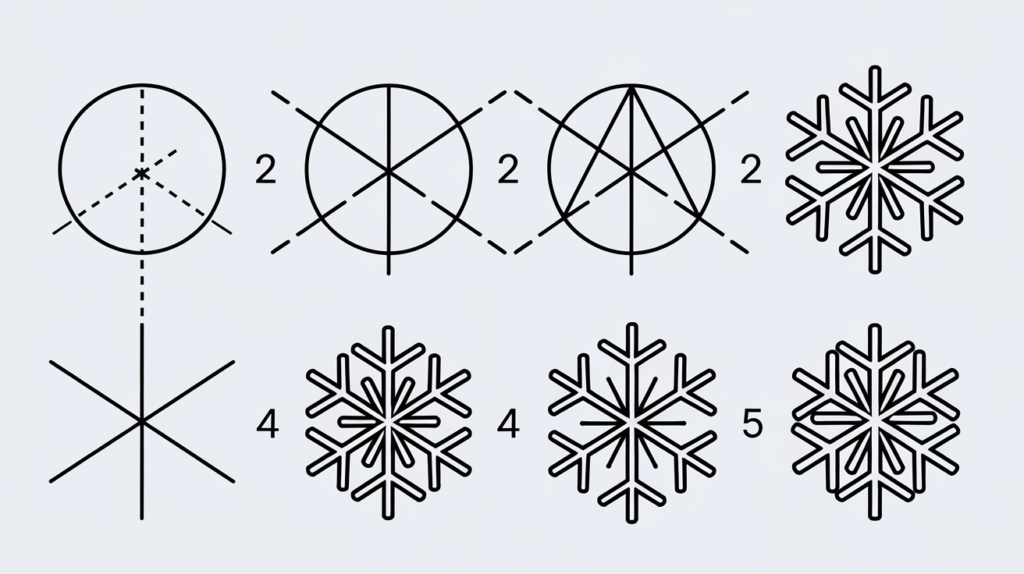
Step 1: Draw a Guideline (Hexagon Base)
- Start with a light pencil sketch of a small circle.
- Divide the circle into 6 equal segments by drawing three intersecting lines through the center, creating a hexagonal shape (snowflakes are symmetrical with six sides).
Step 2: Draw the Main Branches
- On each of the six lines, draw a straight line extending outward. These are the main arms of the snowflake.
- Keep them evenly spaced for a symmetrical look.
Step 3: Add Smaller Branches
- Along each main arm, add smaller branches at an angle.
- These should be symmetrical across the arm (mirror image on both sides).
Step 4: Draw Decorative Patterns
- Add tiny V-shaped or triangle patterns along the arms to mimic real snowflake shapes.
- Use creativity here—experiment with dots, diamonds, and zig-zag lines on each branch.
Step 5: Refine the Shape
- Erase the original circle and any extra guidelines that are no longer needed.
- Make sure all six arms look identical for symmetry.
Step 6: Add Details and Shading
- Lightly shade areas to give depth, but snowflakes are delicate, so don’t overdo it.
- You can add tiny highlights or shine to suggest the sparkle of ice.
Step 7: Ink and Finalize
- Go over the final lines with a pen or darker pencil to make your design pop.
- Erase any leftover pencil marks.
Bonus Tip:
- Use references of real snowflakes to inspire your design—they are all unique!
- For more complexity, try drawing overlapping snowflakes of different sizes.
This method can be used for simple to advanced snowflake designs, depending on the amount of detail you want to add

Skilled teacher, knowledgeable in and in adapting state content standards to individual needs in
Elementary-6th grade classrooms. Utilizes instructional materials, technology, and teaching methods to
engage students in effective learning opportunities in individual, small group, and whole-group settings to
maximize instructional time. Differentiates instruction for ELLs while exposing them to rigorous content,
with a focus on literacy skills in all subject areas. Establishes and maintains appropriate standards of
behavior in an inclusive and respectful environment for students from all socio-economic and cultural
backgrounds. Develops lesson plans using Backwards Planning Method to align content standards and
assessments with effective learning activities. Communicates and collaborates effectively with staff and
parents, and creates a safe and positive learning environment for students. Has taught in both in-person
and virtual environments. Professional Communicator with 20+ years of experience.

