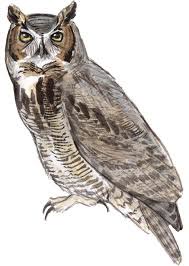
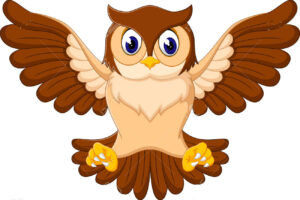
In series of animal drawings, this tutorial is about how to draw an Owl, for children and beginners. Owl reside everywhere in the world except Antarctica. They are signs of intelligence as well as superstition.
It is also a part of the culture of Greece, identified with the goddess of reason, Athena. Following is a few Fun facts about Owl for Kids:
- There are 200 owl species in the world.
- They are night active ie, become active during the night.
- In a pack, It is also referred to as a parliament.
- Small birds and insects are their prey.
- Their claws are strong and assist them in catching their prey.
- They possess flat faces with large eyes.
This is a simple drawing tutorial also practice other animal drawings as well as, how to draw Camel, Giraffe, Bee, Wolf, Deer.
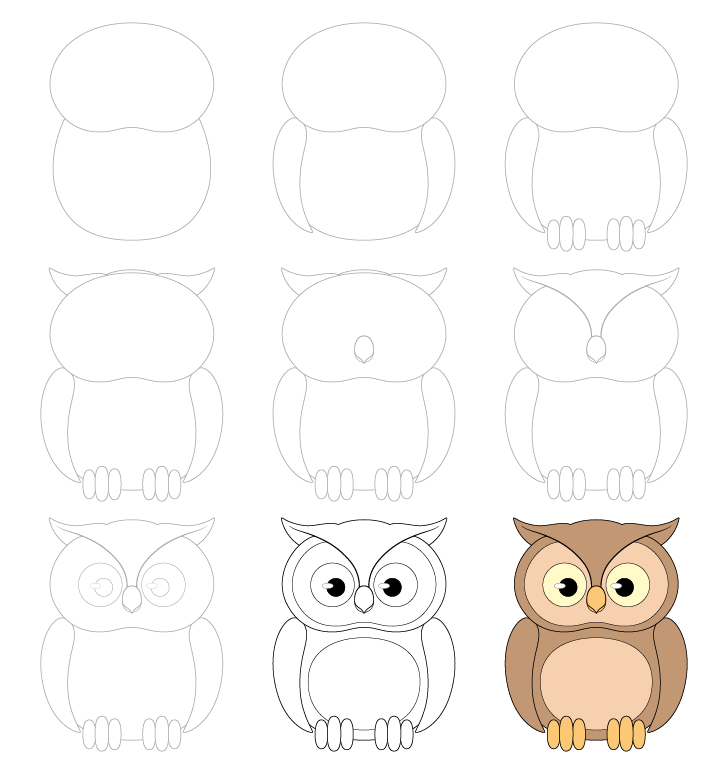
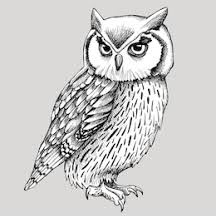
How to Draw an Owl

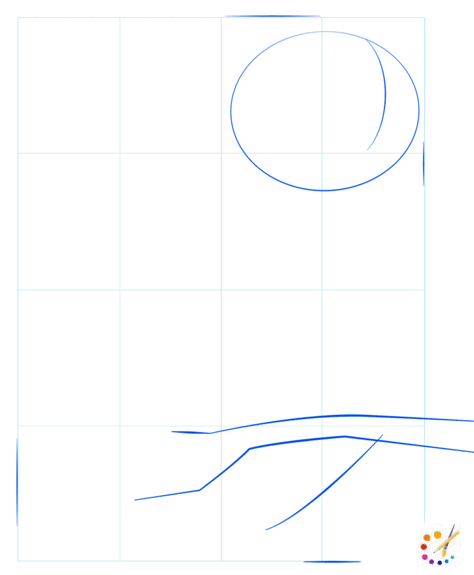
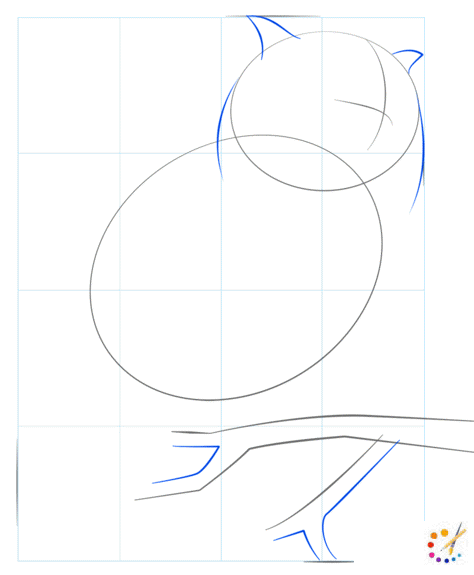
Step 1: Owl has a swollen body and round face, first draw around for the face outline. Below it to draw branches of a tree as shown in the image below.
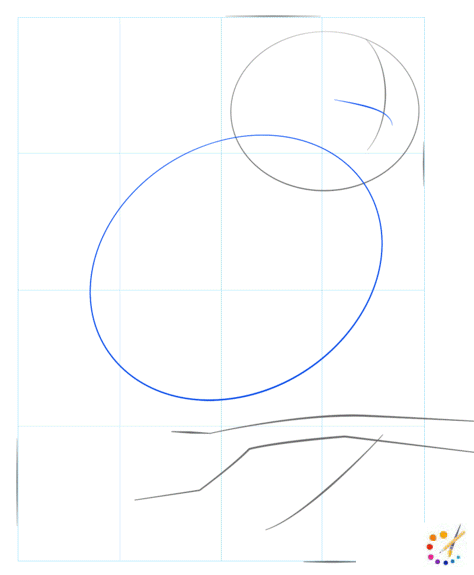
Step 2: Draw an oval between the branches and face for the body, simultaneously mark the line for the center of the face.
Step 3: Describe the ears and tufts on either side of the face because the owl has long ears.
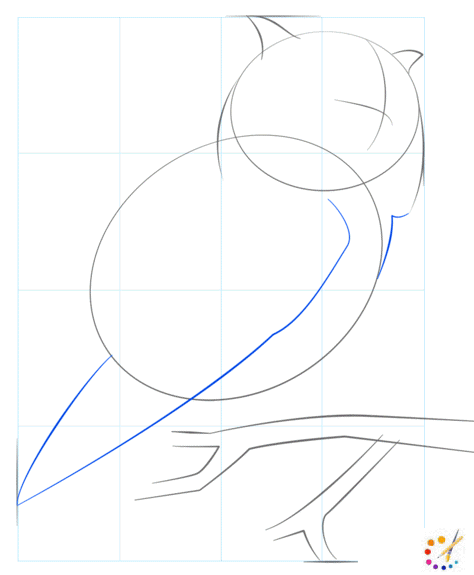
Step 4: Draw a cone shape from the middle of the body to the end of it for wings, draw neck guidelines too.
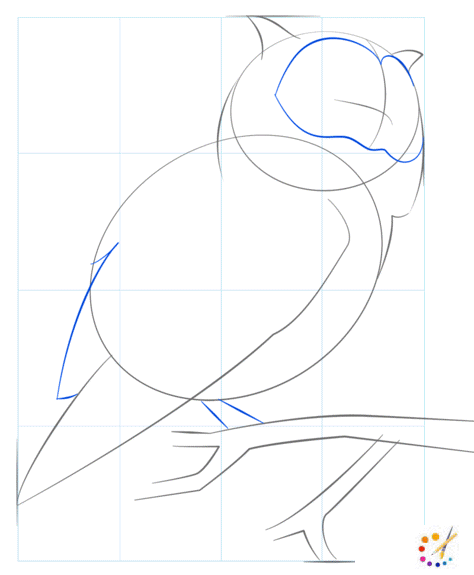
Step 5: Add the body towards the wings, and draw a facial disc using smooth lines for legs.
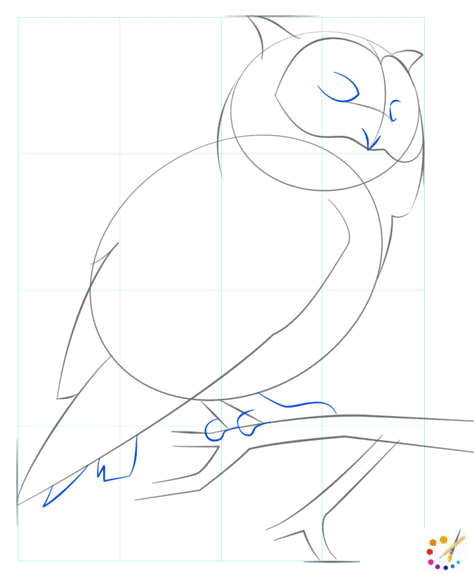
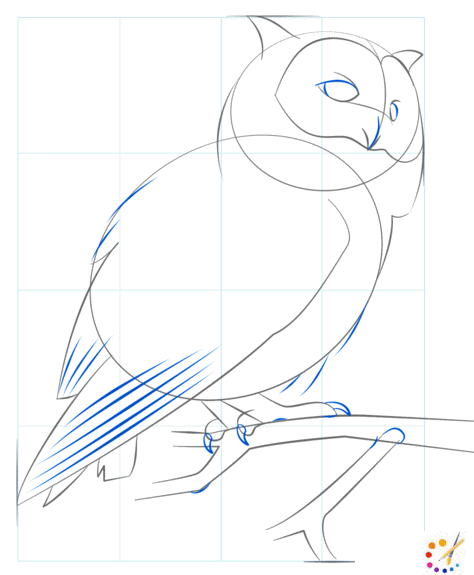
Step 6: Add 2 eyes on both sides of the face centerline and a small nose beneath them. Add toes above the branches and establish the tail.
Step 7: Continue the owl’s overall features and details, complete the tail, wings. Add nails to the toes, highlight the beak.
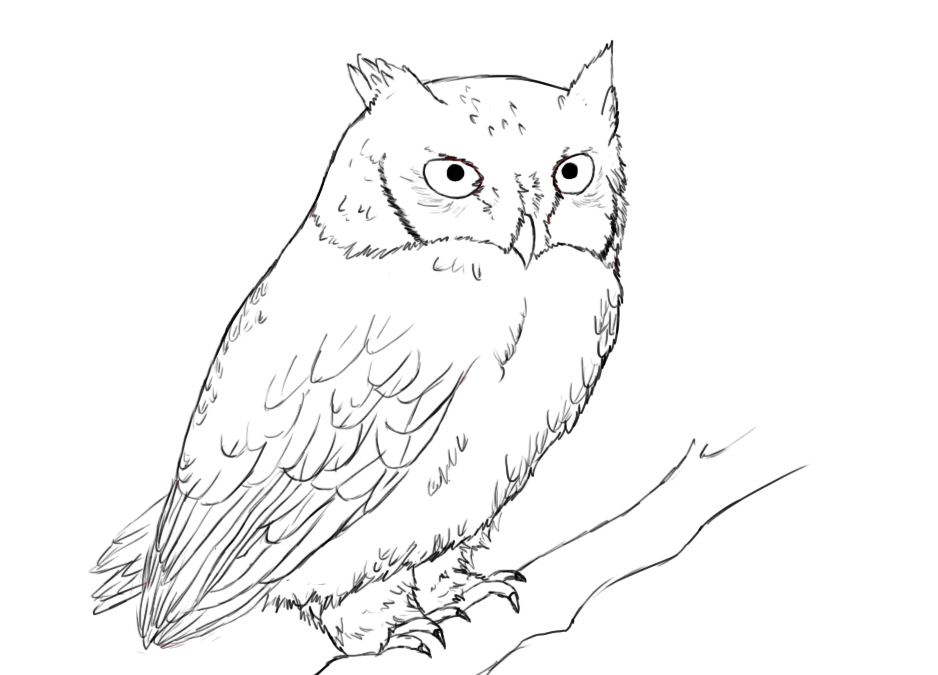
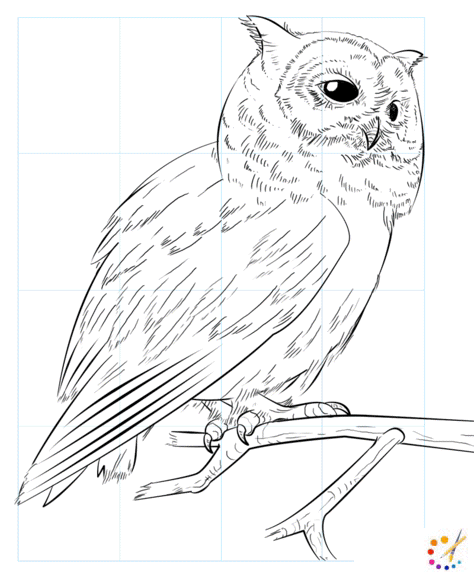
Step 8: All the outlines are completed, you can contour and shade them according to your liking, and as observed.
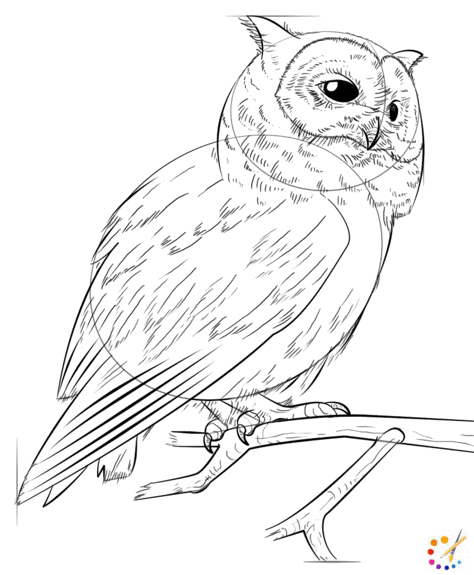
Step 9: Remove all the unnecessary lines and create your realistic owl.
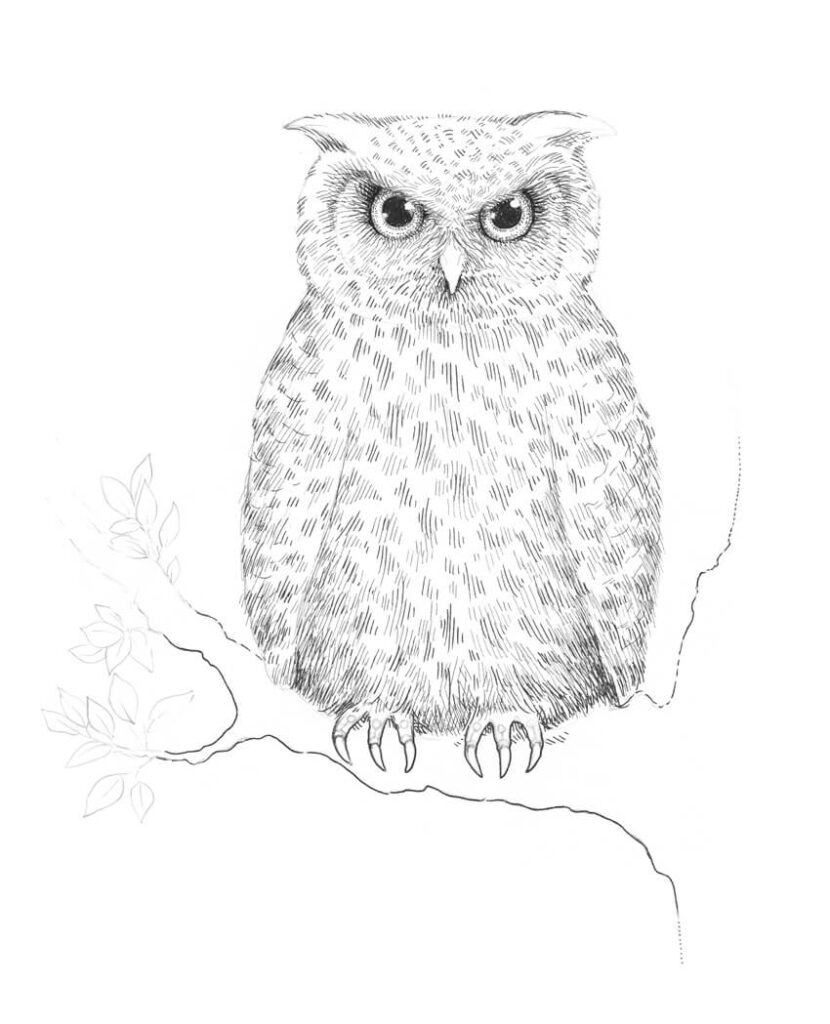
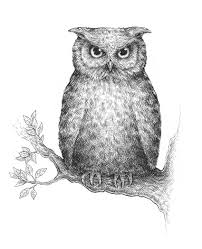
How to draw an Owl Step by Step
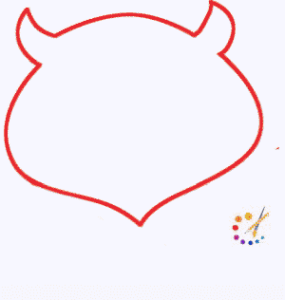
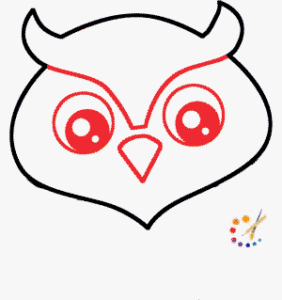
Step 1: Begin drawing with a head, draw a geometric shape of 2 horns on the head and a pointed tip for the chin in the bottom, as illustrated
Step 2: On either side of the head below the horns draw 2 eyes with a pupil in each, a pointed nose between them. From the horns draw a curve that comes below towards the nose with a flattened base.
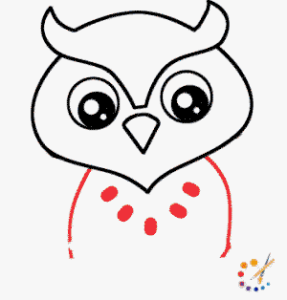
Step 3: Draw 2 curved lines on both sides of the chin and between 2 lines draw big dots for textures of the body.
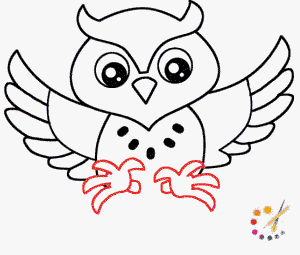
Step 4: Step to draw open wings, begin drawing feathers of the owl, draw both the sides of wings the same.
Step 5: Draw feet to lower body of owl, draw 4 finger-like structures for it.
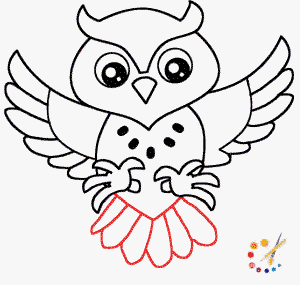
Step 6: At the bottom of the feet draw a V shape and angular shapes for the rear tail of owl.
Step 7: Your owl drawing is complete, you can erase all unnecessary lines of it.


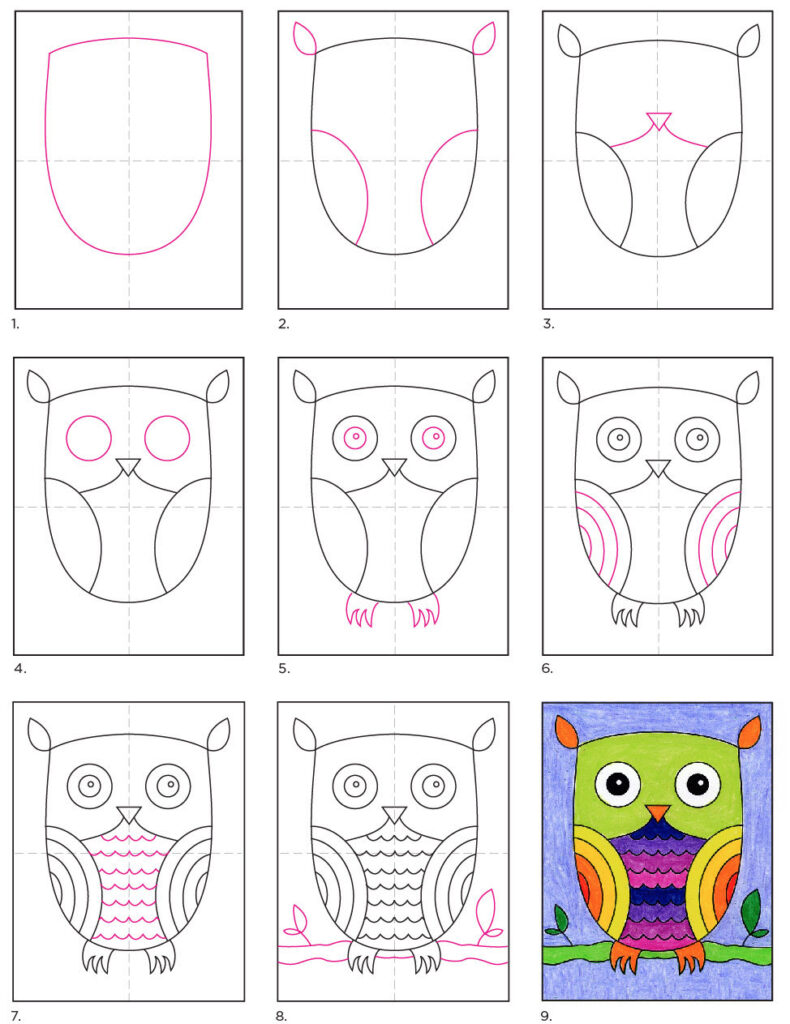
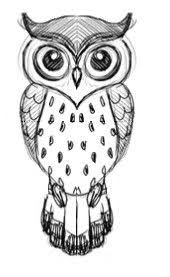
Step by Step Owl drawing
Following is the few more step by step illustration of the Owl drawing for kids, you can draw them with your preference, which ever you won’t try it.
Hope this was a fun tutorial for you and you did well with your drawing, see you all again with new tutorials.

Skilled teacher, knowledgeable in and in adapting state content standards to individual needs in
Elementary-6th grade classrooms. Utilizes instructional materials, technology, and teaching methods to
engage students in effective learning opportunities in individual, small group, and whole-group settings to
maximize instructional time. Differentiates instruction for ELLs while exposing them to rigorous content,
with a focus on literacy skills in all subject areas. Establishes and maintains appropriate standards of
behavior in an inclusive and respectful environment for students from all socio-economic and cultural
backgrounds. Develops lesson plans using Backwards Planning Method to align content standards and
assessments with effective learning activities. Communicates and collaborates effectively with staff and
parents, and creates a safe and positive learning environment for students. Has taught in both in-person
and virtual environments. Professional Communicator with 20+ years of experience.