This article is about how to draw a oval in an easy perfect and clean manner. The oval is a very basic shape that is used as base for many drawings. Thus, here we are with the very proper way to draw an oval.
It may be possible that you are confused between oval and circle. They are not similar to each other as many people think so, but the reality is different. The circle has a radius while the oval doesn’t. Thus you will learn today oval drawing with different methods.
How to draw Oval
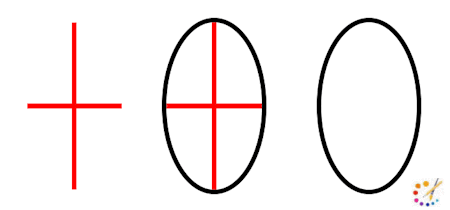
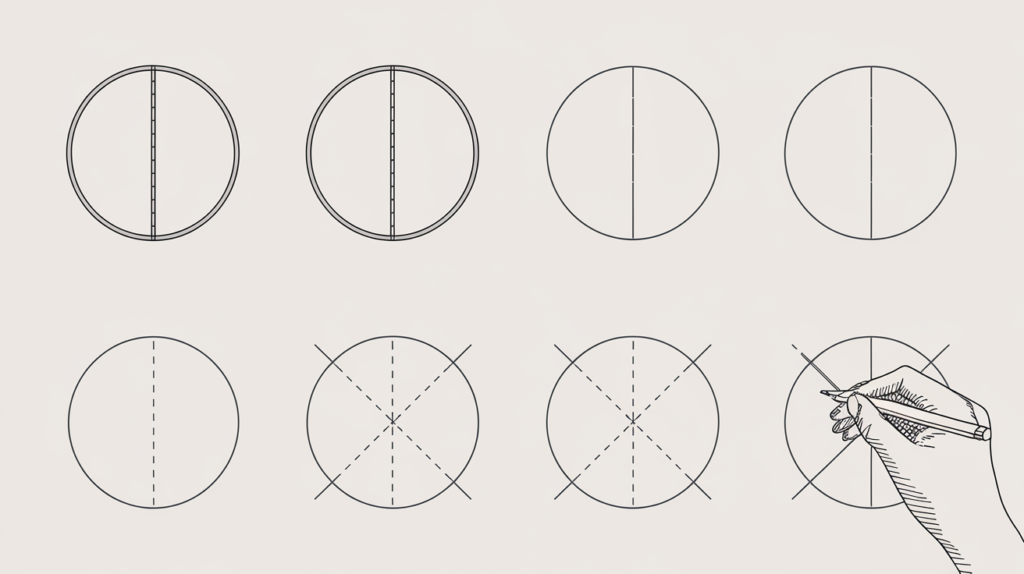
Tip 1: This one is very easy, just draw a cross using verticle and horizontal lines intersecting each other from the center. Then with help of a curved line attach all the ends and your oval is ready. This technique is good as you can vary the size with the size of the cross and outlines can be erased easily.
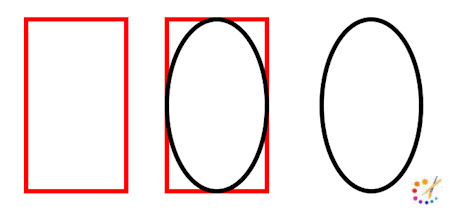
Tip 2: This technique is very similar to the first one, start it with drawing a rectangle instead of a cross. Then draw an oval keeping the borders of the rectangle as a guideline. Only it will take extra attention while erasing the outline.
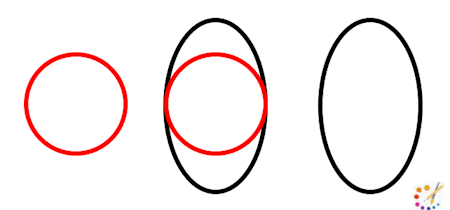
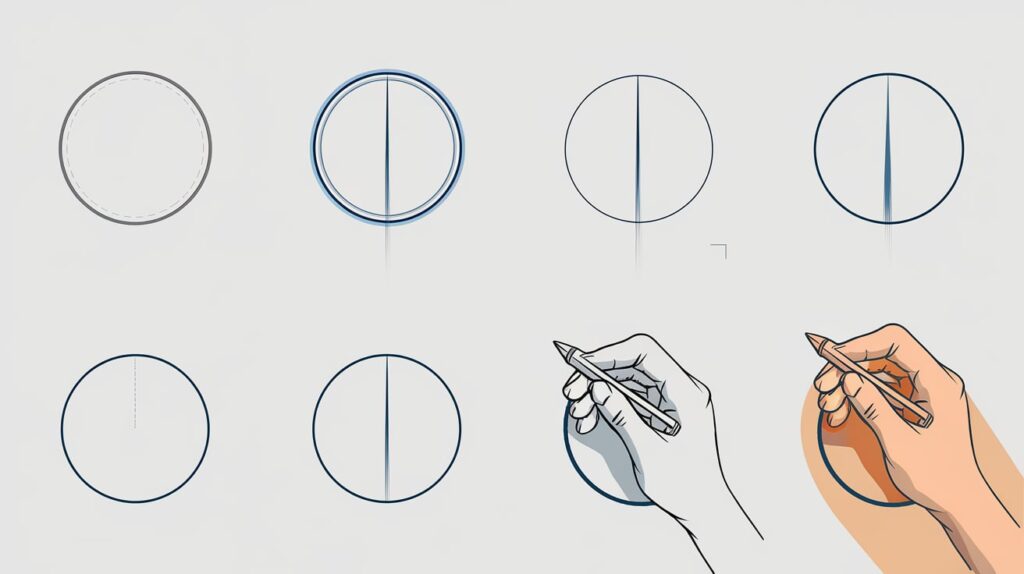
Tip 3: In this start your drawing with the circle as a reference and then convert it into an oval shape. This technique is not as effective as other techniques. The reason behind it is, in this you need to extend your novel above and below the circle with your own and it can lead you to an inappropriate oval. But as I always say, practice makes you perfect.
How to draw an Oval using string:
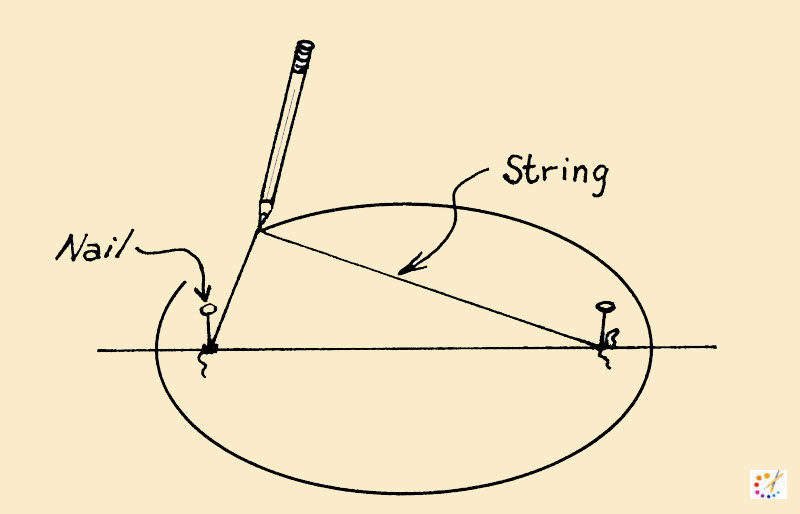
This is another most used and easy way to draw oval with help of a string. Lets us discuss the technique to draw it using string.
Step 1: Draw a straight horizontal line as axis of desired length. The intersect to with a small vertical line and make a sign of Plus +.
Step 2: Then from the center of your plus sign draw an arc on both sides of the big axis and then on the small axis.
Step 3: In this step join these arcs and make a triangle using the center.
Step 4: Then pin three nails at 3 points of a triangle and tie a string in all these nails forming a triangle.
Step 5: Then using the point you have started using compass take string with pencil holding with it, and move it in a circular direction and it will make oval.
Draw Freehand Oval:
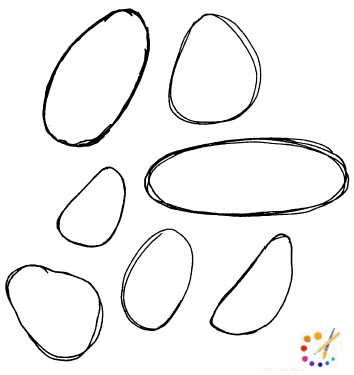
You can draw an oval with freehand, as it’s not perfect and in symmetry, but yes it is an oval. Take your pen, pencil, marker whichever you like to draw with, and a sheet of paper. Have you ever seen an egg, keeping it in mind start drawing and draw random similar shapes. Any shape which is not perfect round and has a circular form is considered an oval. Below are a few types of oval shapes you can follow.
Drawing an oval is a simple process that can be achieved using various methods. Here’s a step-by-step guide to help you create a perfect oval shape.
Method 1: Freehand Oval
- Start with a Guide:
- Lightly draw a rectangle where you want the oval to be. The width of the rectangle will determine the width of the oval, and the height will determine its height.
- Mark the Center:
- Find and mark the center of the rectangle both horizontally and vertically. This will help in maintaining symmetry.
- Draw the Ends:
- Begin by drawing two curved lines that connect the top and bottom of the rectangle. These lines should start from the sides and curve inward as they approach the center.
- Draw the Sides:
- Next, draw two more curved lines from the left and right sides of the rectangle, curving outward and meeting the ends of the lines you just drew.
- Refine the Shape:
- Smooth out the curves to create a more rounded shape. Adjust as needed until you are satisfied with the oval.
- Erase the Rectangle:
- Once you’re happy with the oval, erase the rectangle and any guidelines, leaving just the oval.
Method 2: Using a Compass
- Set Up the Compass:
- Adjust the compass to the desired width of the oval. You can also use a protractor to determine the height for accuracy.
- Draw Two Circles:
- Place the compass point on a piece of paper and draw a circle. Without changing the compass width, move the compass to the side and draw another circle, overlapping them slightly.
- Draw the Oval:
- Mark the points where the two circles intersect. Using these points as guides, freehand a smooth curve that connects the edges of the two circles, forming an oval shape.
- Refine the Shape:
- Adjust the curves as needed to create a smooth, symmetrical oval.
- Finalize:
- Once satisfied, darken the final oval shape and erase any unnecessary guidelines.
Tips for Drawing a Perfect Oval:
- Practice makes perfect! The more you draw, the better your ovals will become.
- If you have access to tools, consider using an ellipse template for precision.
- Use a light pencil for initial guidelines, so they can be easily erased later.
Oval Drawing
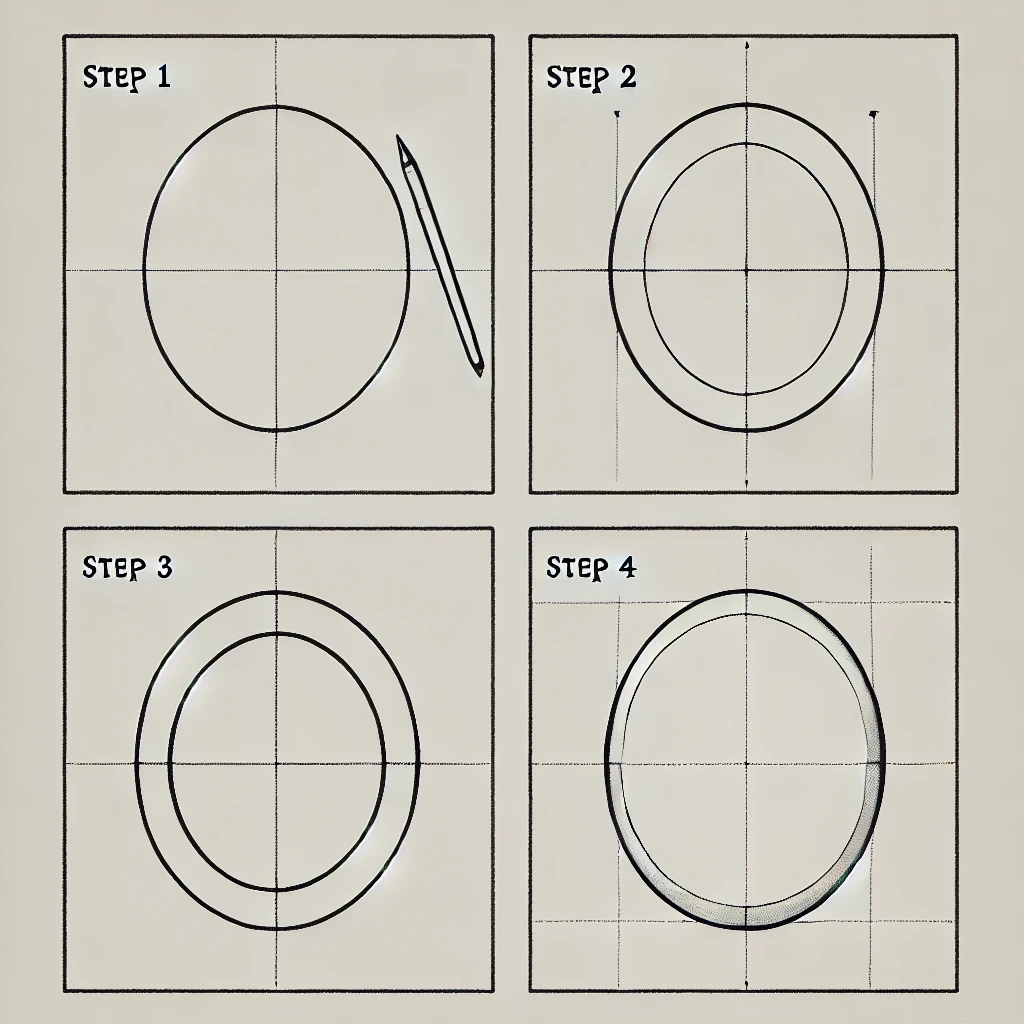
- Draw a Horizontal Guideline
Begin by lightly sketching a horizontal line. This will serve as a guide to ensure your oval remains symmetrical. - Mark the Center
Find the middle of the horizontal line and mark it. This point will act as the center of your oval. - Draw Two Vertical Lines
On either side of the center point, draw two vertical lines that are equal in height. These lines will define the height of your oval. - Sketch the Top and Bottom Curves
Connect the top ends of the vertical lines using a smooth, rounded curve. Repeat this for the bottom ends of the lines. This forms the basic shape of your oval. - Refine the Outline
Go over your curves again, making sure the lines are smooth and even. Erase the guidelines and adjust the shape if needed. - Darken the Final Shape
Once satisfied with the shape, darken the outline of your oval to complete the drawing. - Optional Shading
For added depth, lightly shade one side of the oval, creating the illusion of light and shadow.

Skilled teacher, knowledgeable in and in adapting state content standards to individual needs in
Elementary-6th grade classrooms. Utilizes instructional materials, technology, and teaching methods to
engage students in effective learning opportunities in individual, small group, and whole-group settings to
maximize instructional time. Differentiates instruction for ELLs while exposing them to rigorous content,
with a focus on literacy skills in all subject areas. Establishes and maintains appropriate standards of
behavior in an inclusive and respectful environment for students from all socio-economic and cultural
backgrounds. Develops lesson plans using Backwards Planning Method to align content standards and
assessments with effective learning activities. Communicates and collaborates effectively with staff and
parents, and creates a safe and positive learning environment for students. Has taught in both in-person
and virtual environments. Professional Communicator with 20+ years of experience.

