Hello children, welcome to the lesson on how to draw a knife kids and beginners. Knives are a simple kitchen gadget used in nearly every home for chopping and cutting.
In today’s lesson, we will learn simple knife drawing and also a 3d knife. By adding a few shades and depth only, you can notice the digital effects on it. It’s a very simple and easy drawing, without any complexity.

The knife falls in the category of a weapon with many swords and daggers When they are used for the purpose of the house are referred to as a peaceful version of weapons. Find more on drawing as how to draw a gun and more in other tutorials.

How to Draw 3D Knife:
In this, we will learn how to draw 3d knives with shades and highlights.
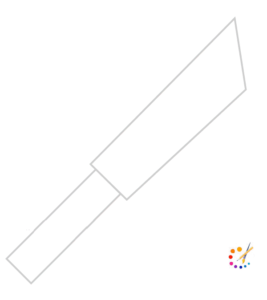
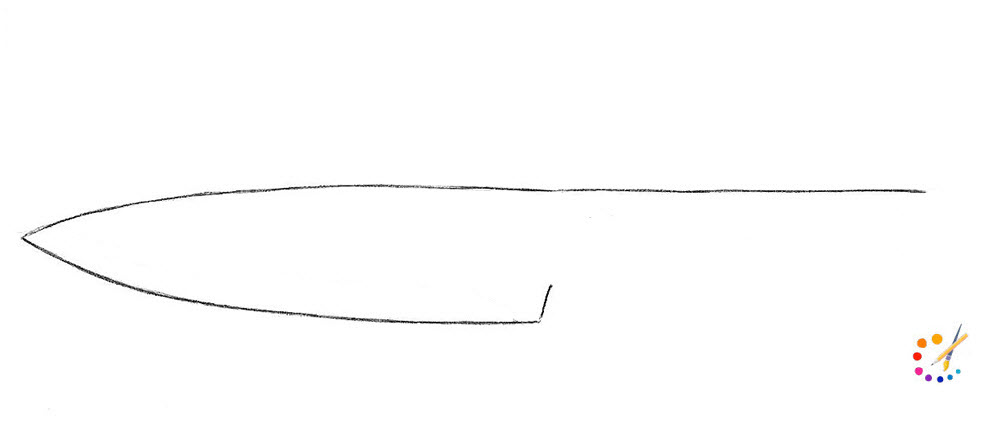
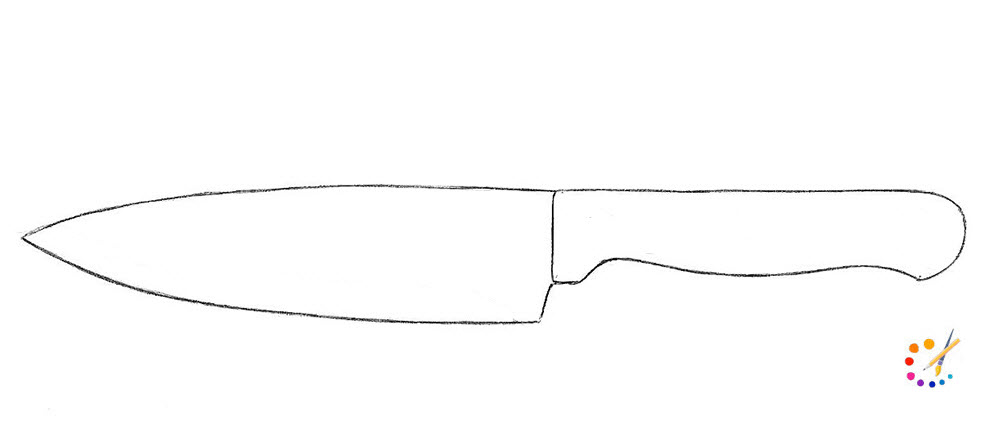
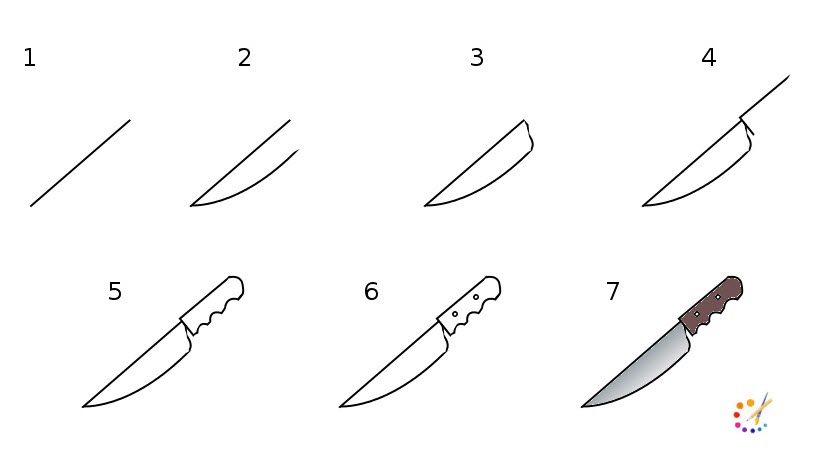
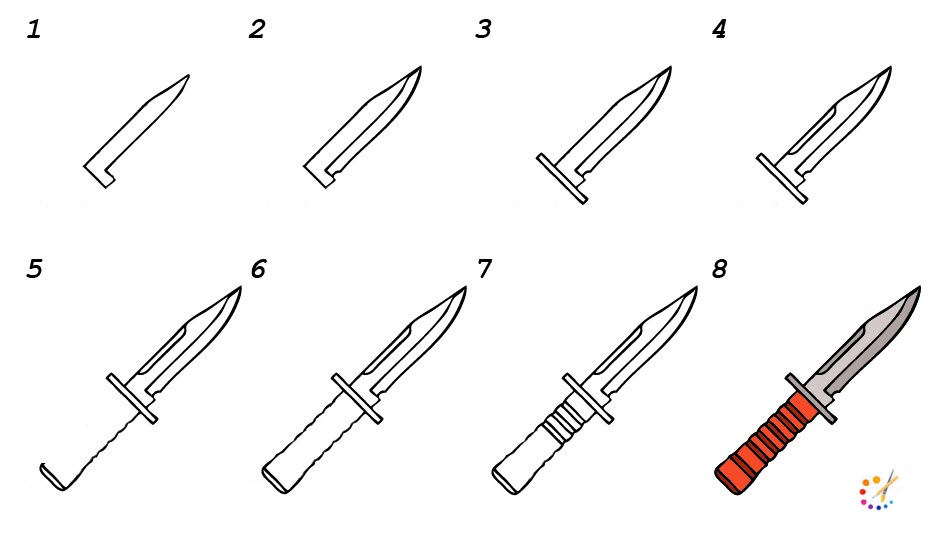
Step 1: Begin knife sketch 2 extremely simple shapes for outline of the knife, For the handle a 45 degree rectangle and an upside-down trapezium shape which is a skewed rectangle having a tapering end as per the sketch seen in the figure for the blade.
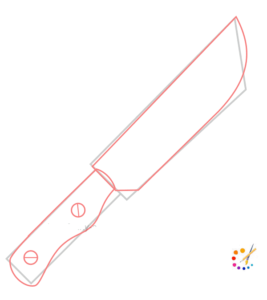
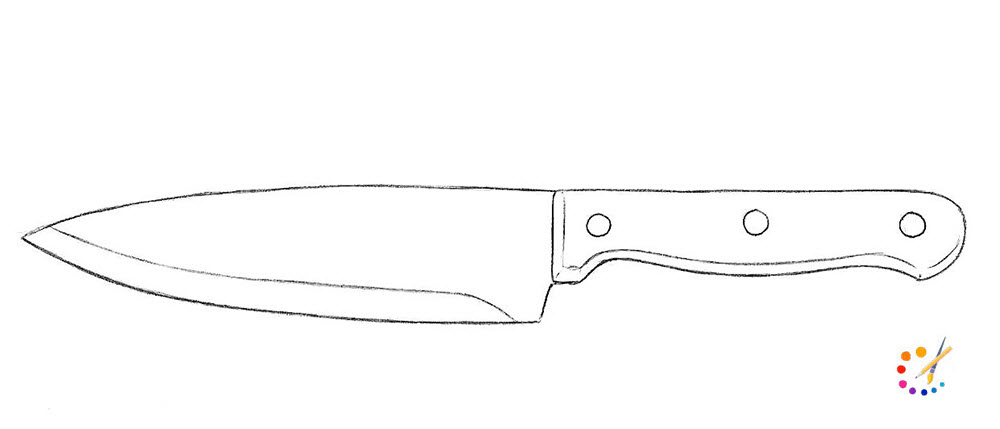
Step 2: Begin a basic knife drawing by employing your 2 shapes. Sketch a wavy lower edge of the blade and 2 little curves in the handle for the grip. With 2 little circles sketch screws. Your knife outline is completed, erase the outlines.
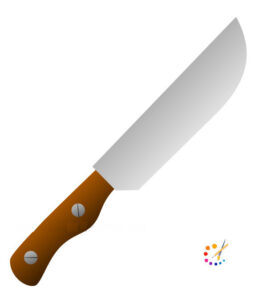
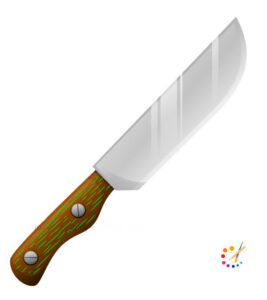
Step 3: In this step sketch blades with grey color and handle with brown color. Paint the screws grey.
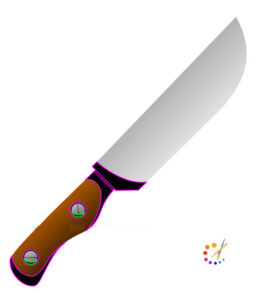
Step 4: So far your knife is complete, you can add more depth and definition by shading. Draw a mark in another place, indicated by a pink line in the illustration below on the blade and the handle.
Step 5: For the reflection of the knife since it is primarily made of metal, draw some lines on the blade and an outline around the bottom edge of the blade.
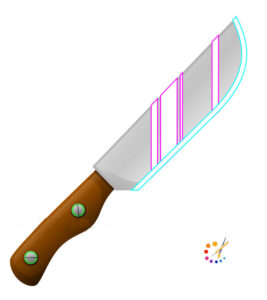
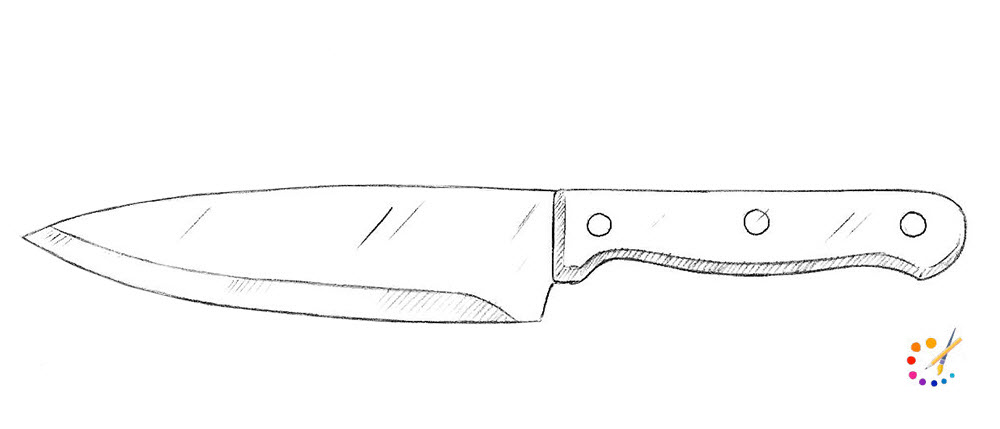
Step 6: Shade the knife blade slightly darker except for the marked areas. It will provide shiny texture and depth to it.

Step 7: Your knife is ready even if you want can add a few lines on the handle to make it more beautiful.
How to draw Simple Kitchen Knife:
We are sketching a horizontal knife with the sharp side facing downwards.
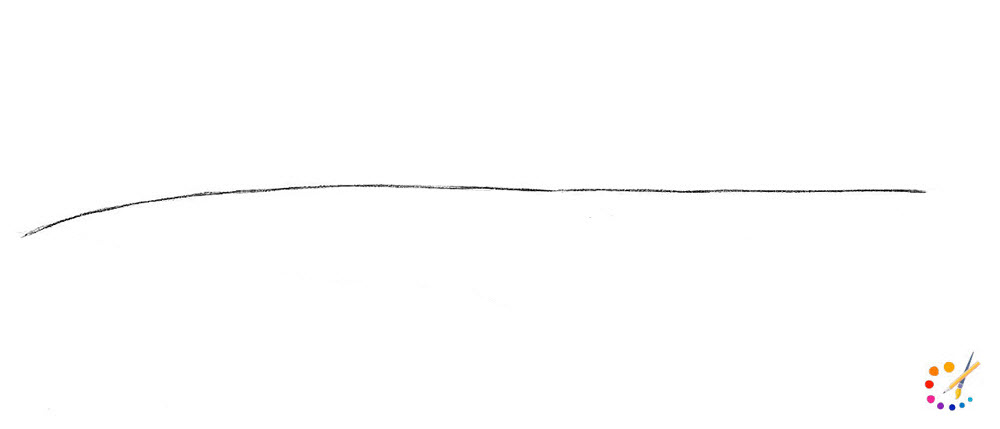
Step 1: Begin with sketching the top half of the knife with assistance of a line slightly curved in direction of one edge of the page.
Step 2: Shift the line backwards direction drawn in the previous step creating the acute side of the blade.
Step 3: On the right hand side draw the knife handle, as in the picture below and your simple kitchen knife is ready.
Step 4: Draw 3 circles on the handle for the rivet, and place a parallel line curvy at the end on the blade for a sharp edge.
Step 5: Shade the outline drawn in previous step, and also add few shady lines over the blade so that it resembles real. After contouring, your knife is ready for chop-chop.
This Knife drawing tutorial was quite easy and simple, I hope you never had any sort of difficulty and enjoyed the tutorial. See all of you guys again with some more interesting stuff.

Skilled teacher, knowledgeable in and in adapting state content standards to individual needs in
Elementary-6th grade classrooms. Utilizes instructional materials, technology, and teaching methods to
engage students in effective learning opportunities in individual, small group, and whole-group settings to
maximize instructional time. Differentiates instruction for ELLs while exposing them to rigorous content,
with a focus on literacy skills in all subject areas. Establishes and maintains appropriate standards of
behavior in an inclusive and respectful environment for students from all socio-economic and cultural
backgrounds. Develops lesson plans using Backwards Planning Method to align content standards and
assessments with effective learning activities. Communicates and collaborates effectively with staff and
parents, and creates a safe and positive learning environment for students. Has taught in both in-person
and virtual environments. Professional Communicator with 20+ years of experience.