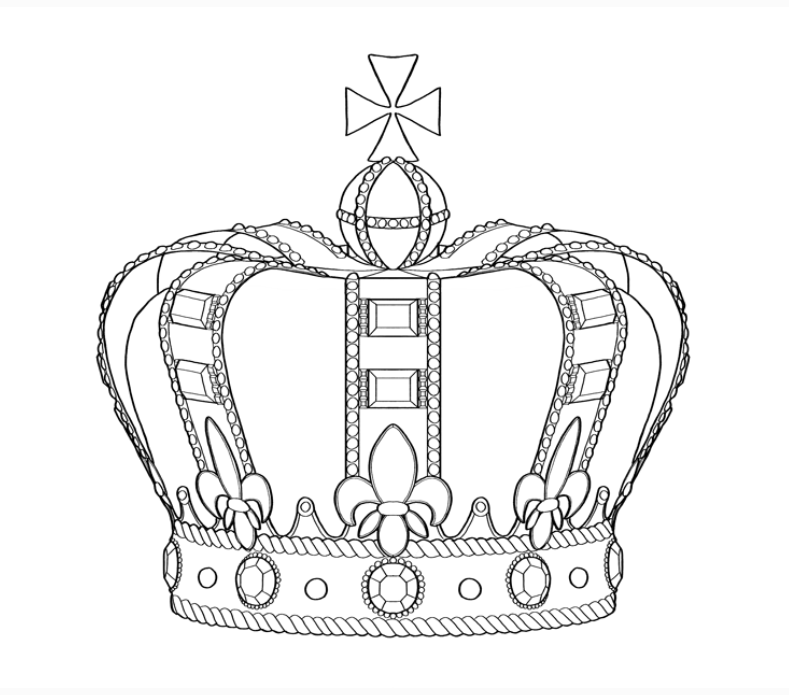
Do you like royalty, then today we are learning How to draw a Crown step by step. The Crown represents the royalty of kings, queens, princes, and princesses. Since ancient fleur de lis is the most famous crown pattern. But many other types of crowns are also being used with many cultures and tribes. Basically, it only represents royalty nothing to do with design. Just begin your drawing with passion and focus you will render your own version of the crown.
How to Draw a Crown
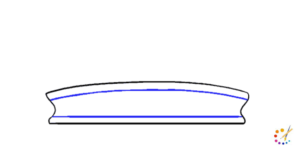
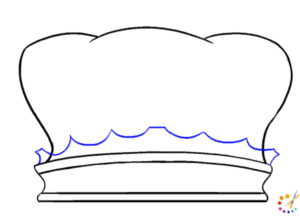
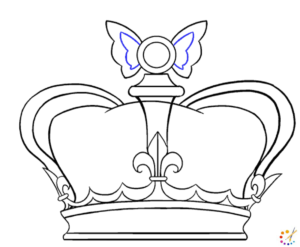
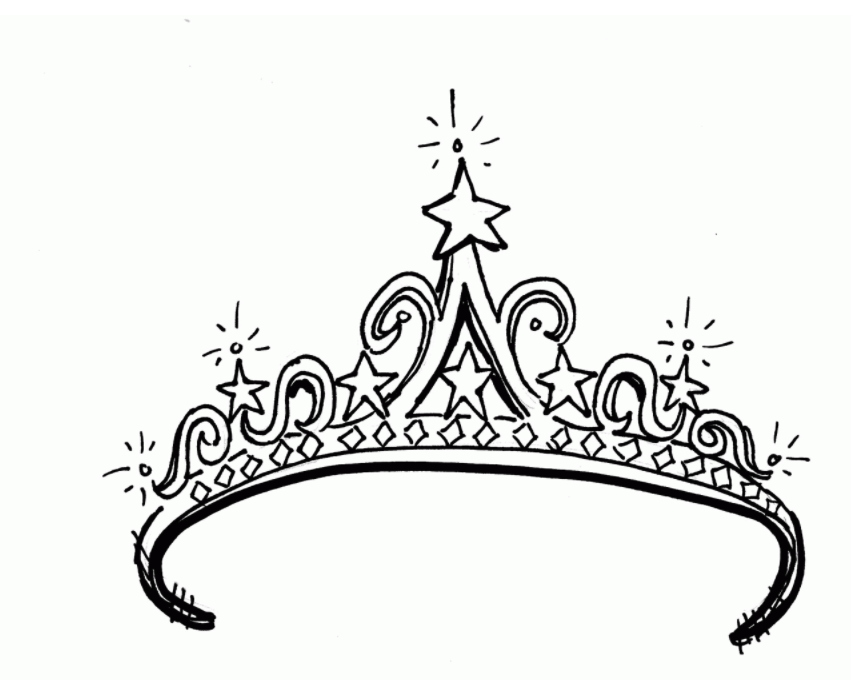
Step 1: Draw 2 pairs of horizontal slightly curvy lines. From the sides close this with a small wavy line. These lines will form the base of crown which touches the head.
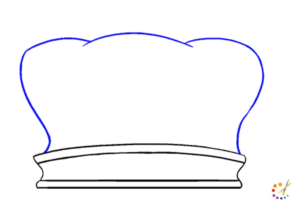
Step 2: From both ends of the drawn shape draw a Big “?” and a mirror image of the “?” shape and join these with a curved line from the top. By doing this you will form the base for the top of the crown.
Step 3: On the lower part and top of the base of the crown draw upside curves using a flattened “u” shape to decorate it. It will depict a lacy look.
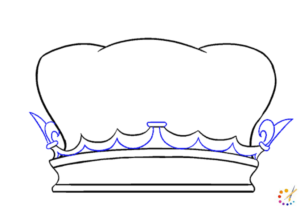
Step 4: Double the line of curves and then on both sides draw the pointed and tilted edges of the lace tied with a flattened shape.
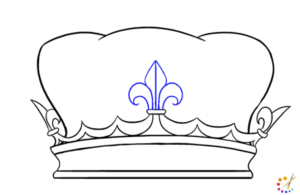
Step 5: In the center again draw 3 leaf-like shapes, a pointed upward shape, and 2 curvy little tilted shapes on sides.
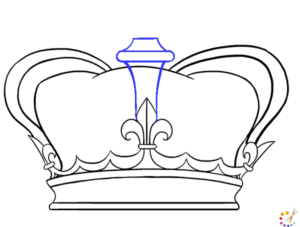
Step 6: Above that shape draw 2 lines going upward and enclosed with flat parallel lines and a triangle on top. Then on both sides draw a big curved line meeting the end of the lace, giving the crow a bulky look.
Step 7: Above the top draw a double-lined circle. Then use small curved lines to draw a wing shape on both sides of the circle, inside this wing draw another small similar wing.
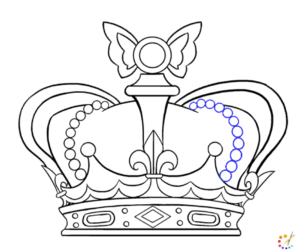
Step 7: Draw 3 upside curves from one side to another side. Draw series small attached circles going towards the top, resembling a string of beads. On the base draw series of rectangles, diamonds, and small circles.
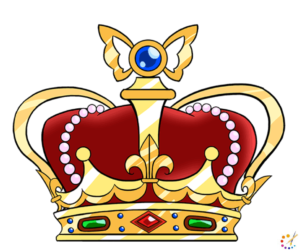
Step 8: Color your crown with a combination of red and yellow, use red and green for diamonds. You can use red, green, blue, and yellow as they represent royalty.
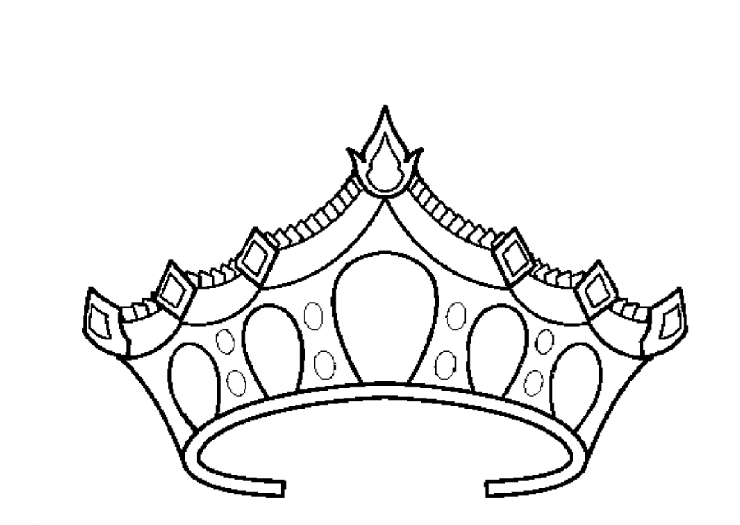
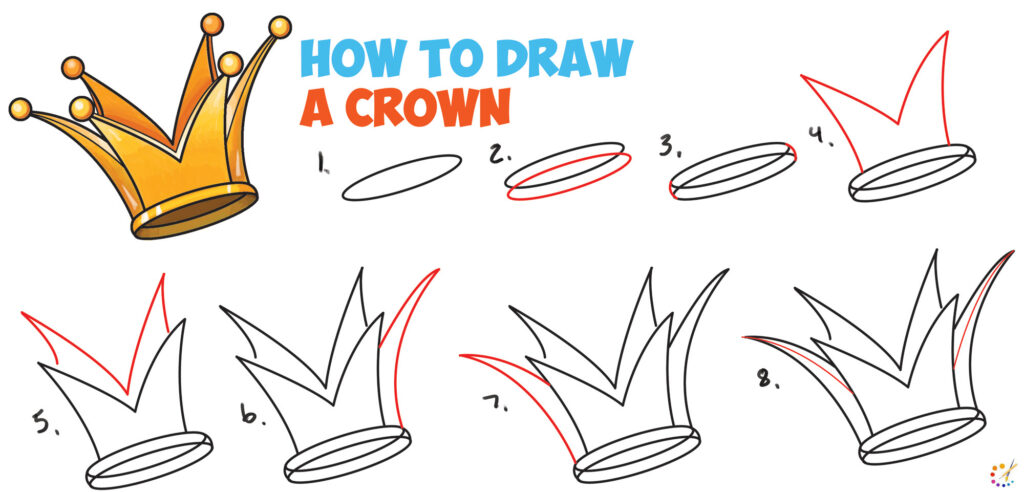
How to draw simple crown for kids:
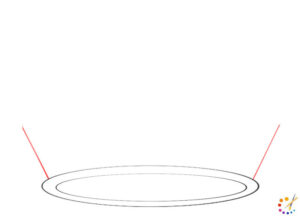
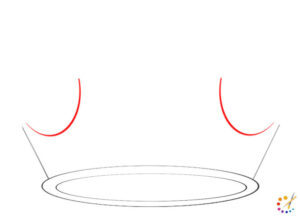
Step 1: Draw a flattened oval as the opening base for the crown
Step 2: Draw another oval outside the first one.
Step 3: On both sides draw a slant line going outward direction.
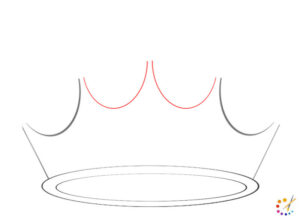
Step 4: Draw a curve attached to the line in a manner that it’s going upward.
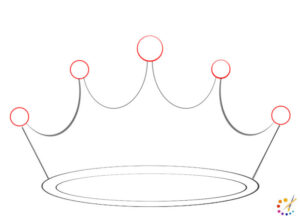
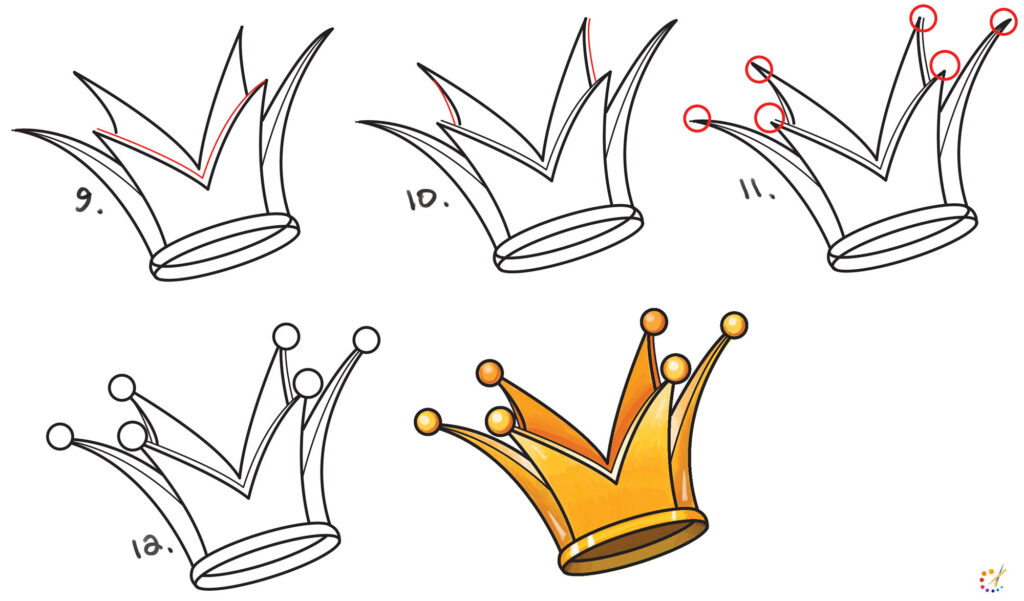
Step 5: Draw 2 another curve attached to the prior one and it will form an enclosed shape.
Step 6: On the meeting point of every curve draw a small circle representing beads.
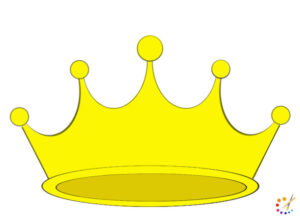
Step 7: Color your crown with a choice of color, as we have used yellow.
How to draw crown step by step:
In the above tutorial, we have learned crown drawing briefly, below we have depicted one mere step-by-step tutorial. These are very easy to follow and draw. Almost every crown has a round base which is used to fix on the head. Then on top, every crown is different with the design, it can be rounded, pointed depending on the choice.

Skilled teacher, knowledgeable in and in adapting state content standards to individual needs in
Elementary-6th grade classrooms. Utilizes instructional materials, technology, and teaching methods to
engage students in effective learning opportunities in individual, small group, and whole-group settings to
maximize instructional time. Differentiates instruction for ELLs while exposing them to rigorous content,
with a focus on literacy skills in all subject areas. Establishes and maintains appropriate standards of
behavior in an inclusive and respectful environment for students from all socio-economic and cultural
backgrounds. Develops lesson plans using Backwards Planning Method to align content standards and
assessments with effective learning activities. Communicates and collaborates effectively with staff and
parents, and creates a safe and positive learning environment for students. Has taught in both in-person
and virtual environments. Professional Communicator with 20+ years of experience.

