How to draw an Armor is a drawing tutorial for children and beginners who love knights. This is regarded as a guard for knights. In the medieval ages, knights are the guards to defend the city and engage in wars. After gunpowder invented, knight disappears from the culture. Nowadays, it’s just an honorary title for royalties or society servers.
Armors are also a part of fiction stories, comics, animations, video games. They excites children and youths. Their savior quality will compel you to draw this armor and yes you can, take assistance of this tutorial. Each step in this tutorial is explained with images to assist you in rendering your armor.
This sketch quite difficult and challenging thus don’t forget to apply an eraser to correct errors. Sketch it on paper using assistance of a pencil and your other drawing techniques as hatching. If you enjoyed this tutorial you can also see how to draw Gun, How to draw Dragon, and other drawing lessons.
How to draw an Armor:
Step 1: Draw all the guidelines as you are drawing a man. Draw an oval, below it a straight line with hand guidelines for bifurcating into two for leg guideline. The same guidance as you drawn for superman.
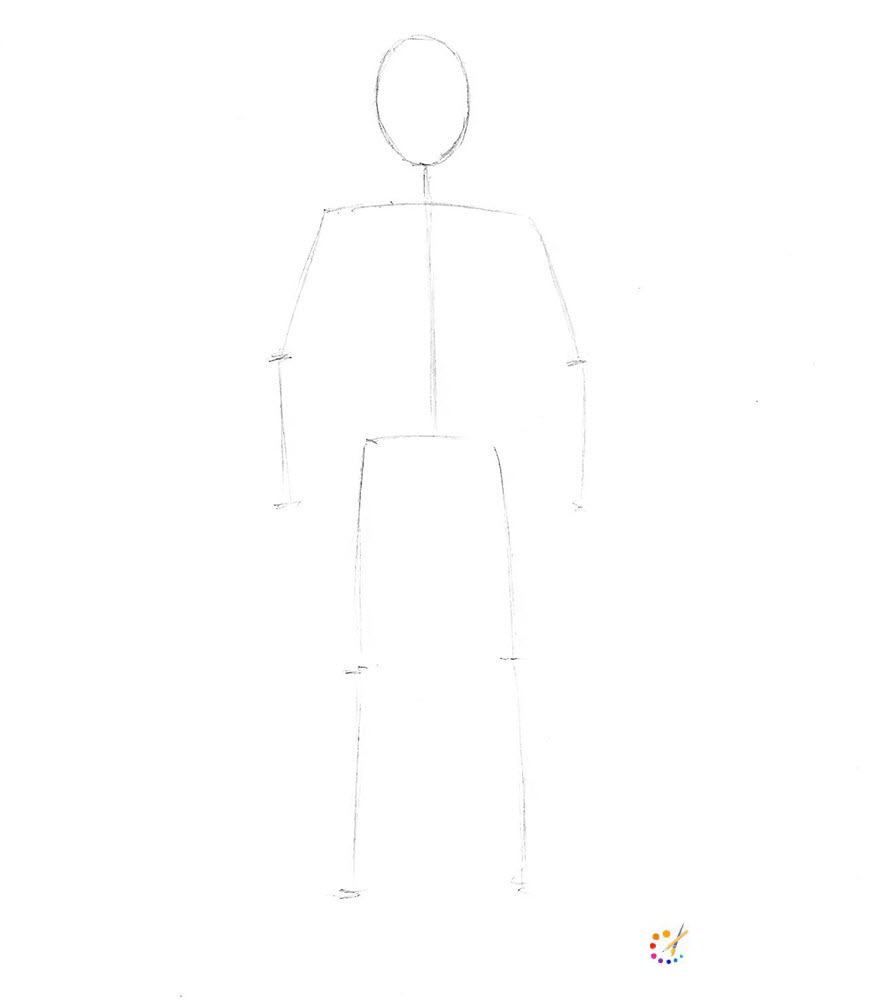
Step 2: In this step volumize your drawing, draw a cylindrical neck, define arms and legs. Add round shapes on shoulders, elbows, and knees. Also add pelvis, the hand with fingers, and feet without fingers as under shoes.
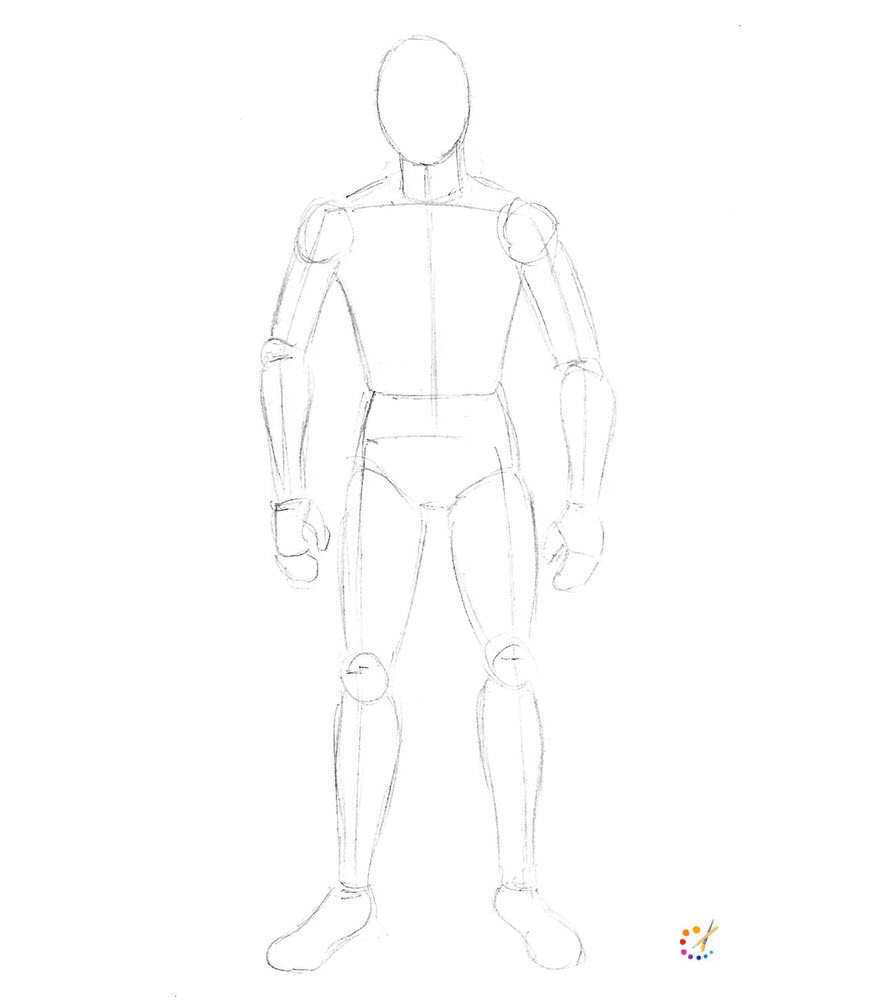
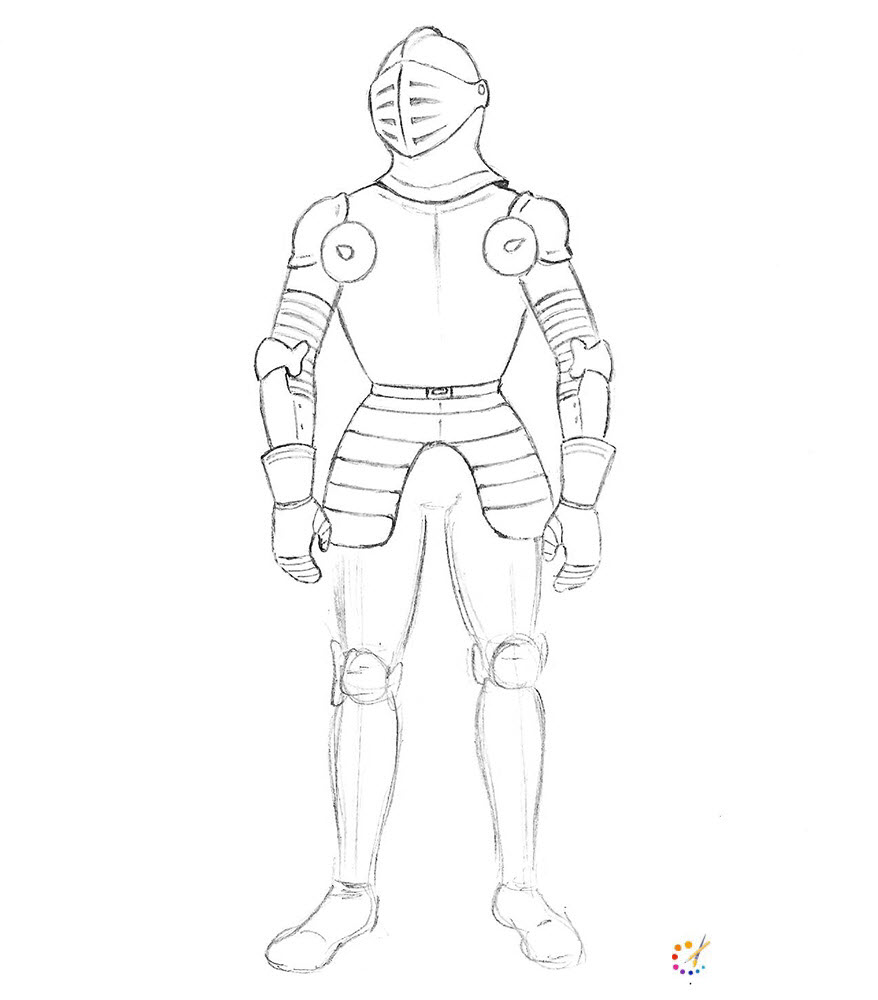
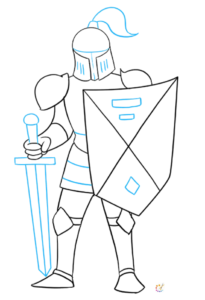
Step 3: Include other details with the helmet, draw 2 crossed lines for the face center. Draw the knee, elbow, and glove protective shields. Knight’s body is narrow at the waist and widens below.
Step 4: Draw the torso, finish the shield after removing all the guidelines. Complete the belt and tasset below it, include lines to the skirt.

Step 6: Add elbows and gloves to the arms, refer to the below-drawn image to represent all the details of the armor.
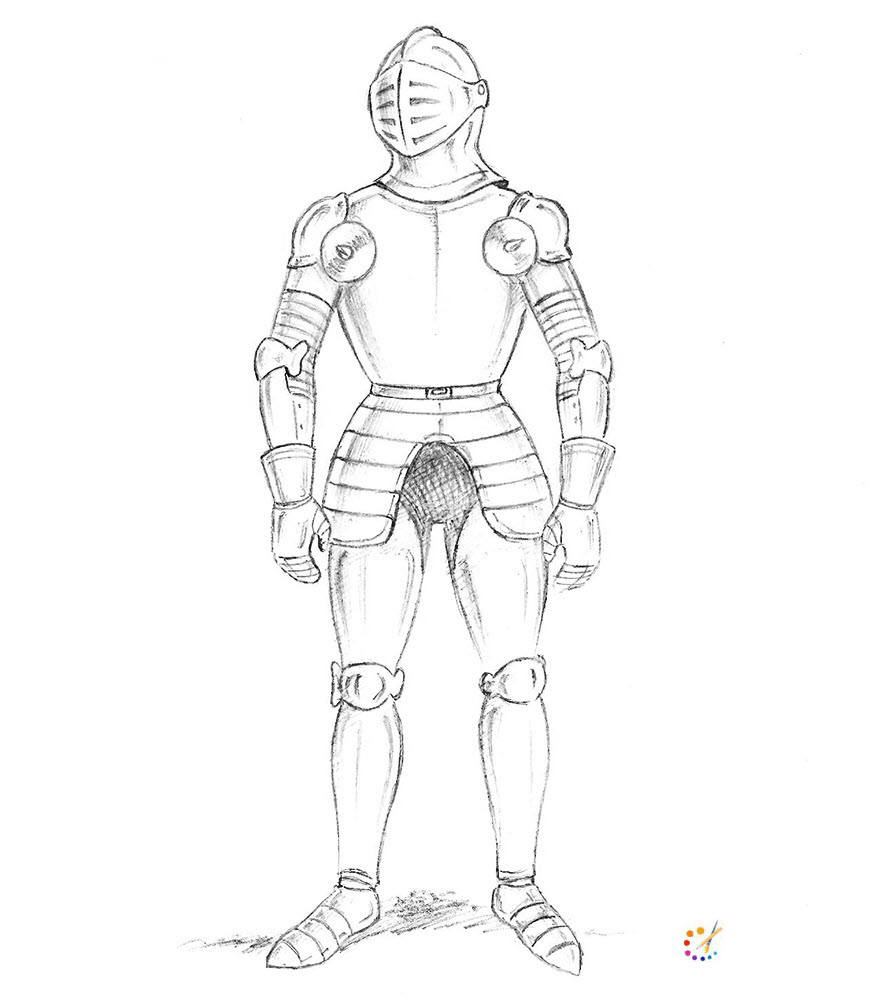
Step 7: In this step complete the legs by drawing the shields on the knee, add details to the shoes to make them more attractive.

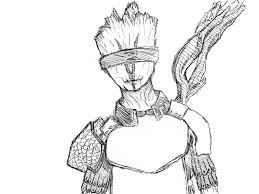
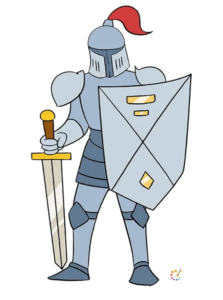
Step 8: Add the shadows with the hatching techniques on the body and dress of the armor.
How to draw a Cartoon Armor:
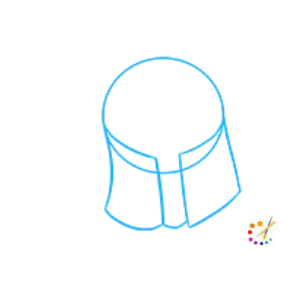
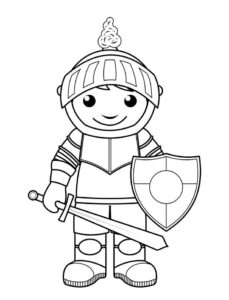
Step 1: Draw a circle and 2 overlapping rectangles on either side representing the helmet, like in the figure below.
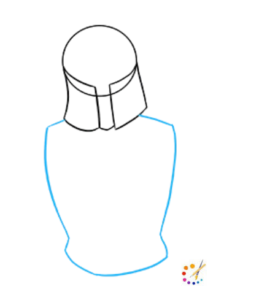
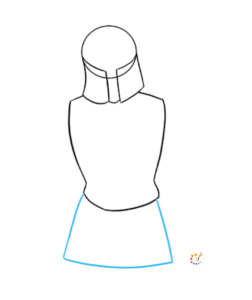
Step 2: Under the helmet illustrates the body with wavy lines making a thin waist
Step 3: Draw the skirt also known as a tasset of armor with 3 easy lines drawn underneath.
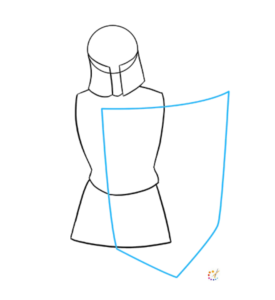
Step 4: Sketch the shield which covers 3/4 armor body below shoulders, as it forms a pentagon downwards.
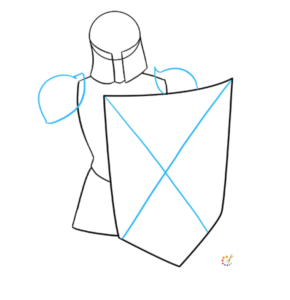
Step 5: Remove all the lines intersecting the shield. Sketch a cross diagonal line within the shield, and 2 shoulder cap with half-circle enclosed in curve line.
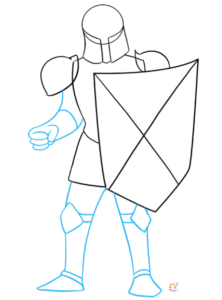
Step 6: Sketch the arm with fist hand and fingers, sketch legs with safety cap over knees and shoes.
Step 7: Erase all lines for finishing. Draw the down pointed sword and other details on the shield as a rectangle and diamond shapes for decoration.
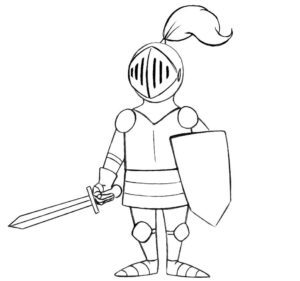
Step 8: Your armor is ready, color it with water, pastel, or crayon colors.

Skilled teacher, knowledgeable in and in adapting state content standards to individual needs in
Elementary-6th grade classrooms. Utilizes instructional materials, technology, and teaching methods to
engage students in effective learning opportunities in individual, small group, and whole-group settings to
maximize instructional time. Differentiates instruction for ELLs while exposing them to rigorous content,
with a focus on literacy skills in all subject areas. Establishes and maintains appropriate standards of
behavior in an inclusive and respectful environment for students from all socio-economic and cultural
backgrounds. Develops lesson plans using Backwards Planning Method to align content standards and
assessments with effective learning activities. Communicates and collaborates effectively with staff and
parents, and creates a safe and positive learning environment for students. Has taught in both in-person
and virtual environments. Professional Communicator with 20+ years of experience.