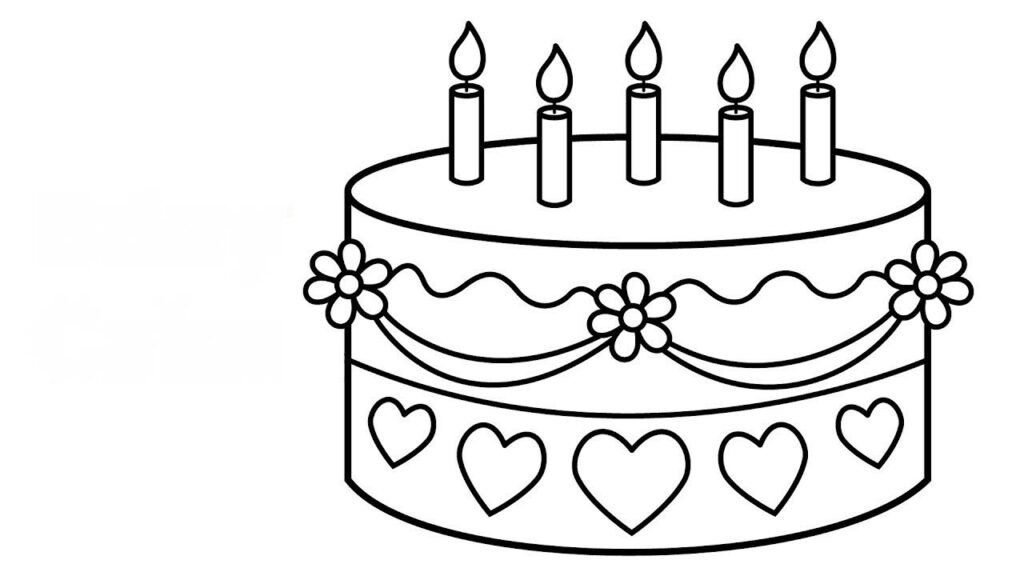
Do you love cake, I know the answer is yes..! then today’s tutorial is on how to draw a cake for kids and beginners. The cake is a rich, delicate, sweet bread often with cream icing on it. It is widely used in every celebration either a birthday, wedding, or any other party. They can be multilayered or single-layered, there are various things used to make them delicious and attractive. Choice of flavors varies from the person to person, it can be chocolate, strawberry, fruit, or any other flavors.
How to draw a Cake
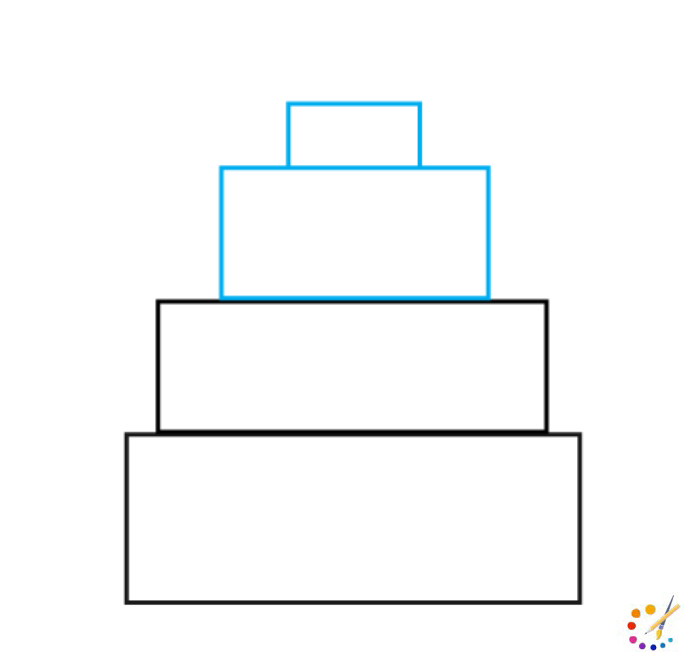
Step 1: To begin your drawing draw a big rectangle using a scale or with a freehand. Above that draw another small rectangle using 3 lines and keep the upper line of the first rectangle as a base. By doing this you have drawn 2 layers of your sweet pie.
Step 2: Thus we are drawing multilayer care, draw another two layers above to them in the same manner. Now 4 layers of cake have been ready.
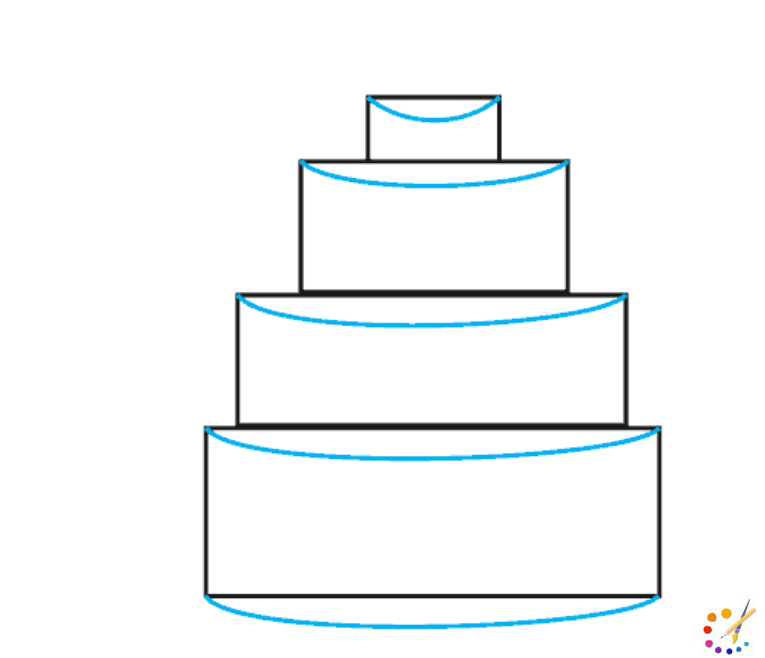
Step 3: Draw curves below the top line of every layer to give them a rounded shape. Draw this curve from the starting point to the endpoint.
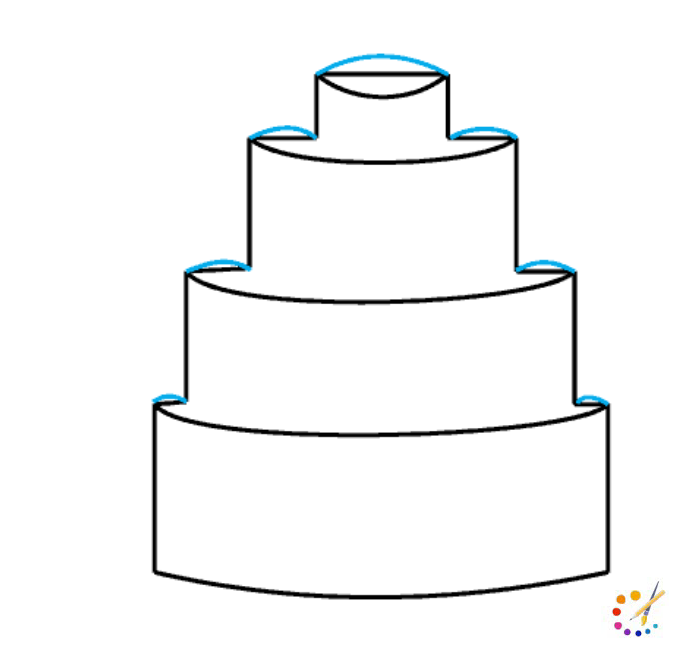
Step 4: By erasing lines drawn in 1st step and drawing the curve on the top layer you will get the below image. The idea behind it is to give it a round shape.
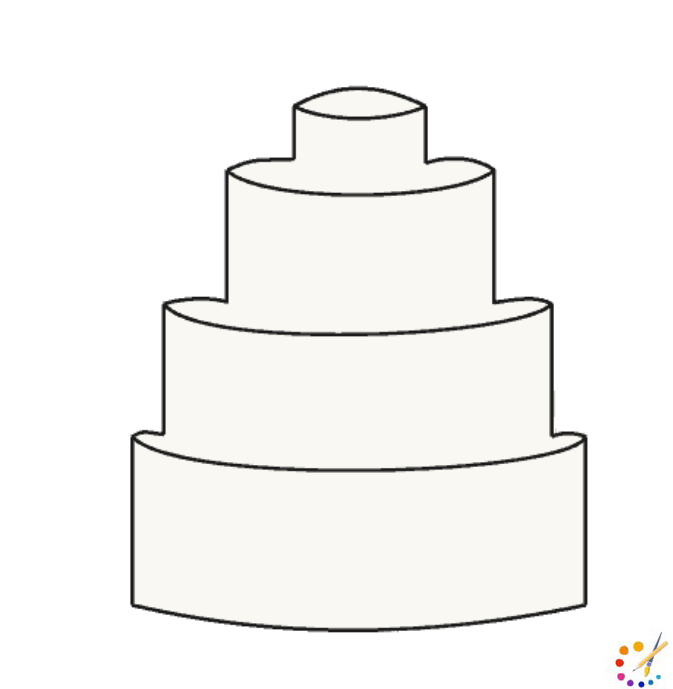
Step 5: Your base of 4 laid cakes is ready, now you can decorate it with your choice of toppings.
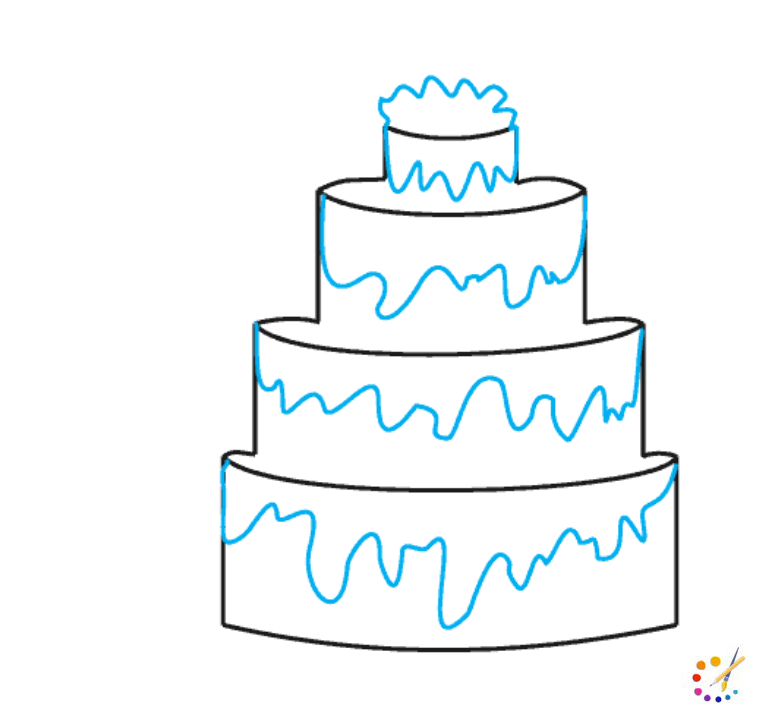
Step 6: We will start with icing on the cake. Draw a wavy random line on the top of the cake and repeat it on the front part of every layer.
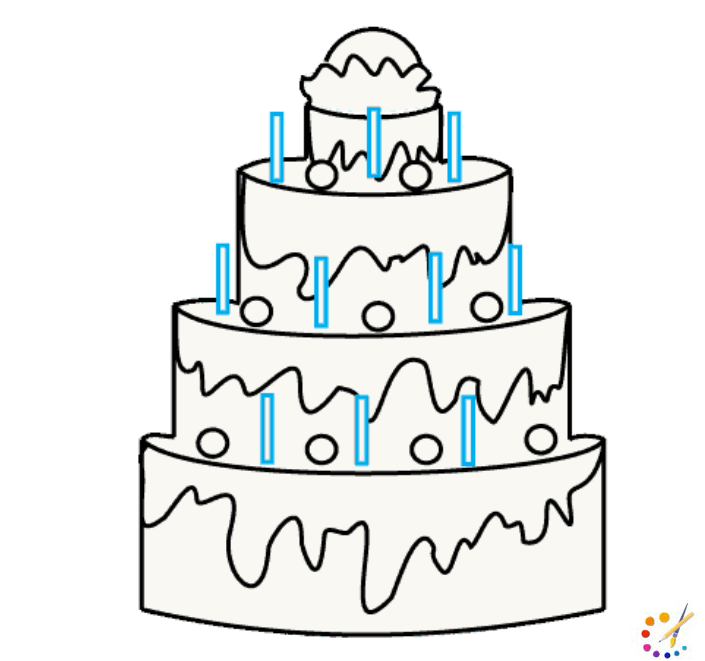
Step 7: Draw a big round above the cake and small rounds on every tier of the cake.
Step 8: In the middle of every drawn small round draw sleek rectangles depicting a candle.
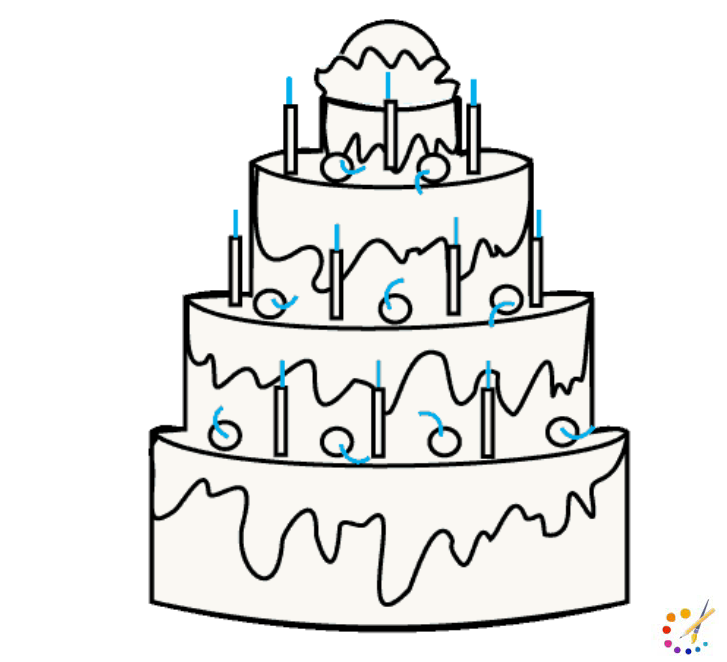
Step 9: On every candle draw the small line for the flames guideline. And draw a small curved line on every round and it will depict a cherry.
Step 10: Draw flame on the top of the very candle and the very top of the cake. Erase all overlapping lines.
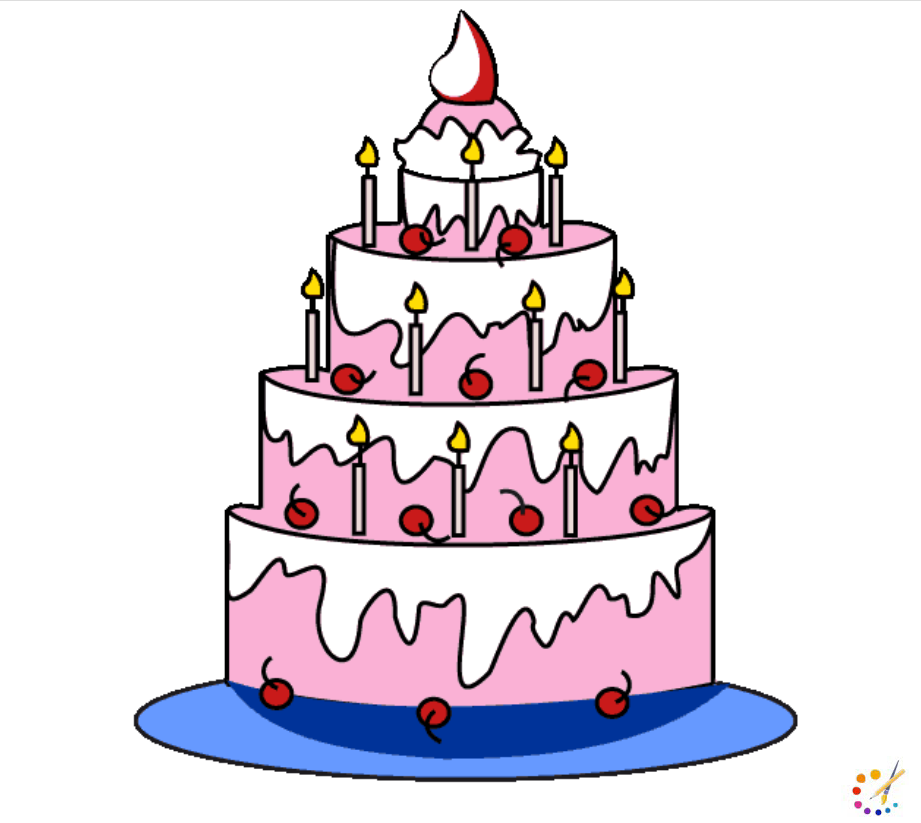
Step 11: Below the cake draw a curved half-oval line and 3 cherries on it.
Step 12: Color the cake with pink and white, use blue color for the base.
How to draw Piece of Cake:
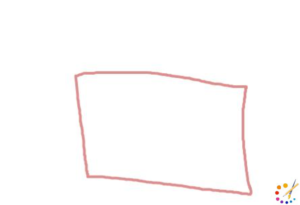
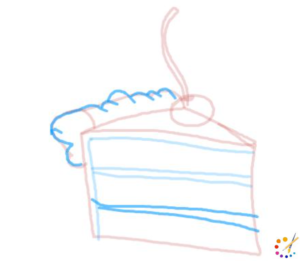
Step 1: Draw a parallelogram with freehand, avoid the use of a ruler.
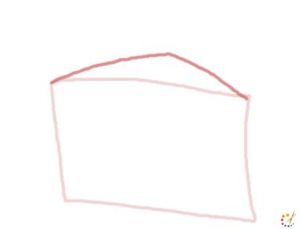
Step 2: Keeping the top of the shape as a base draw a triangle.
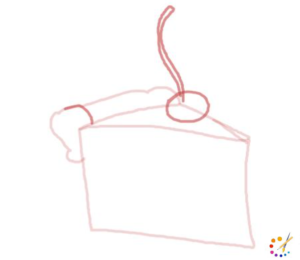
Step 3: On the top draw a round with a double curved line for the cherry stalk. At the back of the triangle draw a series of curved lines for the icing of the cake.
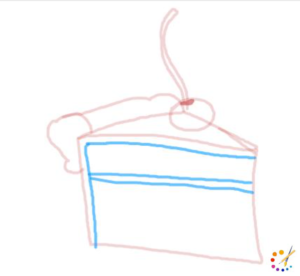
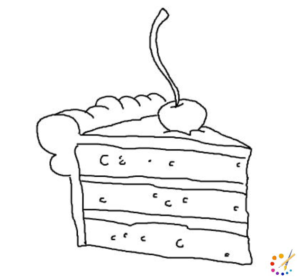
Step 4: double the baseline and draw 3 horizontal lines.
Step 5: Draw few more horizontal lines to depict layers of cake bread and icing.
Step 6: Darken the guidelines and erase unnecessary lines.
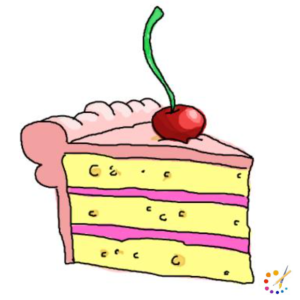
Step 7: Color your piece of cake with a combination of pink and yellow, use red and green for cherry.
How to draw Cake step by step:
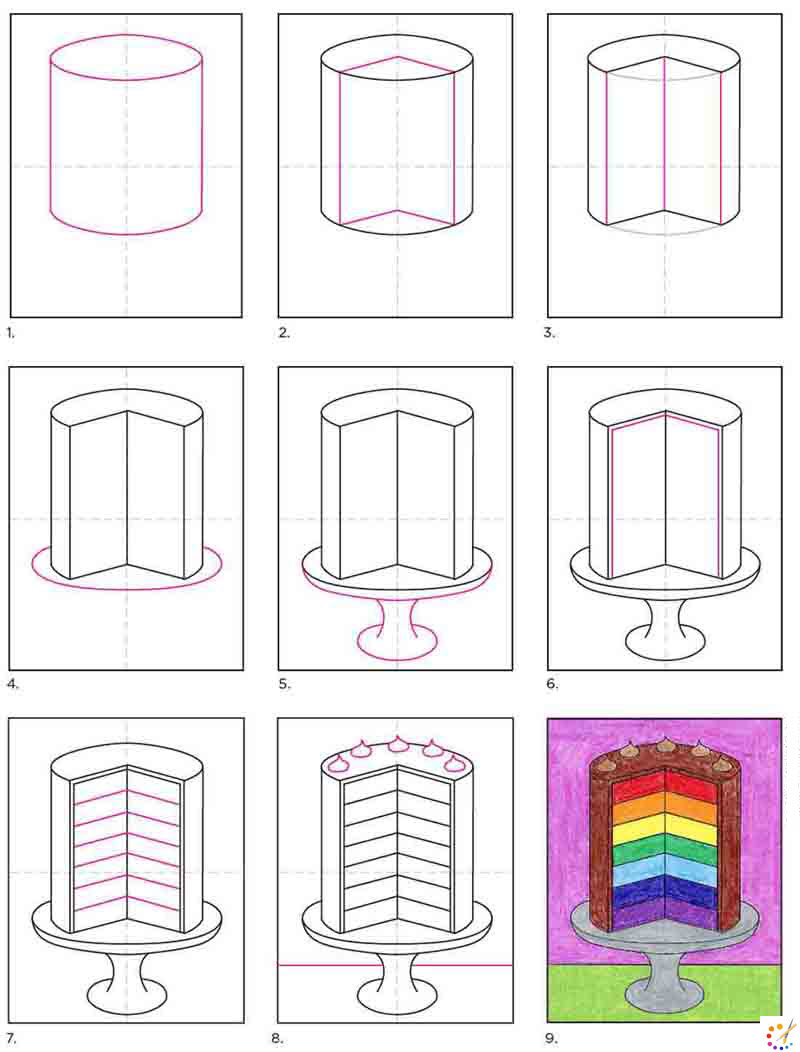
There is the number of cake designs you can draw. Use the same technique for the base and draw the icing and toping of your choices. Below is the step-by-step depiction of the ut cake on the cake stand.

Skilled teacher, knowledgeable in and in adapting state content standards to individual needs in
Elementary-6th grade classrooms. Utilizes instructional materials, technology, and teaching methods to
engage students in effective learning opportunities in individual, small group, and whole-group settings to
maximize instructional time. Differentiates instruction for ELLs while exposing them to rigorous content,
with a focus on literacy skills in all subject areas. Establishes and maintains appropriate standards of
behavior in an inclusive and respectful environment for students from all socio-economic and cultural
backgrounds. Develops lesson plans using Backwards Planning Method to align content standards and
assessments with effective learning activities. Communicates and collaborates effectively with staff and
parents, and creates a safe and positive learning environment for students. Has taught in both in-person
and virtual environments. Professional Communicator with 20+ years of experience.

