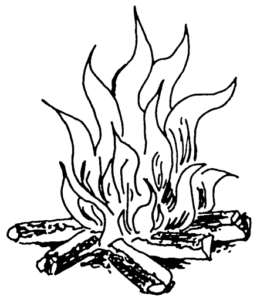
Today’s tutorial on how to draw Fire is going to be fascinating as fire and flames don’t have any particular shape. They form during the process of combustion, as the result of some chemical reaction.
How to Draw Flames
Fire is the process of releasing heat and light, it is also called flame, blaze, ember, and many other names. The uses and types of fires are campfires, bonfires, pyre, etc. Fire is the symbol of many events and emotions as the destruction of rebirth, pain passion, and purification.
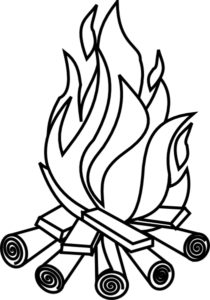
When fire set to any object it converted into ashes. The mythological phoenix vanishes in flame and gets rebirth from ashes. In this tutorial, we are drawing a campfire, but its steps are similar and useful to flame drawing.
This Fire drawing is accompanied by an illustration of images in every step. You will get help by following those images. Start to draw with easy and light lines and also be eraser friendly.
Let’s begin the cause of destruction and life: Fire
How to Draw a Pencil Drawing of Fire
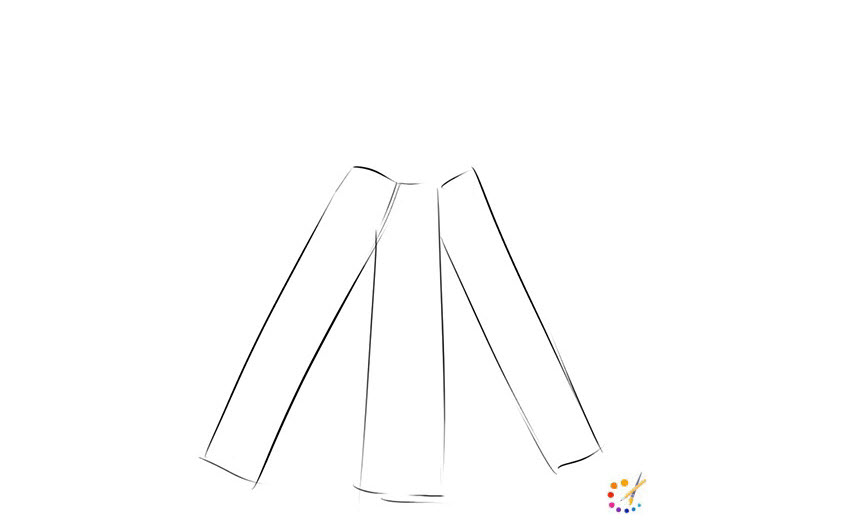
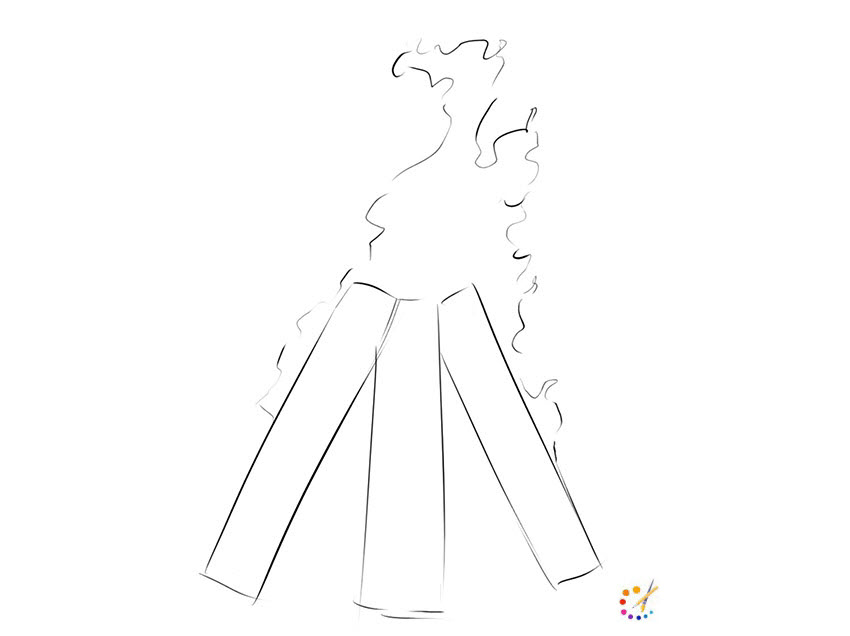
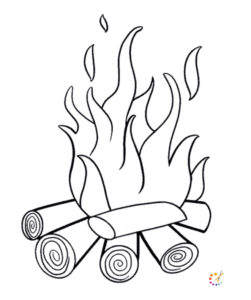
Step 1: Draw 3 wooded logs attached from the upper end to each other. Remember not to draw a perfect shape to maintain its originality.
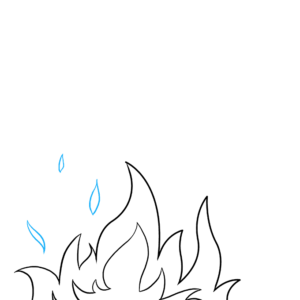
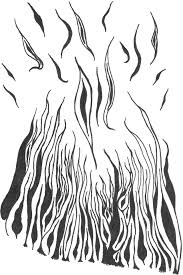
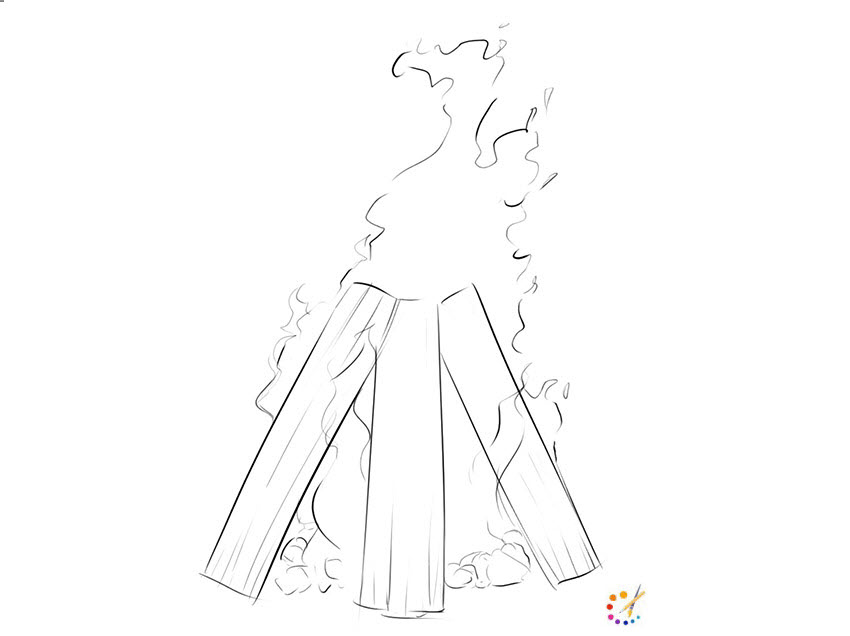
Step 2: Draw fumes with random curves leading in the upper direction. Don’t apply excessive pressure and draw light lines.
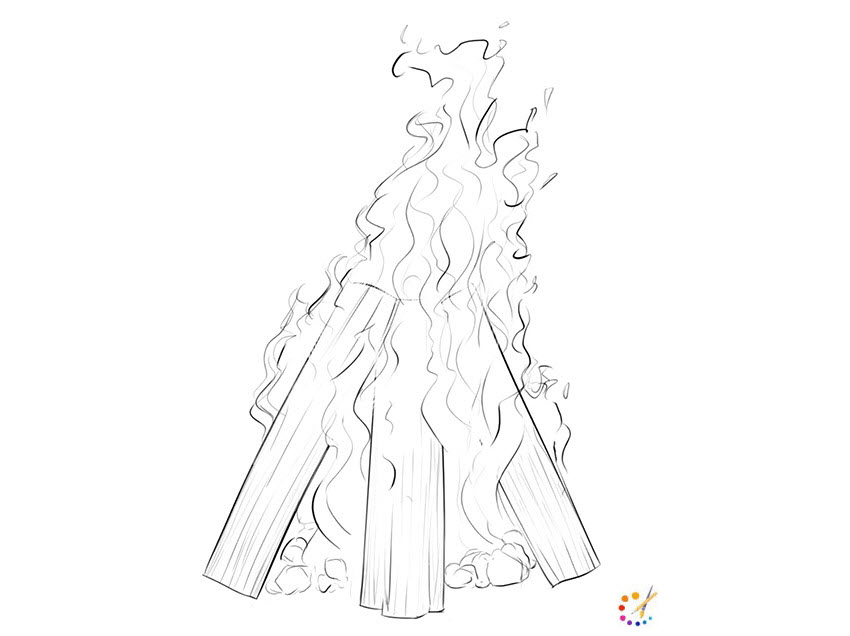
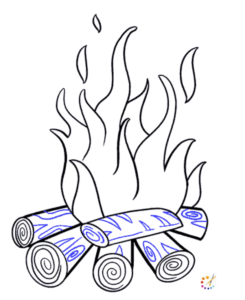
Step 3: Draw more fumes inside the logs, don’t make it in a similar pattern. Draw wooden patterns on the logs to look realistic.
Step 4: Finish the drawing by adding a few more flames in order and draw wooden texture more smooth and original.
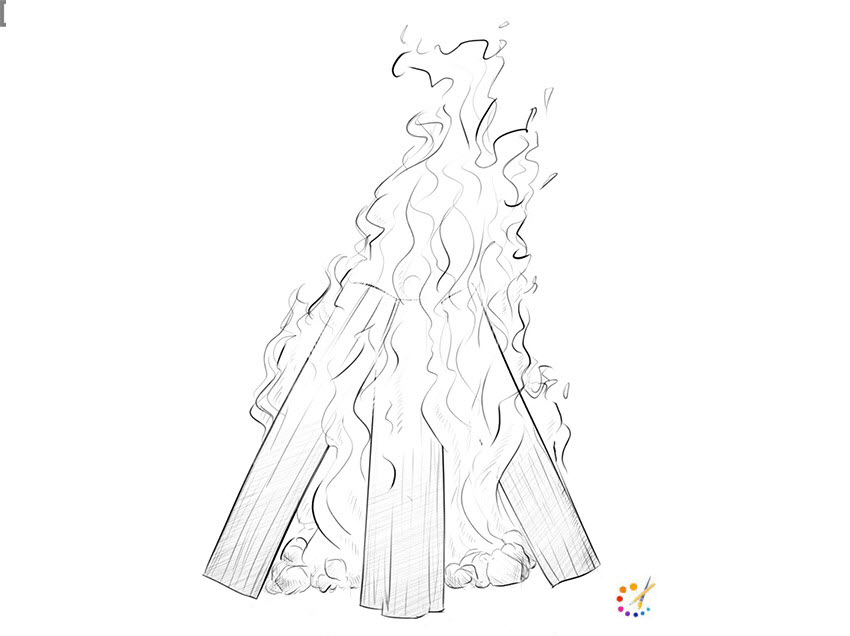
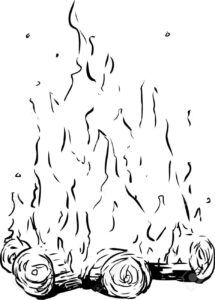
Step 5: Don’t make your drawing much complex, keep it simple and use the hatching technique to make it look more realistic.
How to draw a Cartoon fire
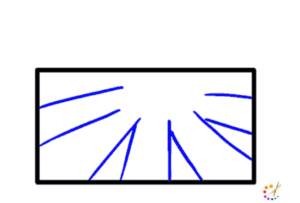
Step 1: Draw a rectangular shape.
Step 2: Inside rectangle draw a few lines going in the center of the rectangle.
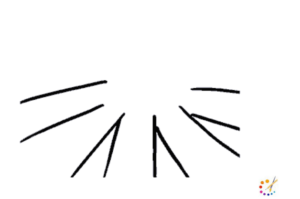
Step 3: Erase the outer rectangle keeping the lines.
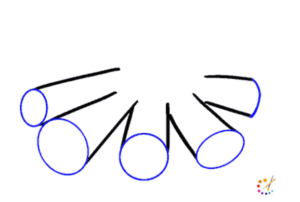
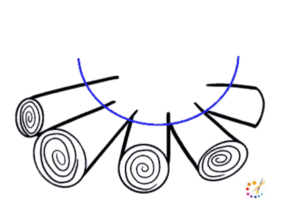
Step 4: On the end of the lines draw circles and curved lines, as in image below.
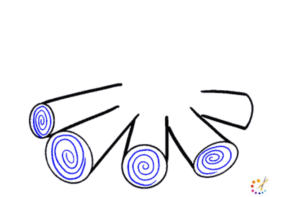
Step 5: Draw a spiral inside the drawn circles to depict wood.
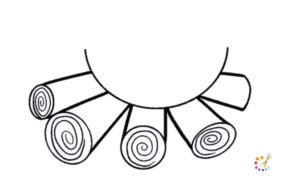
Step 6: Draw a half-circle above all the woods for the base of the fire.
Step 7: Erase all the overlapping lines in this step.
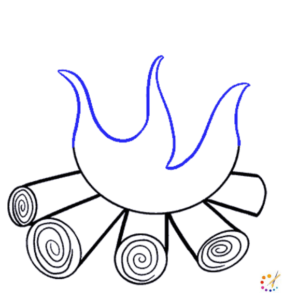
Step 8: Draw 1st set of flame with use of curved lines, keep flames in upward direction.
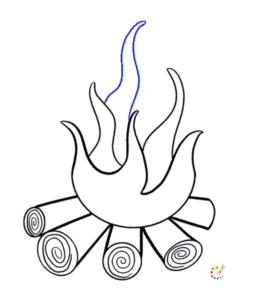
Step 9: Add a few more layers of the flame add in the image below, you can follow your own pattern too, draw all of the in an upward direction only.
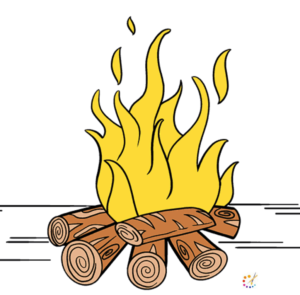
Step 10: Outline the whole drawing with a marker or darker pencil, add flame glazings. Draw a diagonal log.
Step 11: Add triangles and random line patterns on the wooden logs.
Step 12: Add lines to depict the ground and color it with yellow and brown.
Points to keep in mind while drawing a Fire:
- Always start with light and easy lines.
- Make eraser your friend, there is nothing bad in using erase again and again.
- Flame or fire goes in an upward direction only.
- Where there is fire, there is smoke.
- They are random in appearance and fluctuates in their shape.
Drawing fire can be both fun and challenging, as it involves capturing the dynamic shapes and vibrant colors of flames. Here’s a step-by-step guide to help you draw a realistic fire.
Step-by-Step Guide to Drawing Fire
Materials Needed:
- Pencil
- Eraser
- Paper
- Colored pencils or markers (red, orange, yellow, and a little blue for realism)
1. Sketch the Base Shape
- Start by lightly sketching the outline of the flames. Draw a series of wavy, pointed shapes that rise upward. Flames are typically irregular, so create a variety of peaks and valleys to give it a natural look.
2. Add Flame Layers
- Inside the outline, draw additional wavy lines that follow the shape of the flames. These lines will represent the inner layers of the fire. Make sure the lines are not perfectly parallel; this will add movement to the flames.
3. Define the Flame Tips
- Refine the tops of the flames by sharpening the points. The tips of the flames should be sharp and flickering, so add some spiky shapes at the highest points of your outline.
4. Create Texture
- Add texture to the flames by drawing small curves and squiggles along the inner lines. This can represent the flickering and swirling motion of the fire. Keep these lines light and flowing.
5. Darken the Outline
- Once you’re satisfied with the shape and texture of the flames, go over your outline with a darker pencil or pen. This will help the fire stand out.
6. Shade the Flames
- Begin shading the flames. Start with a light touch using colored pencils or markers. Use a gradient effect, beginning with darker colors at the base and transitioning to lighter colors toward the tips.
Coloring Steps:
- Base Color: Use dark orange or red at the bottom of the flames.
- Middle Layer: Blend in a bright orange as you move up.
- Top Color: Use yellow or a lighter orange at the tips of the flames.
- Highlight: Add a small amount of blue or white at the very tips of the flames to give the illusion of heat.
7. Blend Colors
- If using colored pencils, use a blending tool or your finger to softly blend the colors together. This will create a smooth transition between the colors, making the flames appear more realistic.
8. Final Touches
- Add highlights to certain areas of the flames with a lighter color to emphasize the flickering effect. You can also add small sparks or embers around the fire for extra detail.
9. Background (Optional)
- If desired, you can add a background to your drawing, such as a dark background to make the fire pop or other elements like logs or a campfire setting.
Tips for Drawing Fire:
- Observe Real Fire: If possible, look at real flames or images of fire to understand their movement and color.
- Practice: Fire can take time to master. Don’t hesitate to practice different flame shapes and sizes.
- Experiment: Try using different colors and blending techniques to find what works best for you.

Skilled teacher, knowledgeable in and in adapting state content standards to individual needs in
Elementary-6th grade classrooms. Utilizes instructional materials, technology, and teaching methods to
engage students in effective learning opportunities in individual, small group, and whole-group settings to
maximize instructional time. Differentiates instruction for ELLs while exposing them to rigorous content,
with a focus on literacy skills in all subject areas. Establishes and maintains appropriate standards of
behavior in an inclusive and respectful environment for students from all socio-economic and cultural
backgrounds. Develops lesson plans using Backwards Planning Method to align content standards and
assessments with effective learning activities. Communicates and collaborates effectively with staff and
parents, and creates a safe and positive learning environment for students. Has taught in both in-person
and virtual environments. Professional Communicator with 20+ years of experience.

