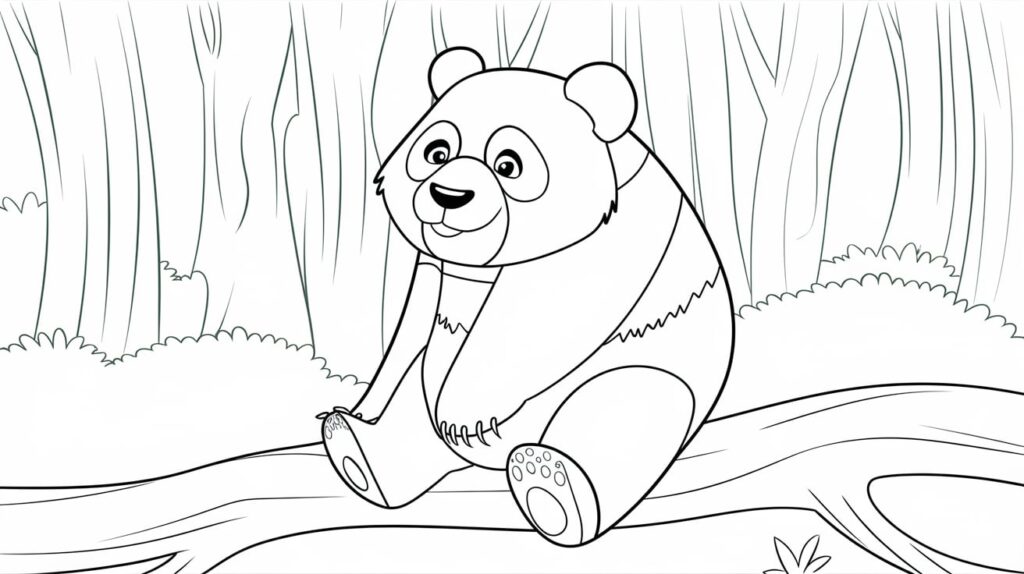
My playful visitors welcome..! today we are here with on how to draw a panda, a jolly, playful, cutest, lazy animal. Giant pandas are residents of remote mountains of China.
Their black and white color made them famous and have an appetite for bamboo. You must know few very interesting facts about pandas which are as follows:
- They are big bears with black and white color.
- They are omnivores and include 99% bamboos in their diet.
- They can eat 12 kg 2 times a day.
- Their height varies from 1.2m to 1.5m and up to 135 kg in weight.
- They are endangered animals with about 1000 remain in the wild.
- They don’t hibernate, during winters head to lower mountains.
- The female panda takes care of cubs for at least 18 months until they venturing on their own.
- They are solitary mammals.
We also have provided many other cute animal drawing tutorials to visit for you like how to draw a cat, dog, etc.
How to Draw a Step by Step Panda
Follow these given steps to draw your own panda. We have given images with their instructions to make it easy for you. This Panda drawing is also very easy as you don’t need extra effort to color it, just use black and white color. Always sketch lightly, you may need to redefine it later and erase it. Below are given how to draw a lazy lying panda with how to draw a cute dancing panda.
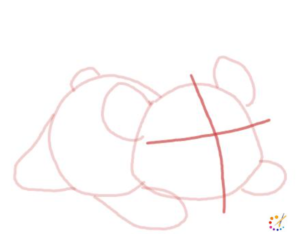
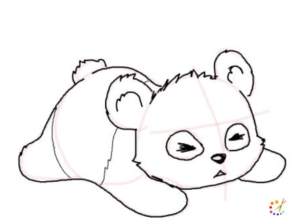
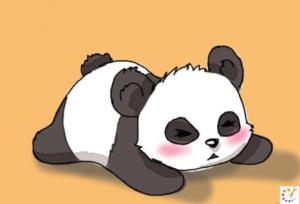
How to draw a lazy Panda
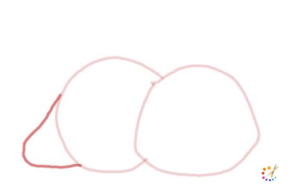
Step 1: Draw a big round for the head of the panda.
Step 2: At the back of the head draw another semi-circle.
Step 3: Draw an angular shape for the back leg at the end of the body.
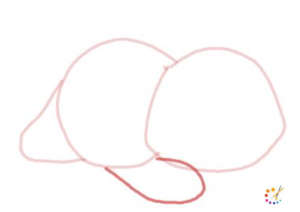
Step 4: Draw an angular shape for the hands of the panda.
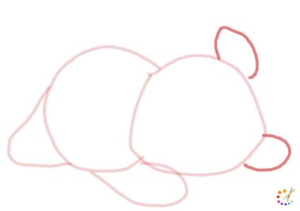
Step 5: Draw 2 curves one for the ear and the other for the hand.
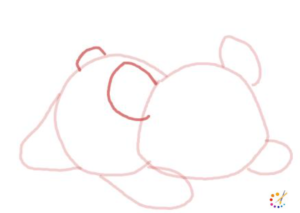
Step 6: Draw the other ear and tail at back.
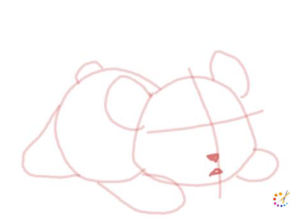
Step 7: Draw 2 intersecting lines in the head to depict the center of the head.
Step 8: Add 2 dots on the verticle line for the nose and mouth.
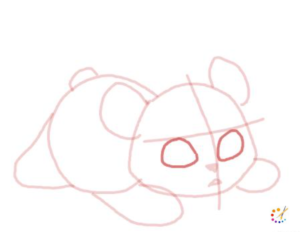
Step 9: Draw 2 big eyes on both sides of the eyes.
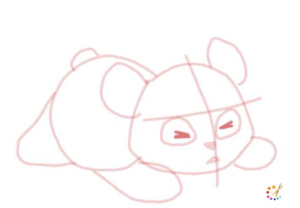
Step 10: Draw >< in both the eyes.
Step 11: Draw a wavy line to depict the hair of panada on the head, tail, and, ear.
Step 12: Color your panda with black and white color, add blush on cheeks.
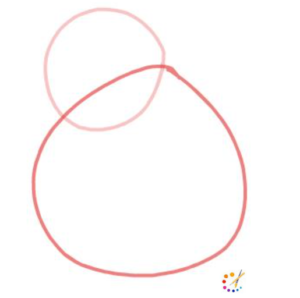
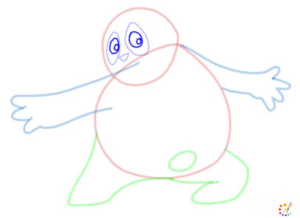
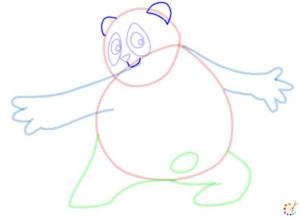
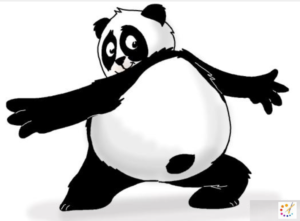
How to draw a dancing cute panda:
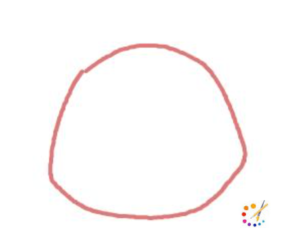
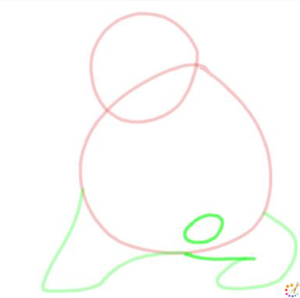
Step 1: Start your drawing with the head, draw a circle for it.
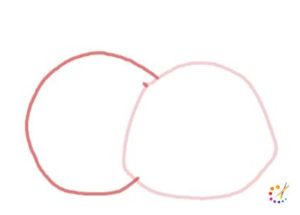
Step 2: Draw a big pointed circle overlapping the last one.
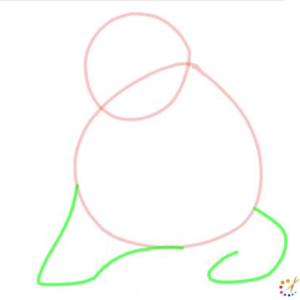
Step 3: Draw 2 legs below the body, for this use a full curved line as shown below.
Step 4: Draw a small circle on the lower body and shape the leg.
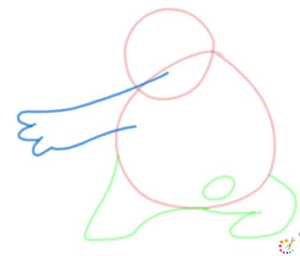
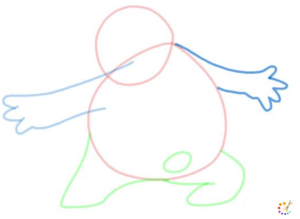
Step 5: Draw an arm using the simple line with 3 fingers.
Step 6: Draw another side of the arm in the same manner.
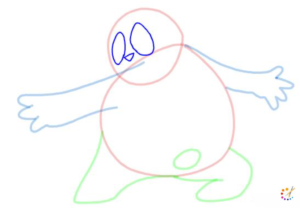
Step 7: Draw 2 eyes and a triangle for the nose.
Step 8: Add pupils inside the eyes with 2 circles.
Step 9: Above the head draw 2 ears and a mouth below the nose.
Step 10: Color your panda as shown below using black and white color.
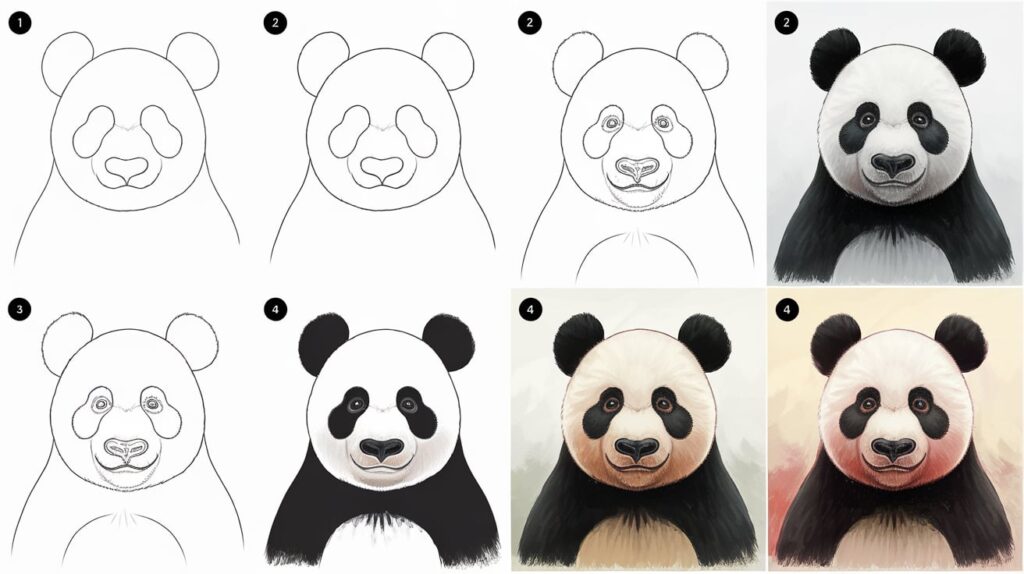
How to draw a Panda Face:
Panda’s cuteness relies on its face so we would tell you how to draw a panda face. Start your drawing by an oval as we do for the head of the dog, draw 2 angular ovals for eyes with a pupil inside them. In between eyes and little below to them draw a flat oval for the nose. From the nose draw a straight line turning into a curve on both sides. Now draw 2 curved ears on the top of the head, again draw a smaller half-circle inside the ears to make them complete. It’s very easy to draw follow the image illustrated below for any assistance.
Panda Drawing
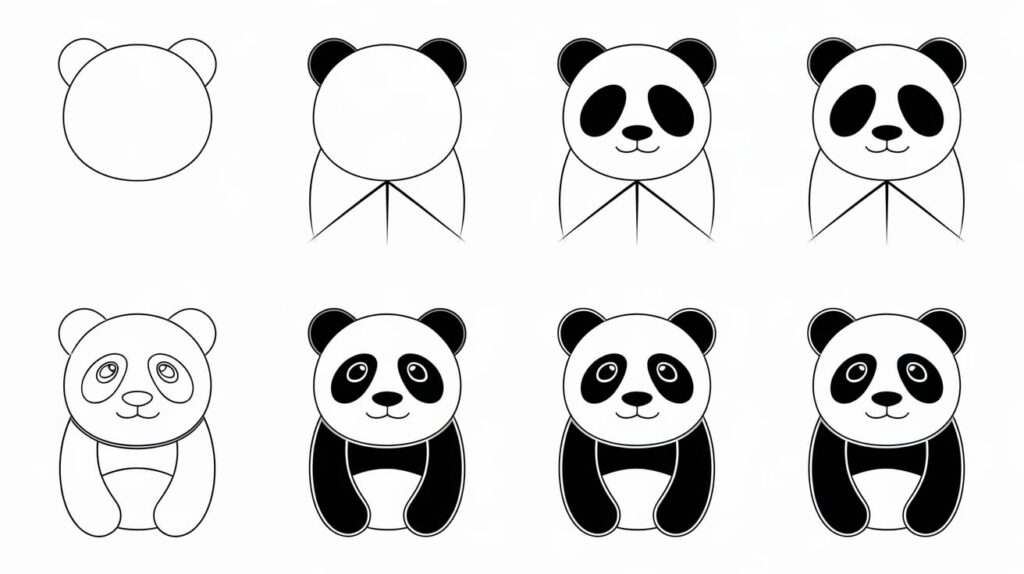
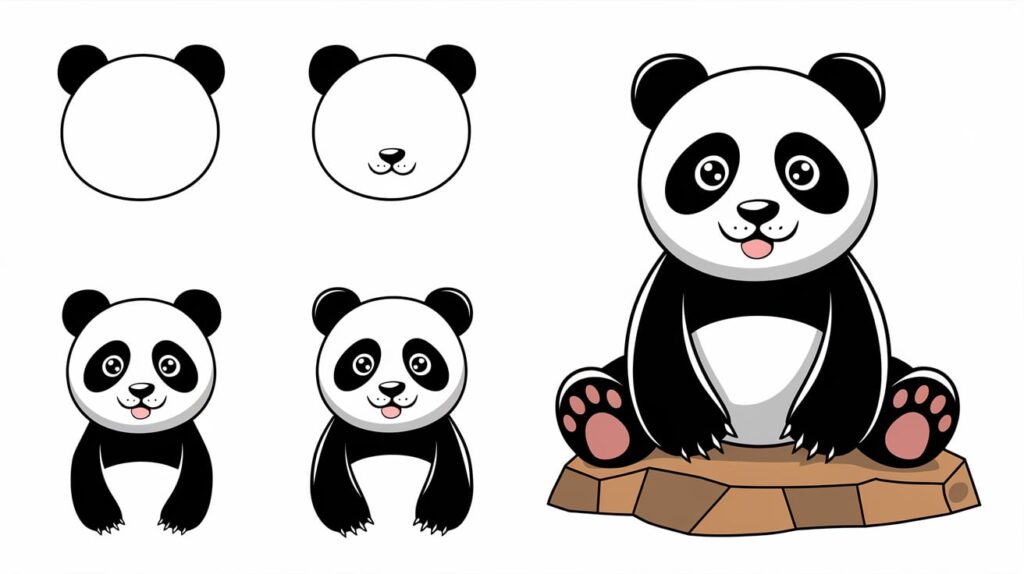
Here’s step-by-step guide to drawing a panda:
Step 1: Draw the Panda’s Head
- Begin by sketching a large oval or circular shape for the panda’s head. Keep it slightly wider at the top for a soft, rounded look.
Step 2: Add the Ears
- Draw two small semi-circles or ovals for the ears on both sides of the head. They should be positioned near the top corners of the head and proportionate to the face’s size.
Step 3: Outline the Body
- Extend two curved lines downward from the bottom of the head to form the body. Make sure the lines are slightly tapered inward as they go down to create a sense of roundness.
Step 4: Create the Eyes
- Inside the head, draw two large ovals for the eyes. These ovals should be slightly slanted for a gentle, sleepy expression. Inside each oval, add a smaller circle for the pupils.
Step 5: Draw the Eye Patches
- Around each eye, sketch a large, irregular oval shape for the panda’s iconic black patches. These shapes should be larger than the eyes but not too overwhelming.
Step 6: Add the Nose
- In the center of the face, below the eyes, draw a small triangle or heart shape for the nose. Add soft edges to keep it looking friendly.
Step 7: Create the Mouth
- Under the nose, sketch a small curved line, slightly angled upward for a subtle smile. You can add a short line extending down from the center of the mouth to give it more depth.
Step 8: Draw the Arms
- On each side of the body, sketch two thick, rounded lines for the arms. Curve them slightly inward, as if the panda is sitting with its arms resting by its sides.
Step 9: Add the Legs
- At the bottom of the body, draw two small ovals or rounded shapes for the legs. They should appear as though they are tucked underneath the body, making the panda look seated.
Step 10: Add Details and Shade
- Shade the eye patches, ears, arms, and legs to give the panda its characteristic black-and-white look. Leave the head, body, and face mostly white, except for the shaded areas.
Step 11: Final Touches
- Add any final details such as small lines for fur texture or additional shading to make the drawing come to life. Adjust proportions if needed to ensure balance.

Skilled teacher, knowledgeable in and in adapting state content standards to individual needs in
Elementary-6th grade classrooms. Utilizes instructional materials, technology, and teaching methods to
engage students in effective learning opportunities in individual, small group, and whole-group settings to
maximize instructional time. Differentiates instruction for ELLs while exposing them to rigorous content,
with a focus on literacy skills in all subject areas. Establishes and maintains appropriate standards of
behavior in an inclusive and respectful environment for students from all socio-economic and cultural
backgrounds. Develops lesson plans using Backwards Planning Method to align content standards and
assessments with effective learning activities. Communicates and collaborates effectively with staff and
parents, and creates a safe and positive learning environment for students. Has taught in both in-person
and virtual environments. Professional Communicator with 20+ years of experience.


