How to draw a ribbon is an easy drawing guide because a Ribbon is nothing but a straight strip of cloth of varying sizes and materials. We have here a ribbon drawing guide for children and beginners in this step-by-step outline of the different ribbon drawings. Ribbons are of great use and we employ them in our daily life for multiple purposes.
In this tutorial, we are sketching the various ribbon shapes such as the cancer ribbon, bow, and ribbon badge. WHO has shown a pink-colored cancer ribbon to raise awareness in respect of this disease. The ribbon is also employed to create bow which is utilized to tie on gift rappers as well as a tie too. Similarly, ribbons are utilized to create guest or owner badges with varying colors for the guest and organizers of any function and program.
How to draw Ribbon Badge:
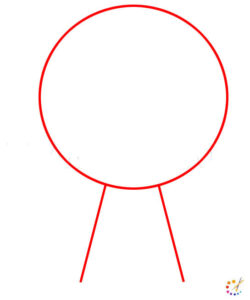
Step 1: Draw a circle with 2 straight lines below to it going in a different direction.
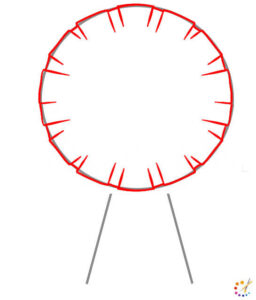
Step 2: In this step keeping the circle outline draw small random sized lines going inward to the circle, give the circle outline a curvy look.
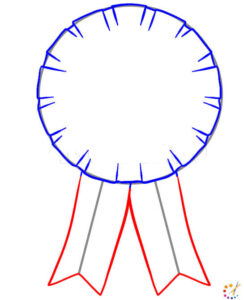
Step 3: Draw lines on the both side of the 2 lines drawn in step 1. Join each pair of line with 2 small lines forming a inverted V shape.
Step 4: Remove lines from circle drawn as outline outline and flowered shape circle will be the outcome. Remove 2 lines of outline also from below the circle.
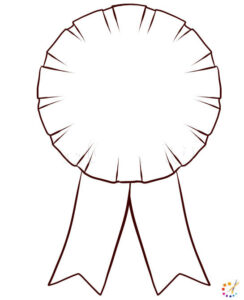
Step 5: You can color your ribbon with colour of your choice, we have coloured it red and also outline your drawing in black.

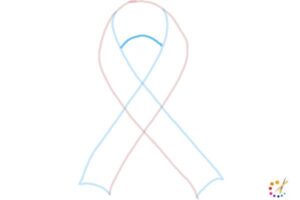
How to draw Cancer ribbon:
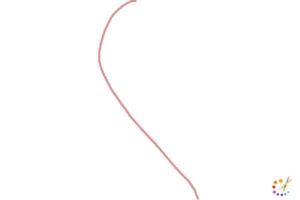
Step 1: Draw half of the S or a curved long line.
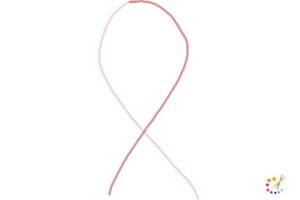
Step 2: Draw the same curved line from the other side also.
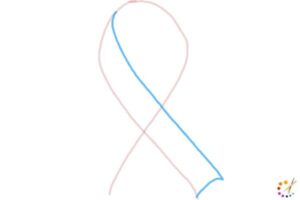
Step 3: Double the Former line with the same type of line just begin from the top and join it at the end.
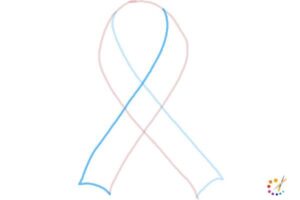
Step 4: Double the other side of the line and join it at the end.
Step 5: In the same pattern draw a curved small line on the top.
Step 6: Draw this cancer ribbon with the marker.
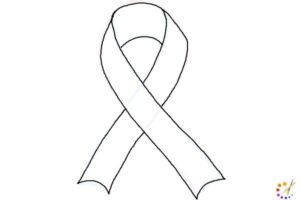
Step 7: Paint this cancer ribbon with the color pink.

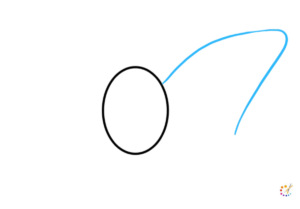
How to draw ribbon Bow:
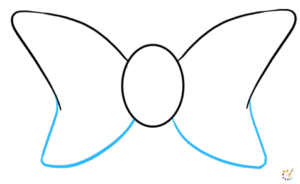
Step 1: In beginning draw an oval as bow contains a knot in the center it will represent it later.

Step 2: Begin drawing a simple line from one end of oval moving towards the corner of paper then returning towards the oval.
Step 3: Do the step 2 on the other side also with the same curved lines.
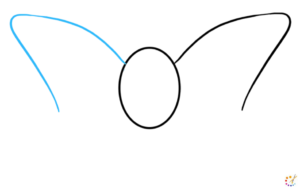
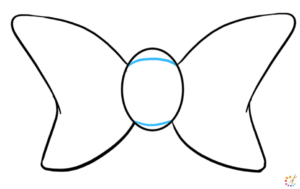
Step 4: Finish the above draw image from below and the top part of bow is complete.
Step 5: Within the oval draw flat lines on the both ends of it.
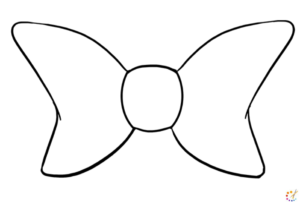
Step 6: Draw and erase the outline of oval and you will mark the picture provided below.
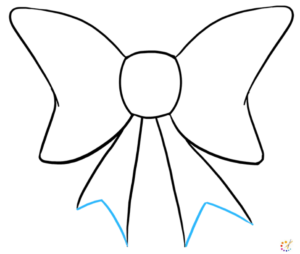
Step 7: Draw 4 random simple lines from the center of bow.
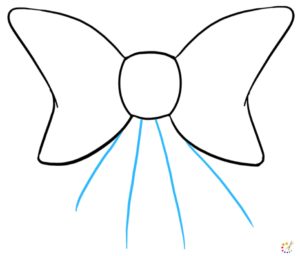
Step 8: Until this point half of the bow is complete draw 2 inverted V on the end of lines.
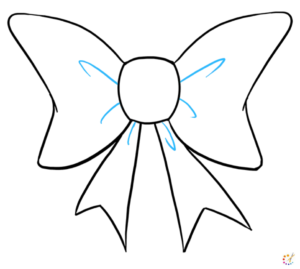
Step 9: Draw small curved lines within the bow to represent the folds of cloth.
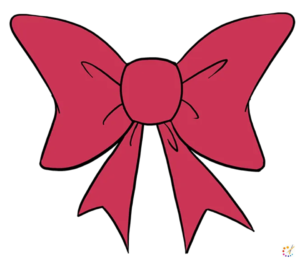
Step 10: Draw red color for the stunning bow.

Skilled teacher, knowledgeable in and in adapting state content standards to individual needs in
Elementary-6th grade classrooms. Utilizes instructional materials, technology, and teaching methods to
engage students in effective learning opportunities in individual, small group, and whole-group settings to
maximize instructional time. Differentiates instruction for ELLs while exposing them to rigorous content,
with a focus on literacy skills in all subject areas. Establishes and maintains appropriate standards of
behavior in an inclusive and respectful environment for students from all socio-economic and cultural
backgrounds. Develops lesson plans using Backwards Planning Method to align content standards and
assessments with effective learning activities. Communicates and collaborates effectively with staff and
parents, and creates a safe and positive learning environment for students. Has taught in both in-person
and virtual environments. Professional Communicator with 20+ years of experience.