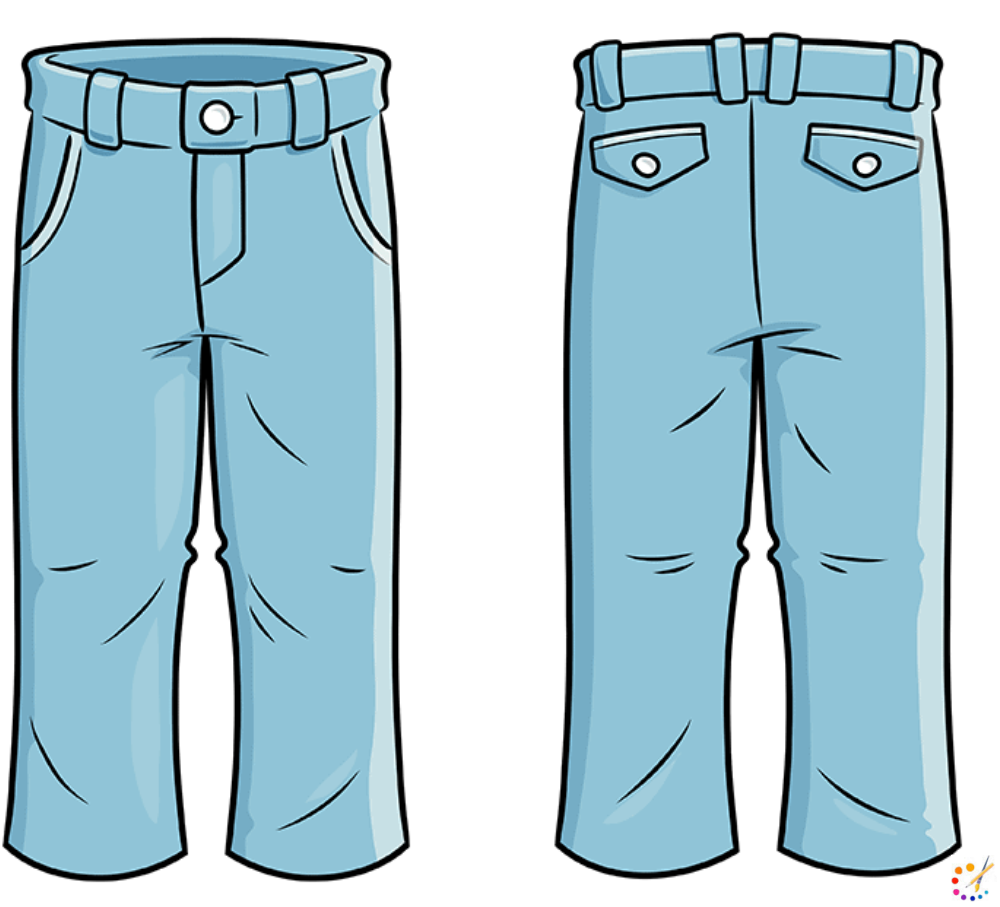
Clothing is a basic necessity of human beings, now it’s time to know how to sketch Pant. Pant is planned to be worn on the lower part of the body in the manner in which it covers both the legs individually, it is also called a sack, trouser. In former times and in Western society it was a men’s dress. In the time of the World War, women began wearing pants and performing jobs previously performed by men.
Today in the modern period, it is the most embraced attire of both men and women, formal trousers are predominantly named and utilized as official dressing code. Denims or jeans are in the greatest long-lasting fashion, although they were designed to be used for workers as working clothes that lasted long.
This pants drawing tutorial will guide you through drawing the front and back of a Pant in simple steps for children and beginners. You will also learn to draw boots with your pants.
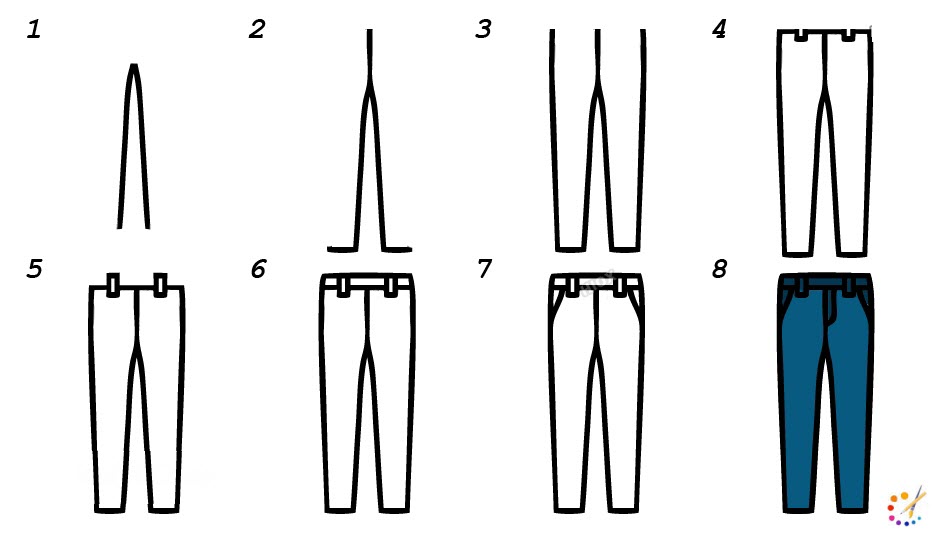
How to draw front and back Pants:
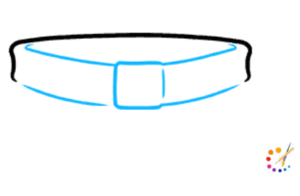
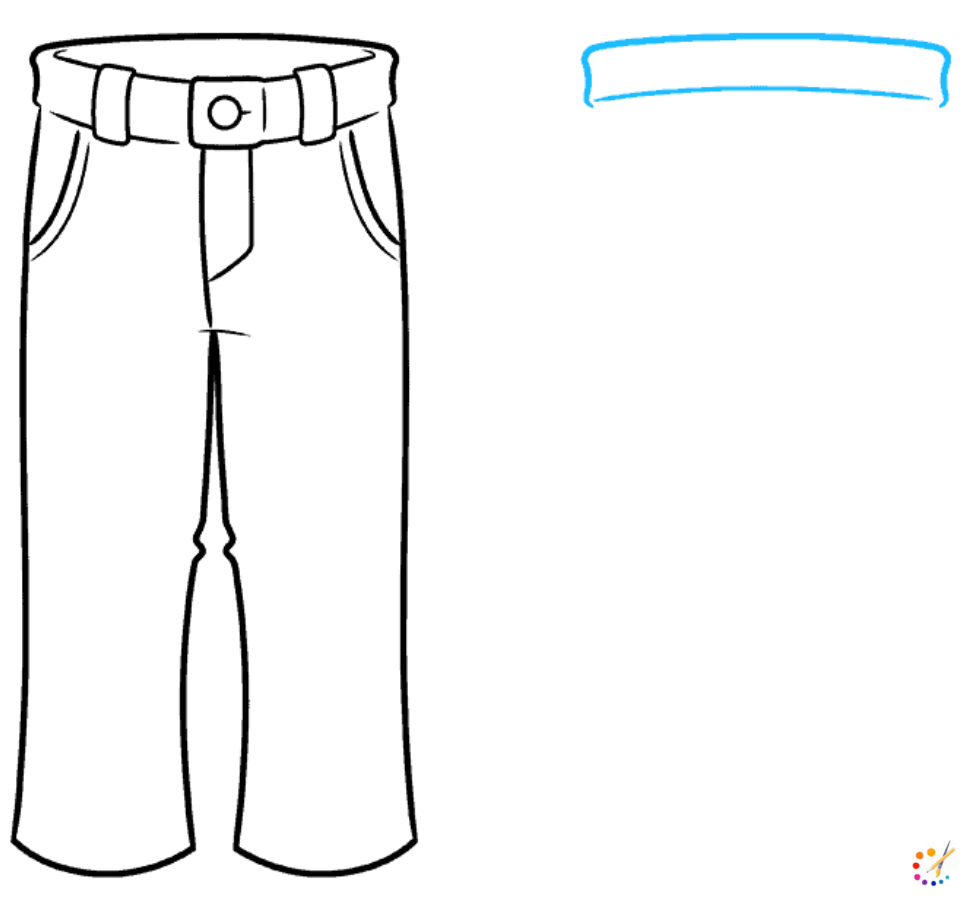
Step 1: Begin by drawing a long, curved line as demonstrated in the image for the front waistline of your pant.

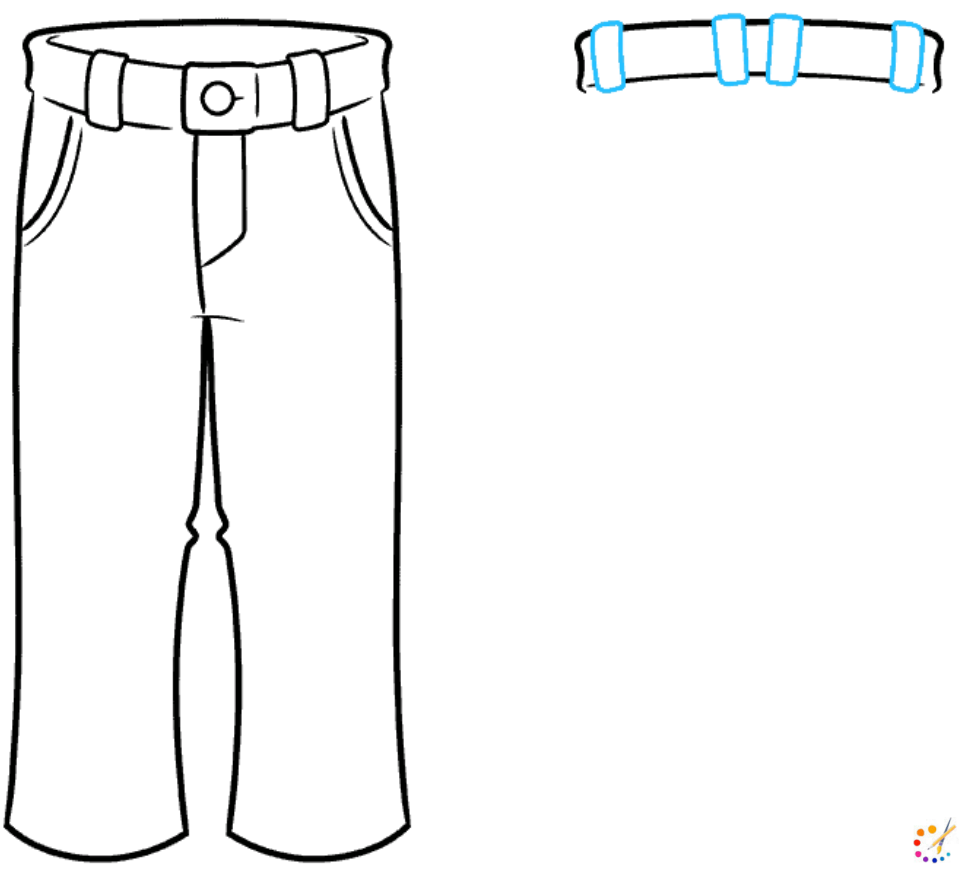
Step 2: Draw another curved line below the one drawn going backward and creating a rectangle, draw one more curved line between these 2, and a rectangular shape for the buckle.
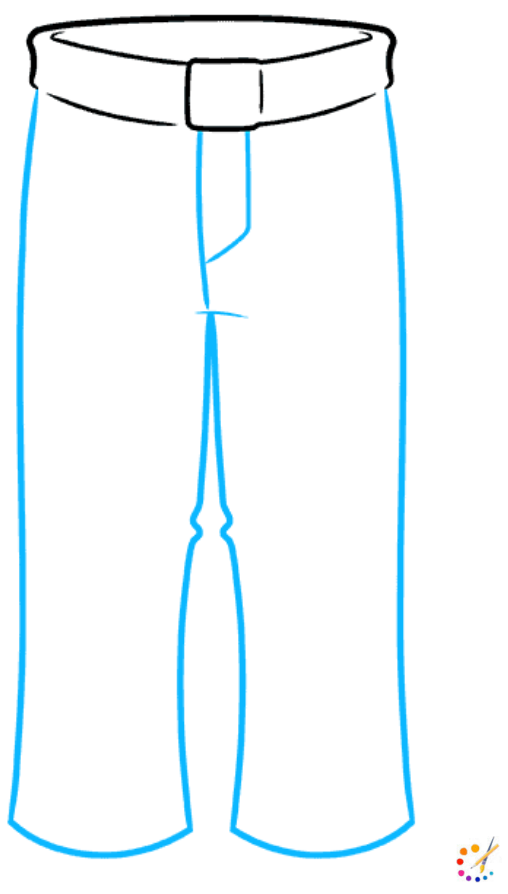
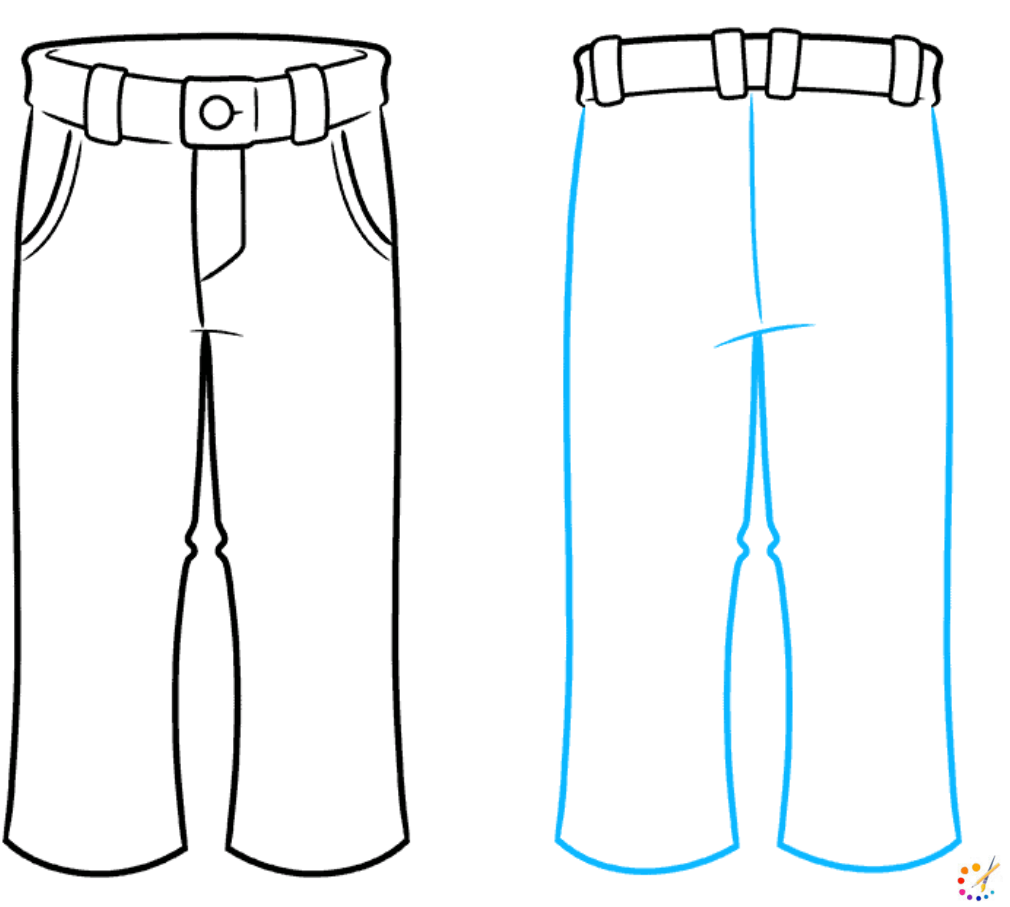
Step 3: Here draw pant legs, for that draw long vertical lines from the waistline, at the bottom again draw small curved line for the bottom and turn it back towards the waistline and connect them at a point, from this point draw single line to the waistline. Draw L shape in middle for the zipper.
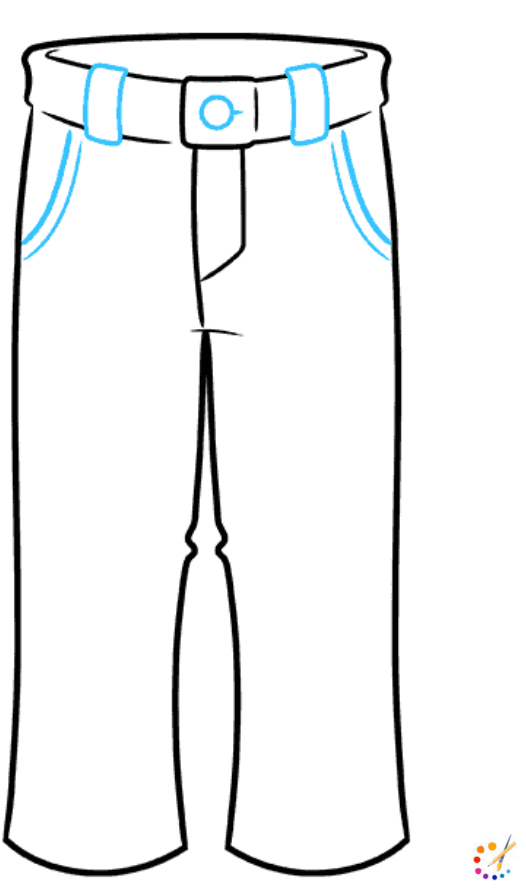
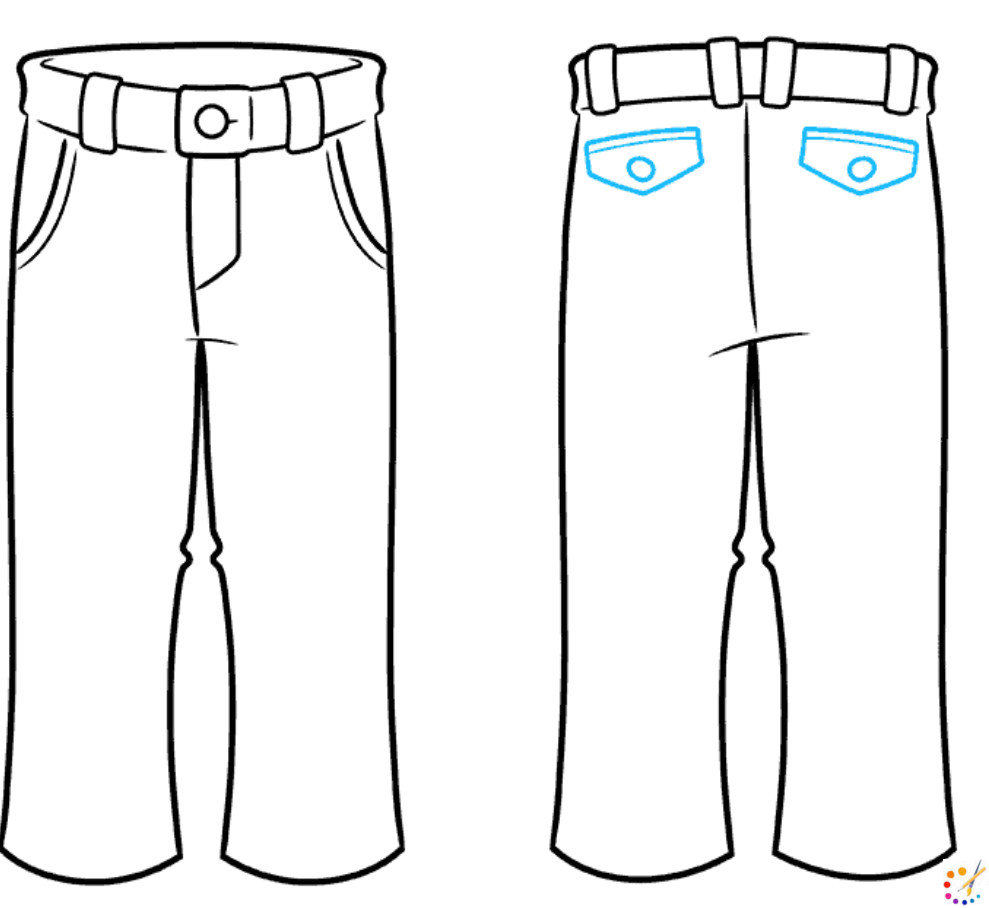
Step 4: Add details to pant, draw a circle in the center of the waistline for the bottom, on each side draw a belt loop with a rectangle. In the final draw double curved line on each side of the pant forming pockets.
Step 5: In this step begin drawing the back of the pant, again draw the same waistline of pant.
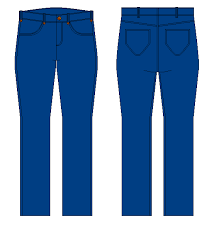
Step 6: Draw 4 belt loops using the curved rectangles on the waistline.
Step 7: Draw the same pant leg, as did with the front half, but not the L shape of the zipper.
Step 8: Draw the back pockets under the waistline on each side. Draw a pentagon with a little circle, for the button, on it.
Step 9: Dye the pant using a light blue color since denim is the natural color.
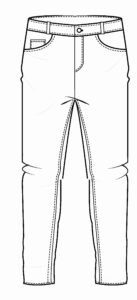
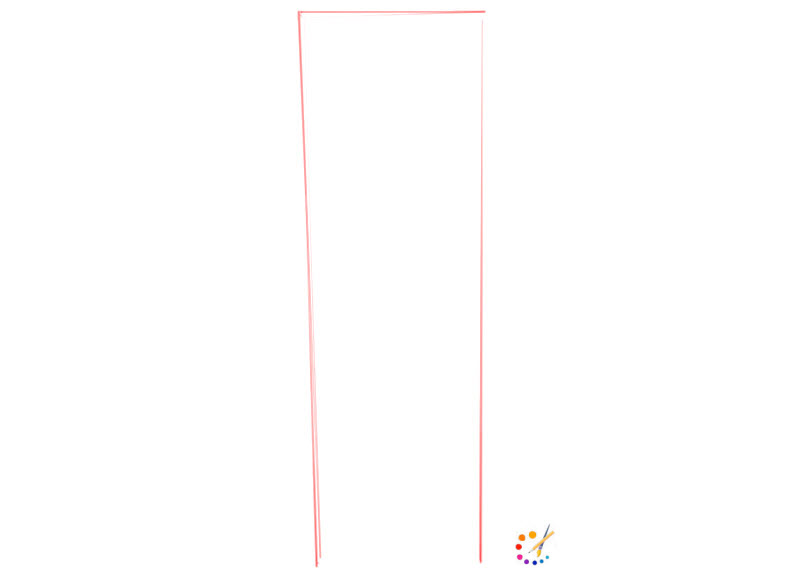
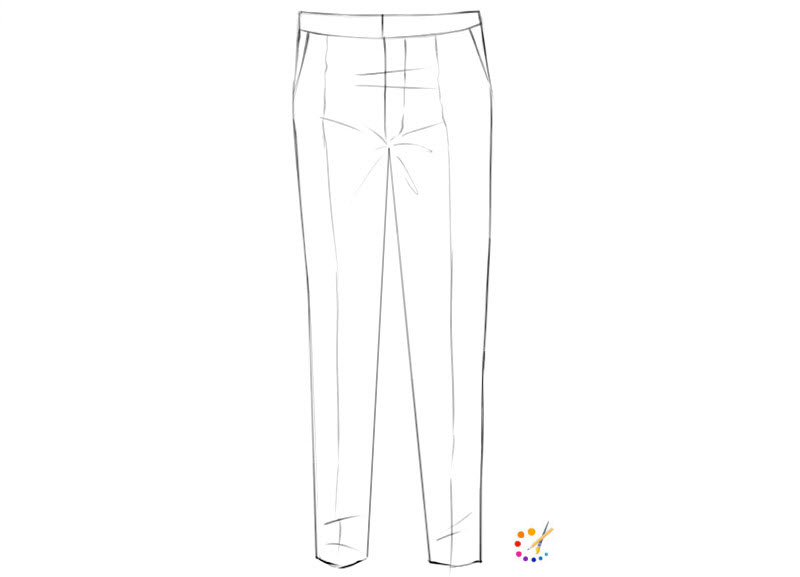
How to draw Formal Pant:
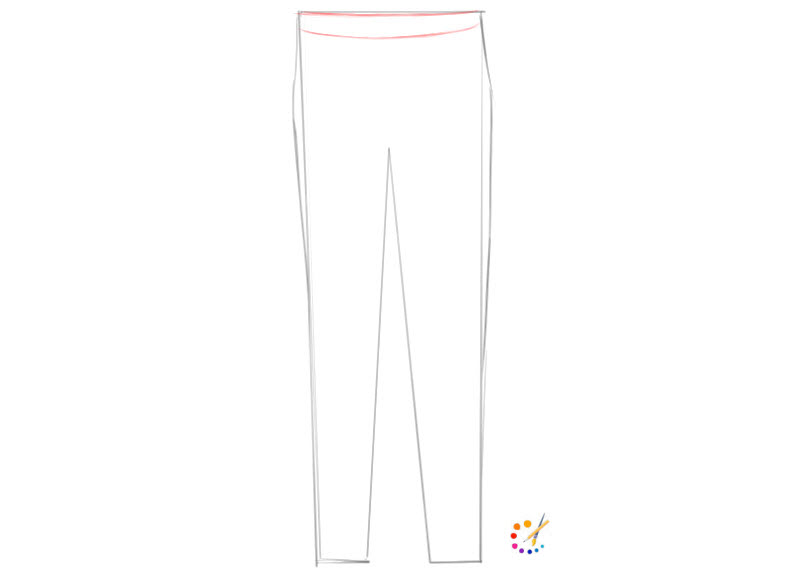
Step 1: First of all, draw a straight line and then draw 2 lines from both ends downwards towards the bottom.
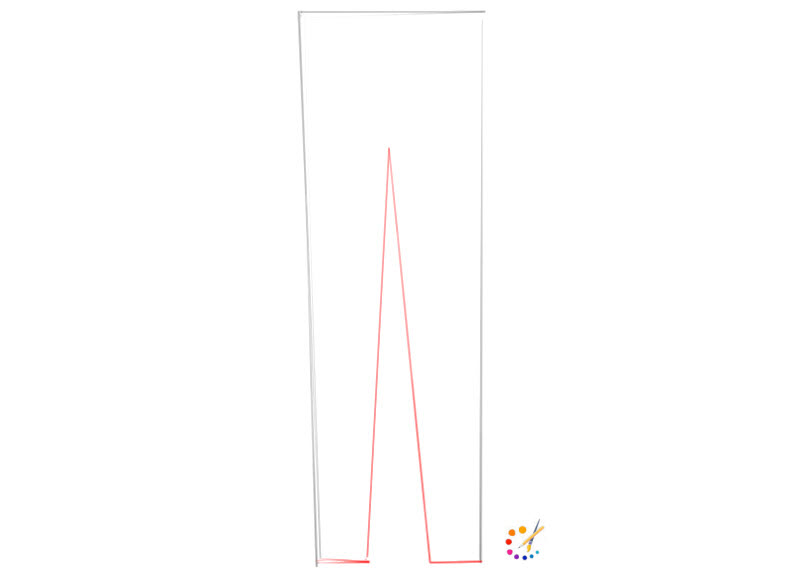
Step 2: To finish off both legs of the pant, draw lower and inner edges of the pant.
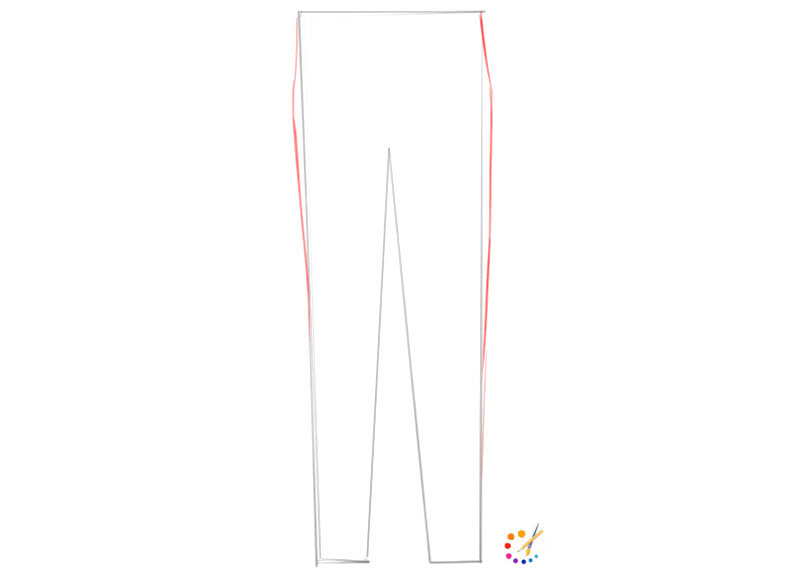
Step 3: By using the below-provided illustration draw your pant more realistically.
Step 4: Draw a waistband at the top of the pants, for this draw a rectangular shape.
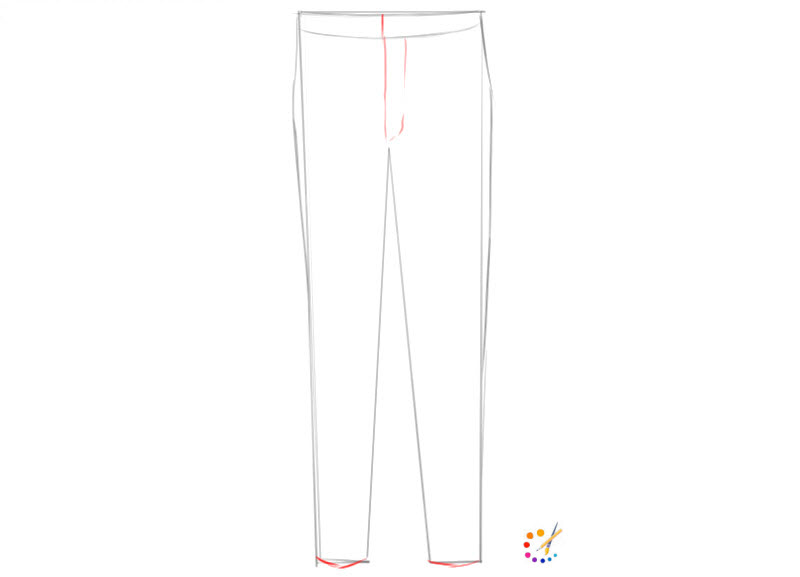
Step 5: Illustrate the zipper by drawing a straight line from waistband’s center.
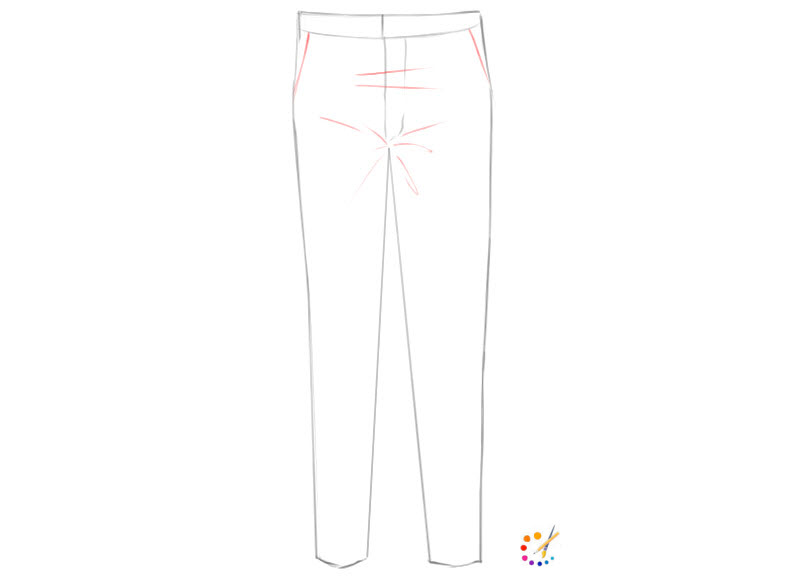
Step 6: Include details on the pant, draw pockets on each side, and shrinks, stretch marks.
Step 7: Draw 2 straight lines in the middle of both legs, illustrating the crease line of pants.
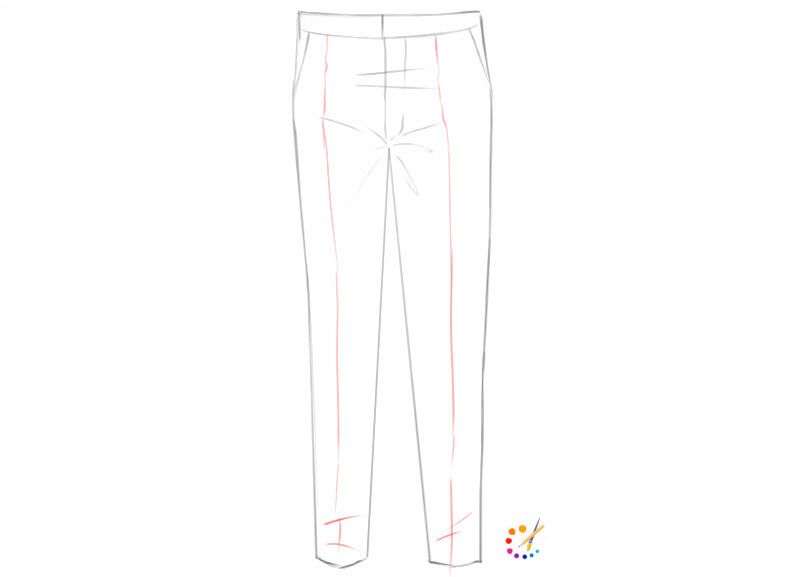
Step 8: Erase all guidelines by removing extra lines and darken all the outlines with a dark marker or pencil.
Step by step pant drawing:
I hope you do well on your drawing.

Skilled teacher, knowledgeable in and in adapting state content standards to individual needs in
Elementary-6th grade classrooms. Utilizes instructional materials, technology, and teaching methods to
engage students in effective learning opportunities in individual, small group, and whole-group settings to
maximize instructional time. Differentiates instruction for ELLs while exposing them to rigorous content,
with a focus on literacy skills in all subject areas. Establishes and maintains appropriate standards of
behavior in an inclusive and respectful environment for students from all socio-economic and cultural
backgrounds. Develops lesson plans using Backwards Planning Method to align content standards and
assessments with effective learning activities. Communicates and collaborates effectively with staff and
parents, and creates a safe and positive learning environment for students. Has taught in both in-person
and virtual environments. Professional Communicator with 20+ years of experience.