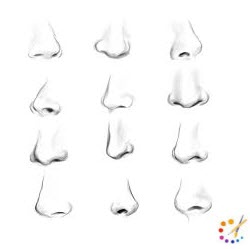
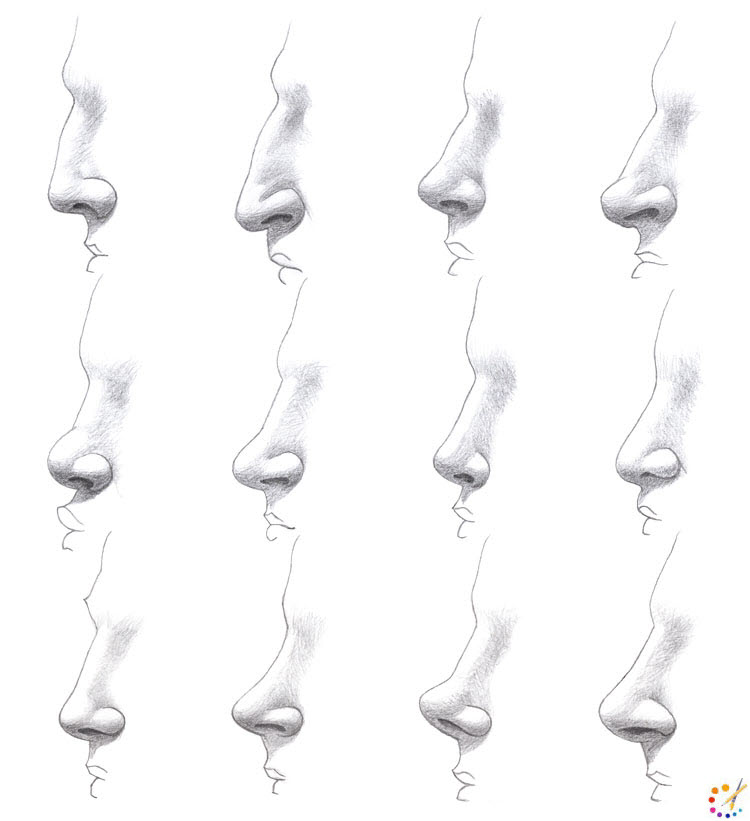
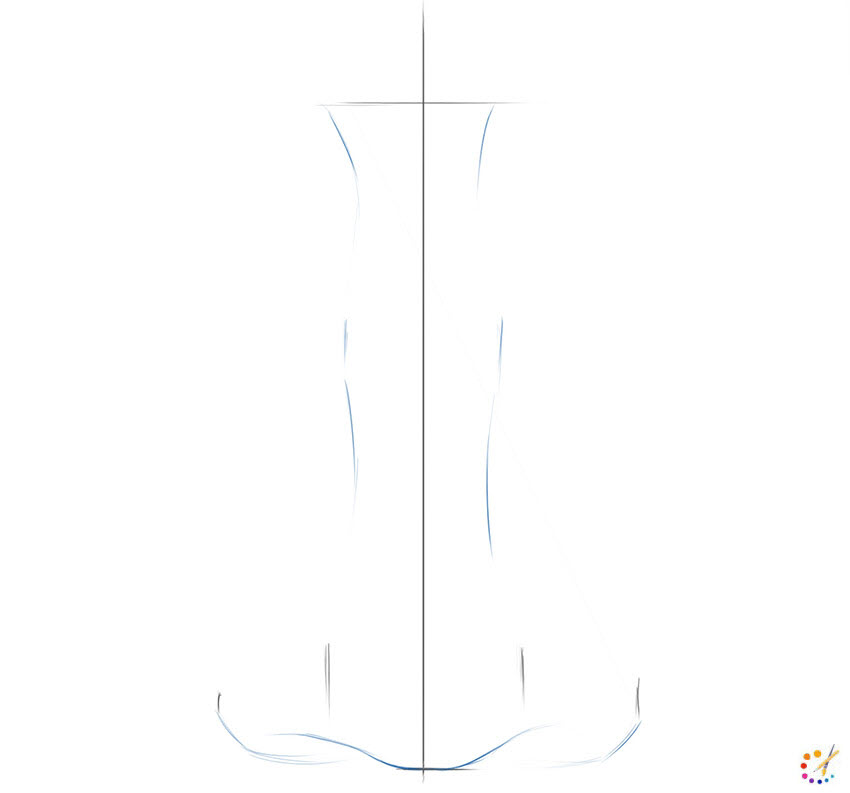
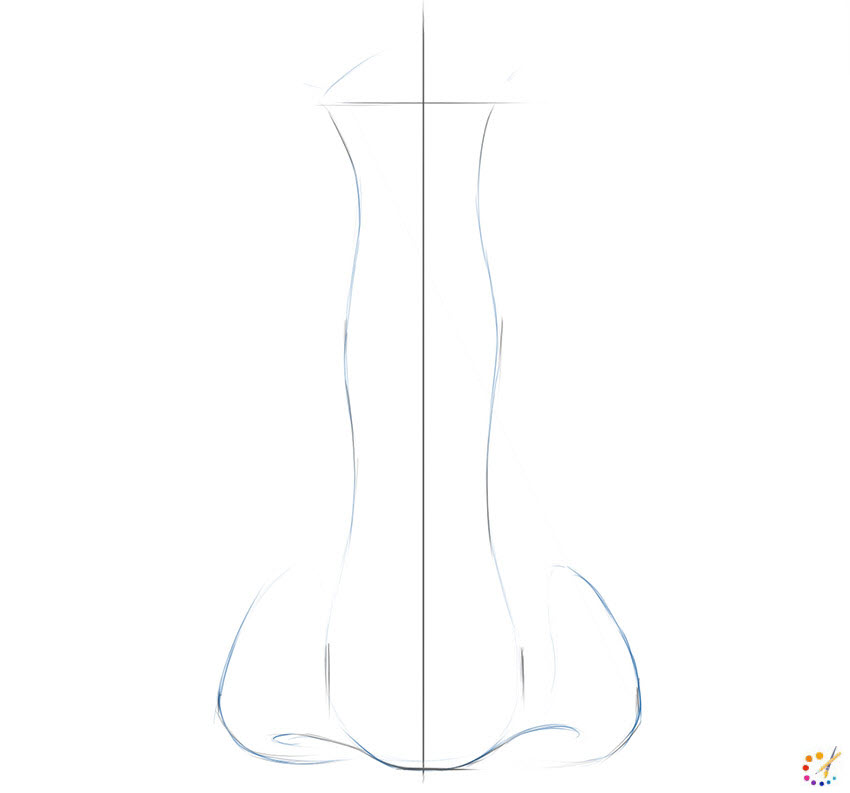
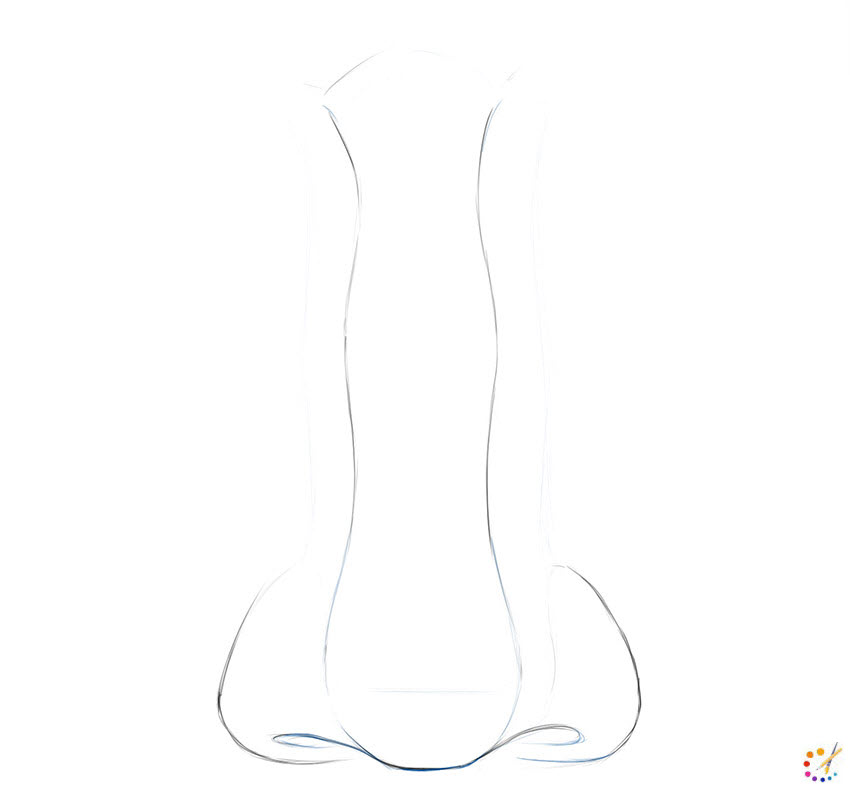
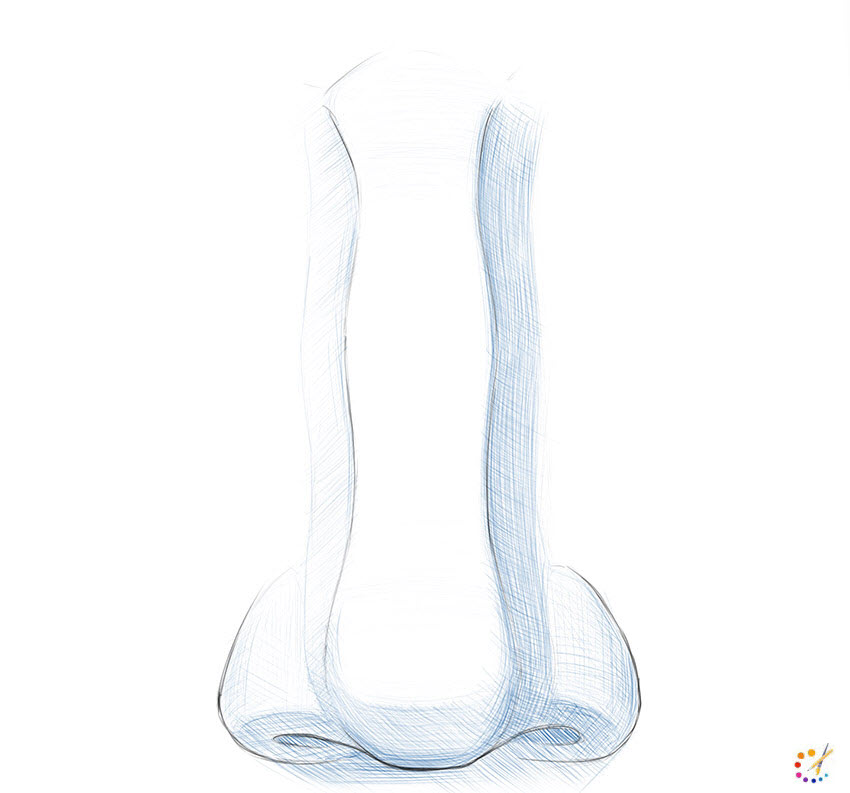
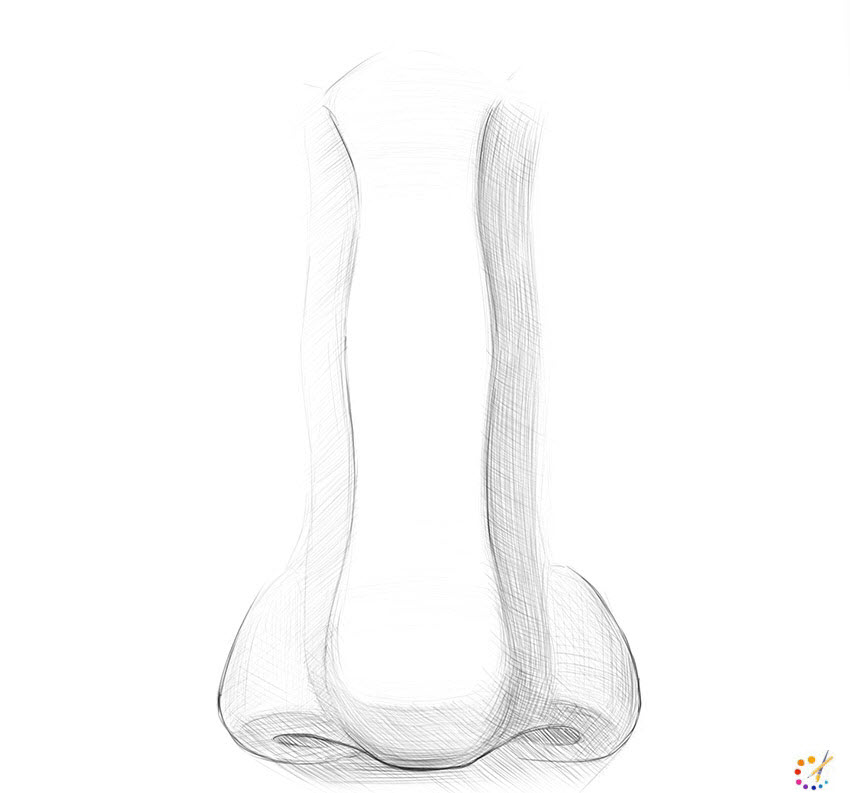
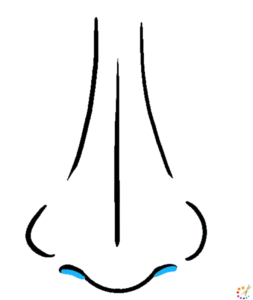
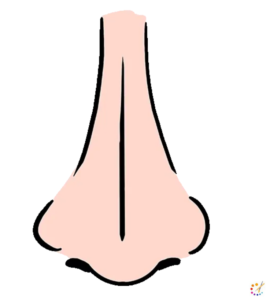
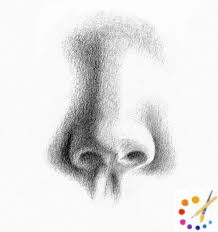
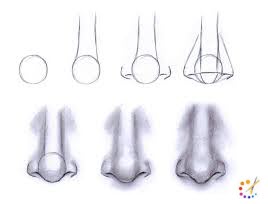
In addition to the facial feature drawing, we are here with how to draw a nose for kids and beginners. Learning every facial feature simplifies facial drawing. The nose is very important among facial features. Without a nose, you could not imagine a human face drawing. Nose physical appearance varies from person to person in every human. Its volume, size, and shape give every human a different appearance. Drawing a nose is not so easy as well as tough, it all depends on practice and observation.
How to draw the side view of the nose:
Drawing a nose tip is a great way to add some detail and personality to your character. By following these steps, you can create a realistic nose that will look great on any character!
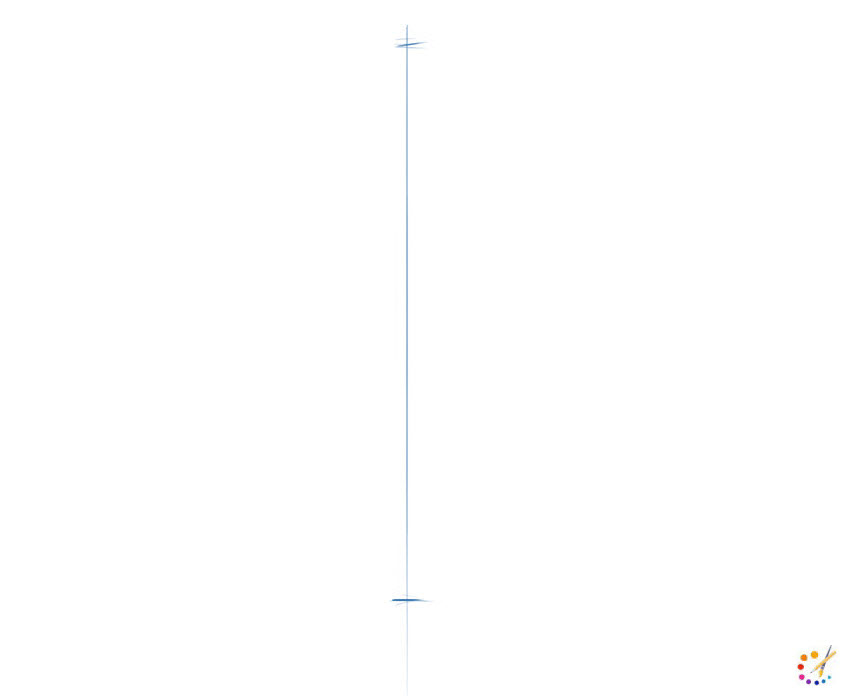
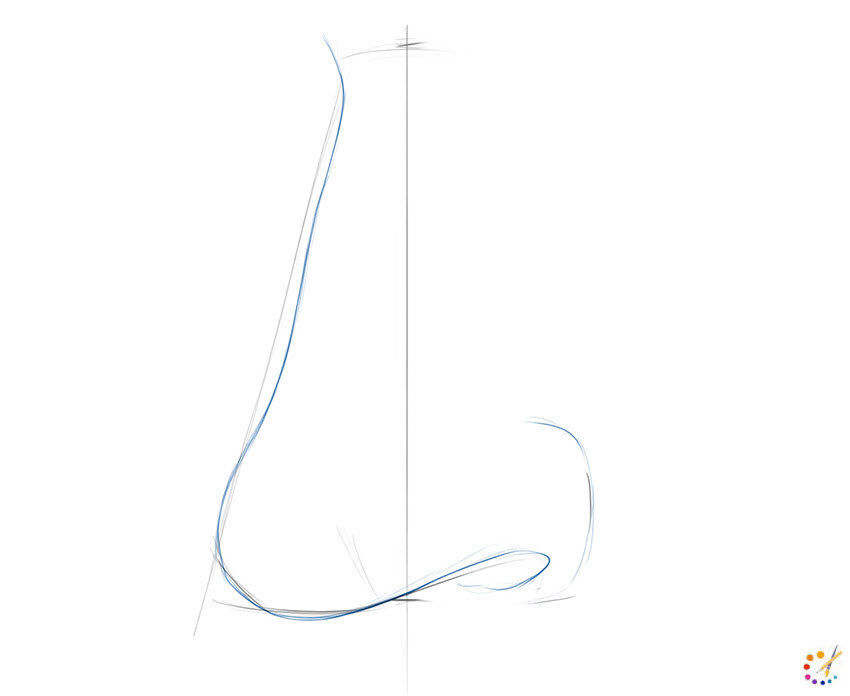
Step 1: Draw a straight line keeping the length of the nose in mind.
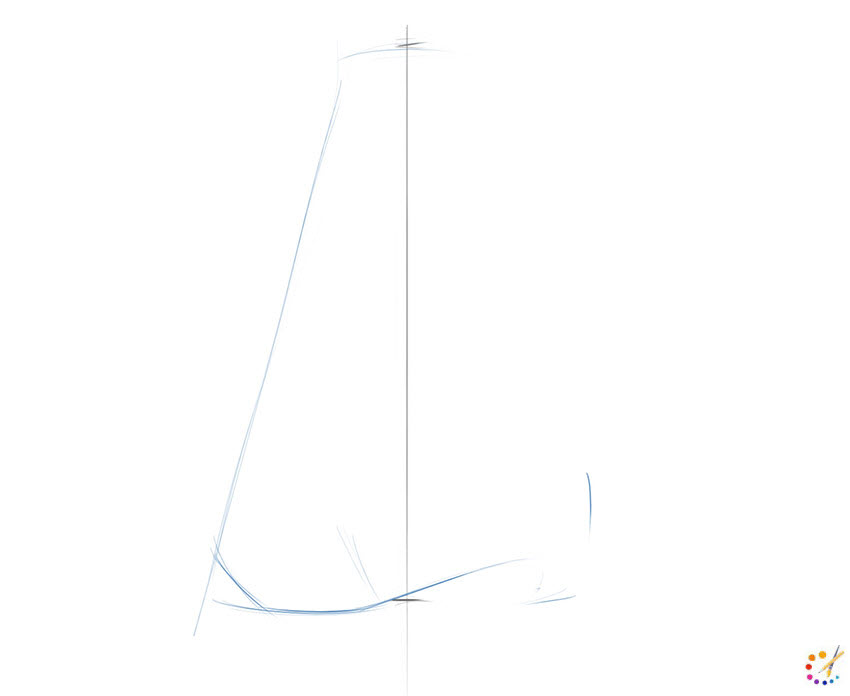
Step 2: On the right side of the line draw the outline and shape for this volumetric object. These outlines will form the wings and the tip of the nose.
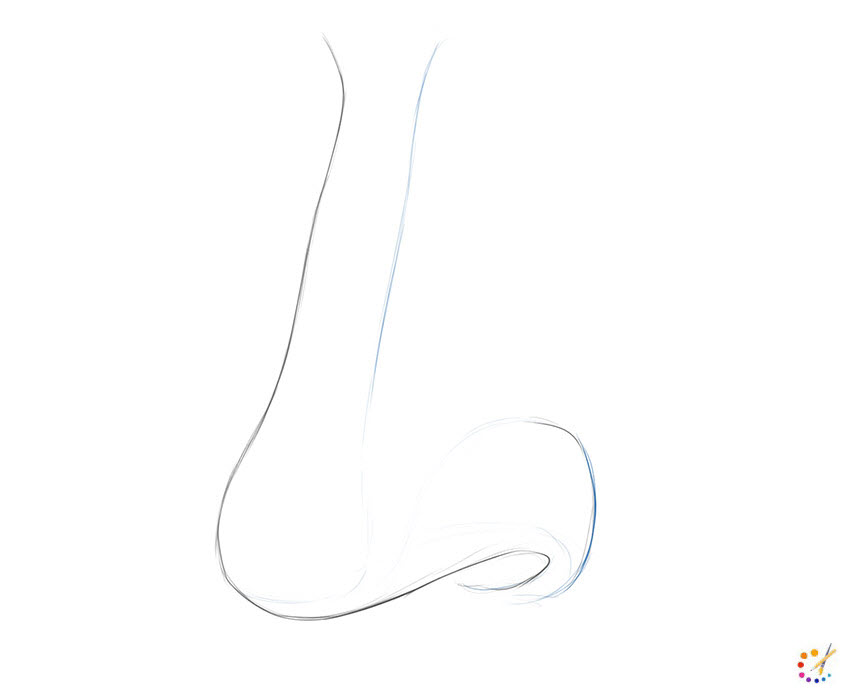
Step 3: Give shape to the nose using the outline, and clearly draw the wing and nostrils. Wing can be a little pointed and curvy, it varies for every human thus need not be very symmetric.
Step 4: Give your nose volume and draw a simple line near the straight outline drawn in step one. This will give volume to the nose. Also, draw and shape the back of the nose wing.
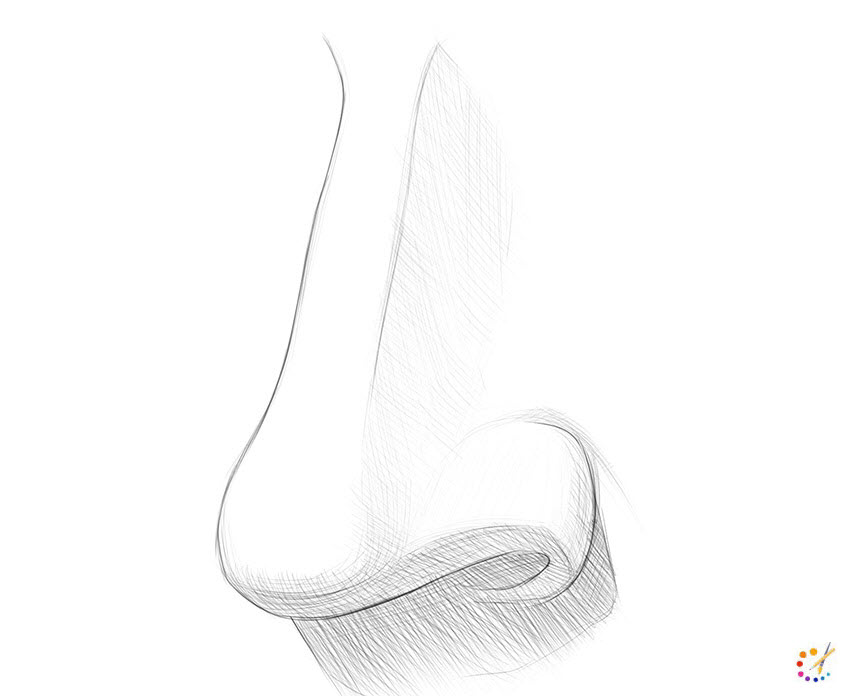
Step 5: In this step complete your nose and use the hatching technique, darken the lower edges of the nose and leave the upper part plain. it will provide more volume to it.
How to draw a front view of the nose:
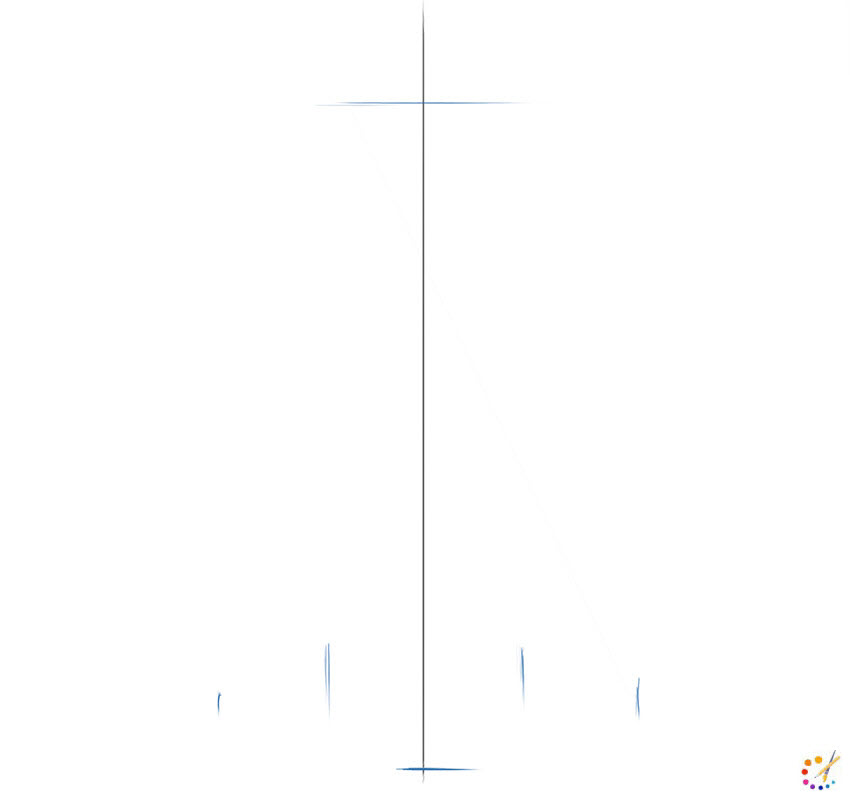
Step 1: Draw a straight vertical line, this line will be the centre of the face as the nose has symmetry.
Step 2: Mark the height and width of the nose for this on both sides draw marks and use it as the final volume and width for the nose.
Step 3: Start drawing nasal dorsum, and this can vary from person to person, use the guidelines of the last step for the tip and wing of the nose.
Step 4: Use a smoother line and give finishing to the wings and tip. Draw nostril and nasal dorsum similar on both sides.
Step 5: Erase all the guidelines and give your nose a clear and clean look, draw all lines smother and visible.
Step 6: Start shading the sides of the nose, for this use the hatching technique. Darken one side of the nose and lightly shade the other side and the tips. The area with dark highlights will look more voluminous.
Step 7: Give the final touch by analyzing it with an image of the nose or the one given below.
How to draw an Anime Nose:
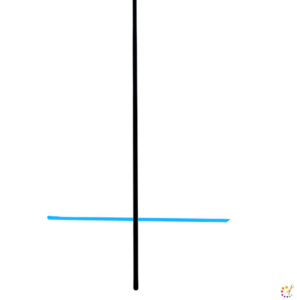
Step 1: To start your nose draw a straight line as the centre of the nose.
Step 2: On the bottom part of the line draw a flat vertical line.
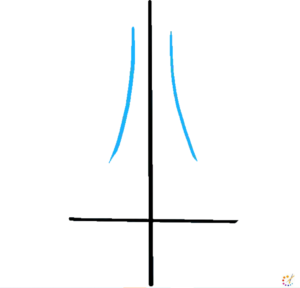
Step 3: On the upper part draw 2 curves on both sides of the line.
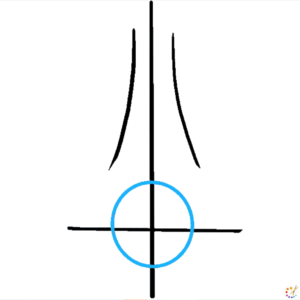
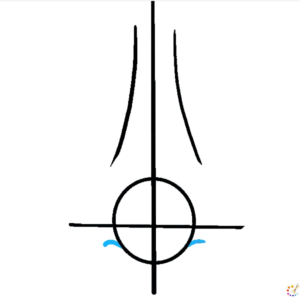
Step 4: At the intersection of both straight-line draw small circles.
Step 5: On both sides of the circle draw 2 small arcs on the side of the circle.
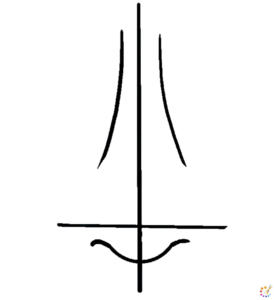
Step 6: Now erase the outlines and you will get the image below.
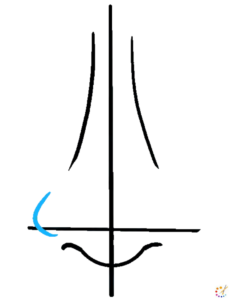
Step 7: Draw a small curve on the right side of the nose forming wing.
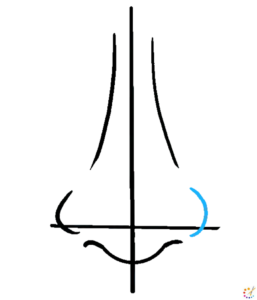
Step 8: Finish your nose with your observation.
Step 9: Color it with skin colour.

Skilled teacher, knowledgeable in and in adapting state content standards to individual needs in
Elementary-6th grade classrooms. Utilizes instructional materials, technology, and teaching methods to
engage students in effective learning opportunities in individual, small group, and whole-group settings to
maximize instructional time. Differentiates instruction for ELLs while exposing them to rigorous content,
with a focus on literacy skills in all subject areas. Establishes and maintains appropriate standards of
behavior in an inclusive and respectful environment for students from all socio-economic and cultural
backgrounds. Develops lesson plans using Backwards Planning Method to align content standards and
assessments with effective learning activities. Communicates and collaborates effectively with staff and
parents, and creates a safe and positive learning environment for students. Has taught in both in-person
and virtual environments. Professional Communicator with 20+ years of experience.


