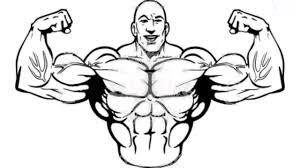
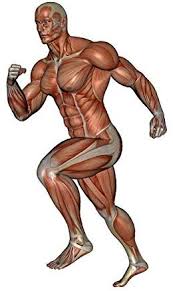
This tutorial is about how to draw muscles step by step for kids and beginners. If you are willing to be a good artist you must be skilled in the human body. Thus, today’s drawing lesson is focused on how to draw muscles.
Muscles contract very easily and became small to give movement to that body. They are a bunch of contractile tissues. They allow us to do our every big and small movement of the body as sit, run, walk, talk, eat. We must thank them for being so flexible.
We will start with drawing upper body muscles excluding hands. You will find it easy as this tutorial is divided into steps to render your muscles. You need a pencil, paper, eraser, and a marker to practice this tutorial.
How to Draw Muscles
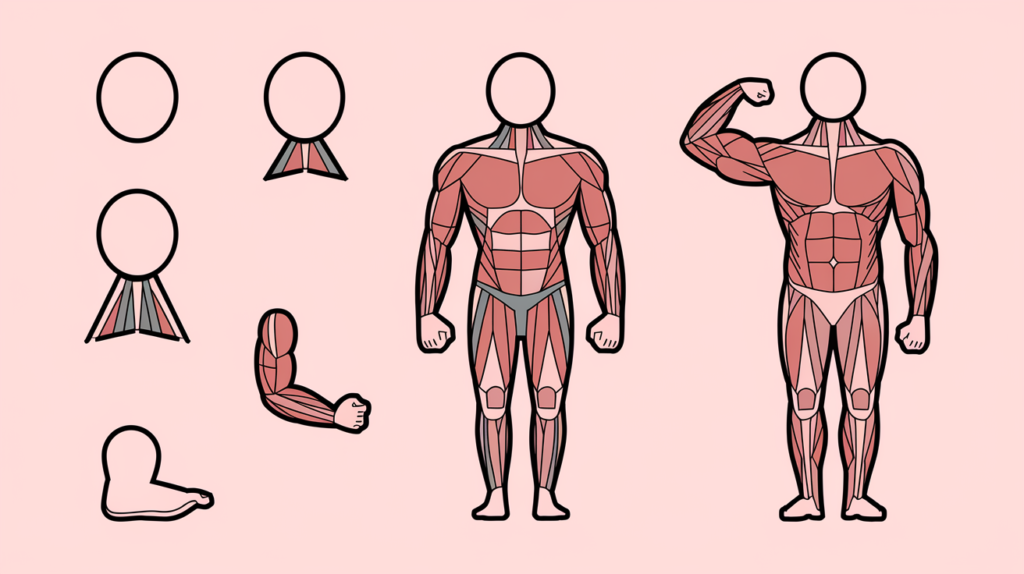
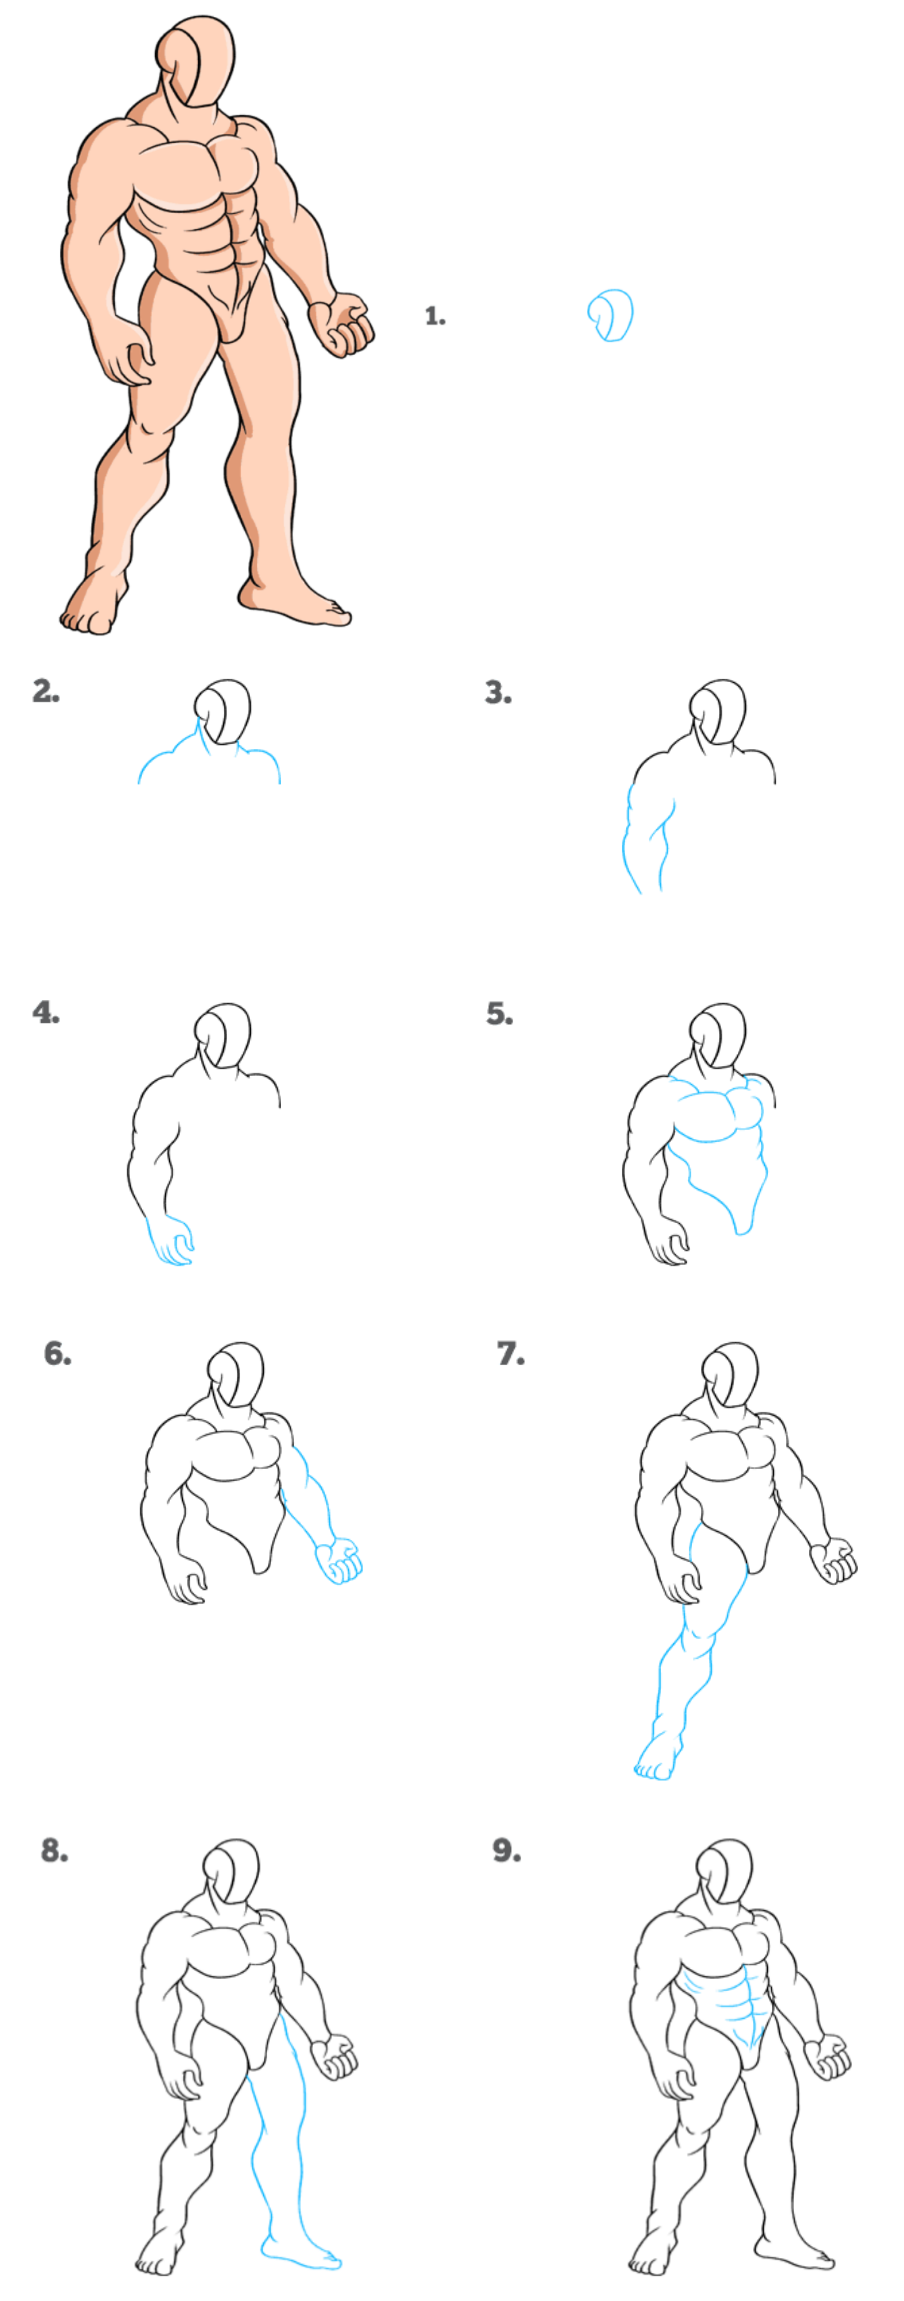
Step 1: As you have seen a muscular body is wider on top and narrow at the end. Thus draw accordingly frame for your muscle drawing. Use small curves to draw it as muscles are not flat. Draw it in the downward direction, starting from the top and heading towards the bottom
Step 2: By using 2 lines draw below the neck illustrating color bone. In this step, only your drawing starts projecting muscles.
Step 3: In the center of the body draw muscles of the chest, narrow at the center of the body and wider at outside. Start it just below the collar bone drawn in step 2.
Outline these muscles using a set of curves joining together and forming a squircle ie, not a square or a perfect circle.
Step 4: Below the chest muscle draw outline for abs. Form the outer end of both chest muscles draws 45 degrees of the curve. Then draw a curvy line toward the bottom, wider above, and narrower at the end, refer to the image given below.
Step 5: In this step, you can draw individual abs with the help of horizontal lines.
Step 6: Draw arm muscles splitting them into biceps, defining curves in the outline drawn.
Step 7: Draw a straight diagonal line for neck muscles shown in the image, start it from the inner collar bone to the ear.
Step 8: Draw a bunch of muscles on both sides below the chest on the abdomen. Illustrate them with wavy lines joining each other.
Step 9: This is the final step to finishing it, add small curves to finish the muscles, and look different. You can erase extra lines drawn. Draken the outline to contour the drawing.
We learned upper body muscle drawing, if you want to draw a little slimmer body then adjust the different muscles accordingly. Below we are providing steps for how to draw anime whole body muscle.
Few muscles in to body are supported bones for example, biceps, abs, pectoral muscles, or calves. Draw them bulky and bigger in comparison to other muscles.
Hope you enjoy your anime body muscle drawing. Following these and with a little bit of change, you can draw your superhero as Hulk, Superman, or Doomsday. As I always says practice makes once perfect, keep on practicing different superhero and villains.
You can also see other drawings as:
Here is a step-by-step guide on how to draw muscles effectively:
Step 1: Understand Muscle Anatomy
- Study the basic structure of human muscles, especially large muscle groups such as the biceps, triceps, deltoids, pectorals, and abs.
- Focus on shapes—muscles are often simplified into ovals, cylinders, or curved lines.
Step 2: Sketch the Skeleton Structure (Framework)
- Draw a light sketch of the skeleton or stick figure to determine the pose.
- This step helps to set the proportions, posture, and balance of the figure.
Step 3: Outline Major Muscle Groups
- Start with larger muscle groups like the chest, arms, and legs.
- Use basic shapes (like circles or ovals) to block out areas where muscles will be drawn.
Step 4: Draw Muscle Contours
- Add detailed lines around the basic shapes to outline individual muscles.
- Pay attention to areas where muscles overlap or bulge, like the upper arms and thighs.
Step 5: Add Definition to Muscles
- Use shading to create depth, showing which muscles are flexed or in shadow.
- Add fine lines to suggest muscle striations (fibers) in places like the biceps or abs.
Step 6: Refine the Details
- Smooth out the lines, adjusting any proportions that feel off.
- Make muscles appear more organic and less rigid by blending edges softly where necessary.
Step 7: Add Skin Texture and Final Shading
- Use cross-hatching or soft shading to suggest skin over the muscles.
- Emphasize areas where light hits (highlights) and where shadows fall.
Step 8: Erase Guidelines and Finalize
- Clean up your drawing by erasing the framework and unnecessary lines.
- Go over the important outlines with stronger lines to make the muscles stand out.
Bonus Tips:
- Reference real-life photos or anatomy books to improve your accuracy.
- Practice drawing dynamic poses to learn how muscles change with movement.

Skilled teacher, knowledgeable in and in adapting state content standards to individual needs in
Elementary-6th grade classrooms. Utilizes instructional materials, technology, and teaching methods to
engage students in effective learning opportunities in individual, small group, and whole-group settings to
maximize instructional time. Differentiates instruction for ELLs while exposing them to rigorous content,
with a focus on literacy skills in all subject areas. Establishes and maintains appropriate standards of
behavior in an inclusive and respectful environment for students from all socio-economic and cultural
backgrounds. Develops lesson plans using Backwards Planning Method to align content standards and
assessments with effective learning activities. Communicates and collaborates effectively with staff and
parents, and creates a safe and positive learning environment for students. Has taught in both in-person
and virtual environments. Professional Communicator with 20+ years of experience.


