Discover how to draw a lizard that is one of the most well-known reptiles found all over the globe except in Antarctica. This article is beneficial for every child and beginners who want to learn this.
Drawing lizard is a simple task, if you begin to draw and learn the basics it will be simple for you to follow the practice. The provided Lizard drawing tutorial is quite simple you just need to follow each step step by step.
Continue practicing and working because this is the only means to be flawless. This tutorial needs paper, pencil, eraser, or some colors if you also want to color your drawing.
How to draw a Lizard
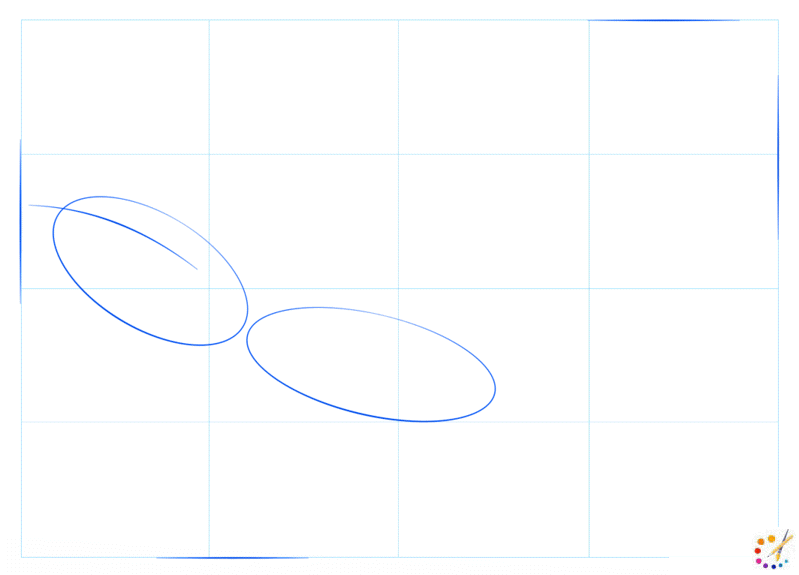
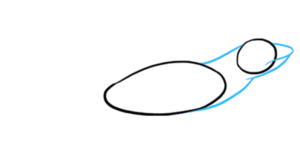
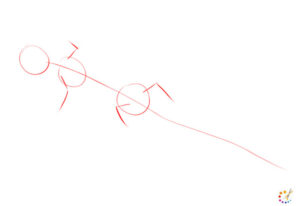
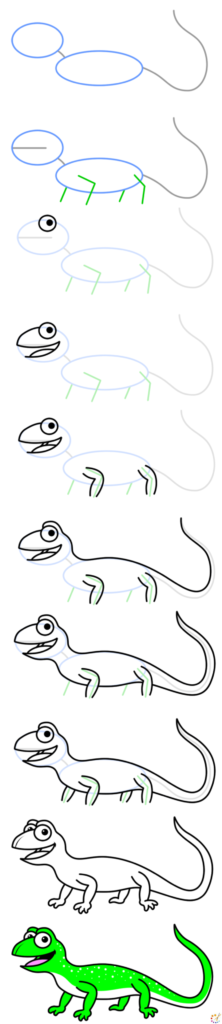
Step 1: Based on the height and width of the lizard draw 2 ovals joined to one another. Draw a line in the right side of the oval as a head center.
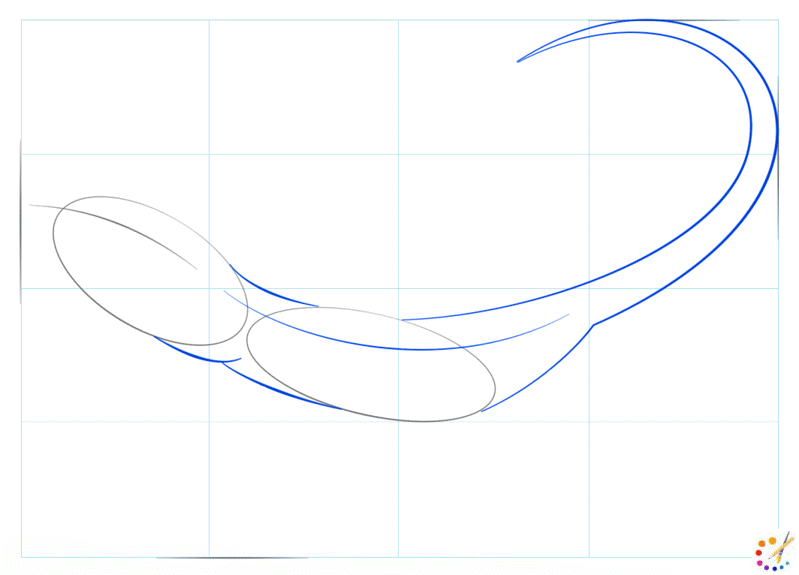
Step 2: Draw 2 curved lines between the ovals drawn and a neck is created. Then extend a curved line further from the top of the second oval curving inwards as it goes upwards. Then draw a curve line from underneath the oval and join with the pointed end of the first curve.
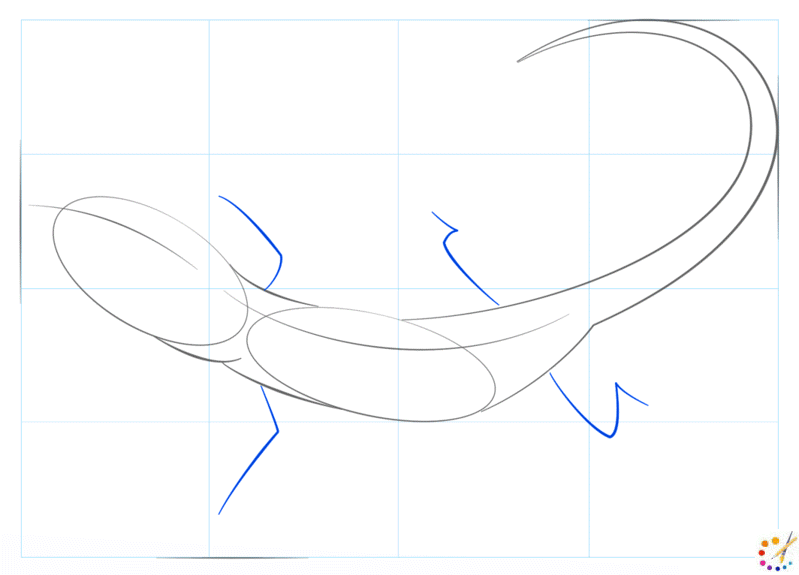
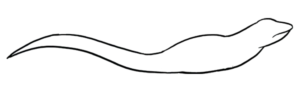
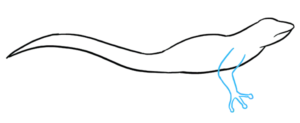
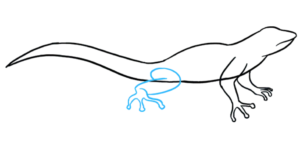
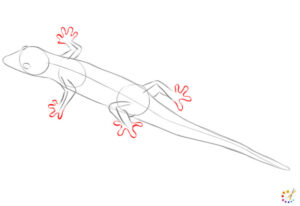
Step 3: Designate the position for the lizard’s leg and draw 4 lines for legs.
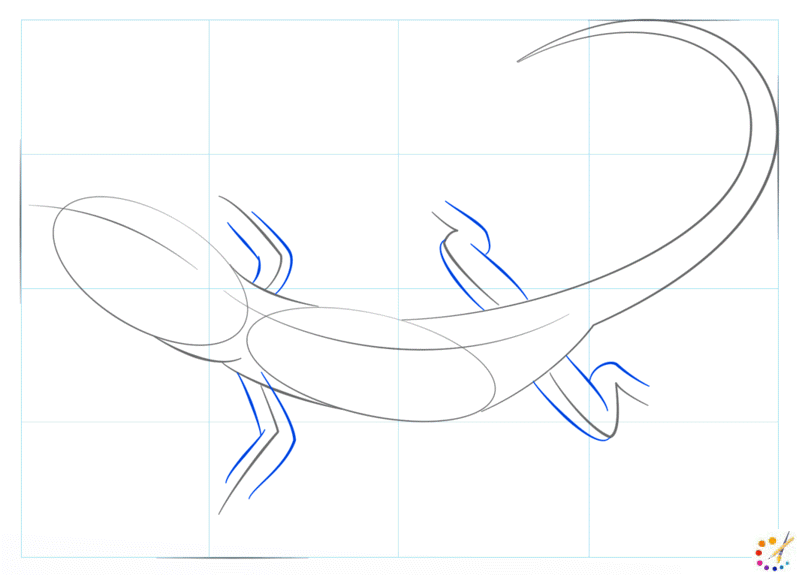
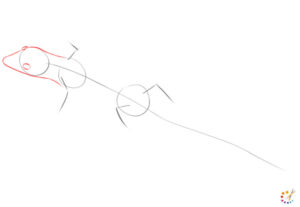
Step 4: Draw legs around the outline drawn with a curved line, back legs folded in outward direction and front legs in forwarding direction.
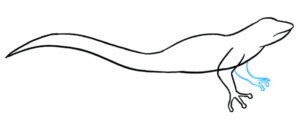
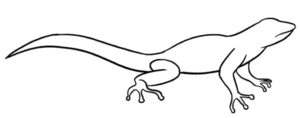
Step 5: Draw the pointed mouth and 5 pairs at the front of each leg.
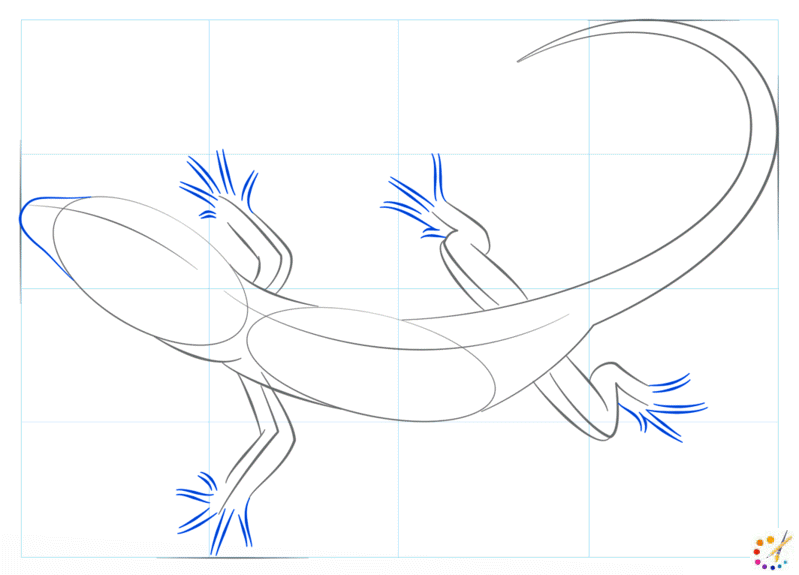
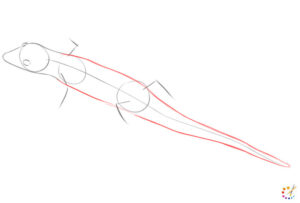
Step 6: Add claws in between the fingers and draw eyes for the reptile.
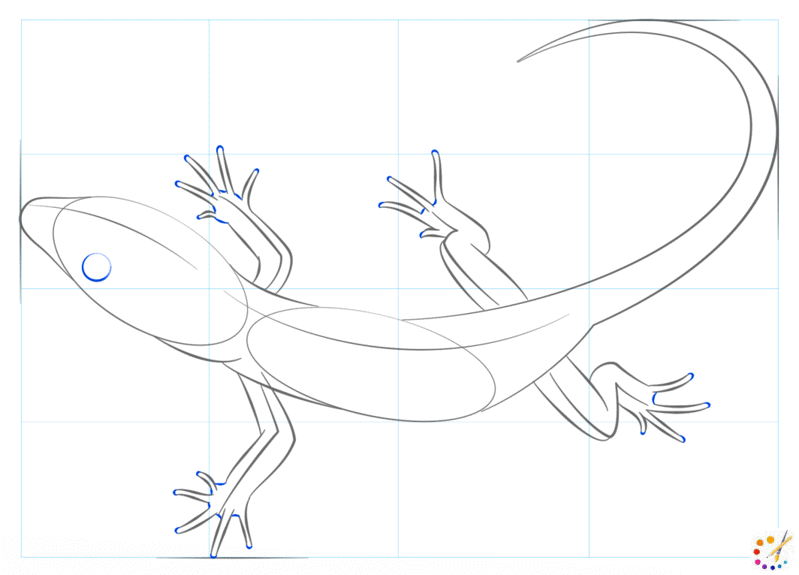
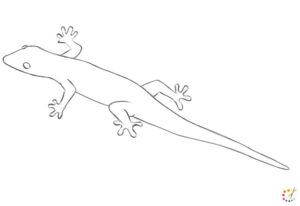
Step 7: Work on the other parts of the animal, add a nose, and some more details.
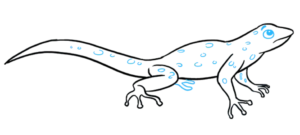
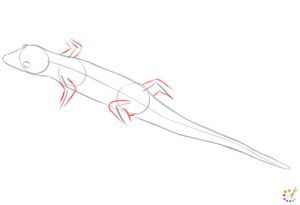
Step 8: Attempt to vary the darkness and thickness of the lizard, contour the entire drawing. Add some dots and lines in the body.
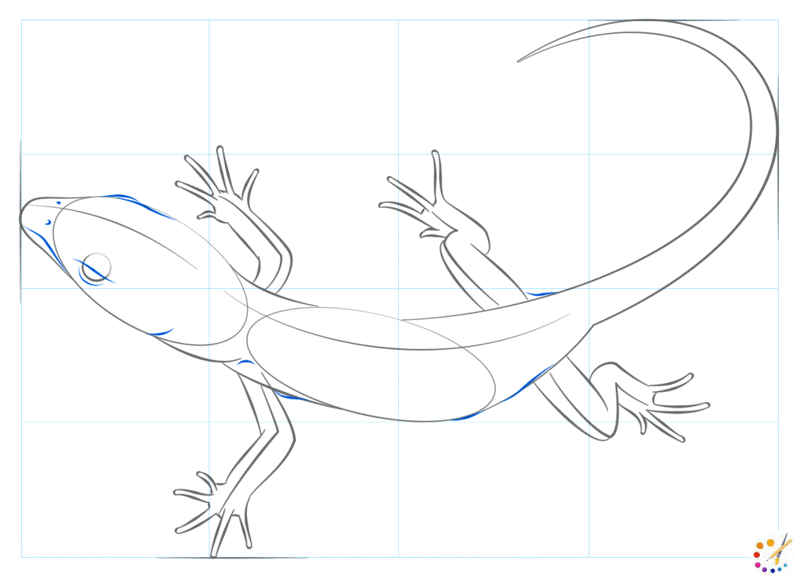
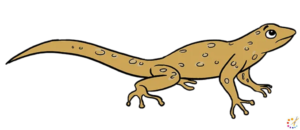
Step 9: Add notes everywhere on the ground and erase the guidelines once contouring.

How to draw a lizard for kids:
To draw a lizard for children begin with a circle and an oval below it.
- Connect both the oval and circle from the top and lower portion and draw the neck.
- Draw the neckline from the back of the circle and bring it back towards the head. Connect this curve with a line from the lower portion of the neck.

- Make a long curved line which is also further connected by another curved line at back and make tail for lizard.
- Delete all the surplus lines you see in the below figure and have the clear contour for the lizard.

- Make front leg with folded curved line and further bifurcated into 3 limbs.
- Make second front leg similarly from the first one’s joint.
- Now draw back legs, repeat the same folded curved leg, which is positioned inside in the middle.
- After completing legs erase lines which are overlapping.
- Draw tiny curves and points, also popping out the last leg in this step.
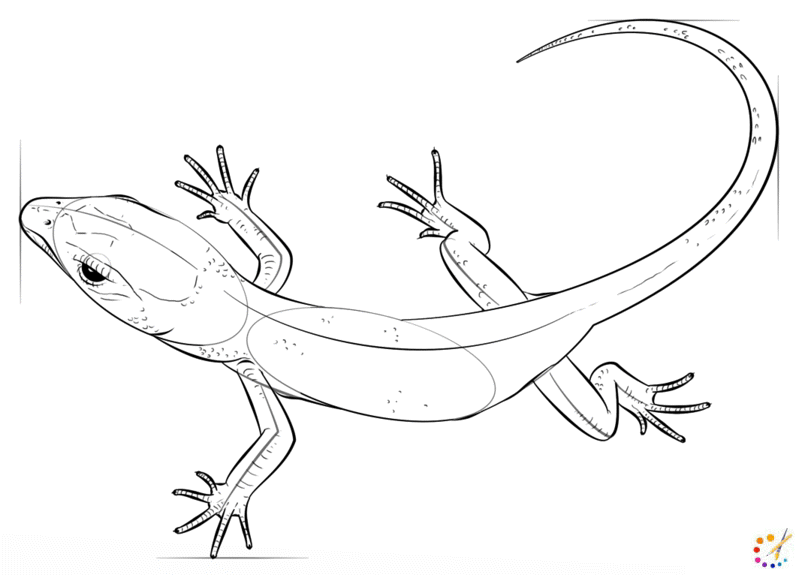
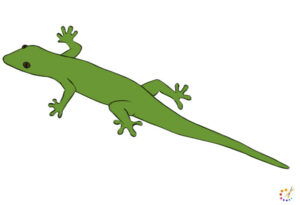
- Paint it with skin color and outline with black color.
How to draw step by step lizard:
While studying lizard drawing we should know some facts:
- Lizard’s eyelid can move.
- Lizards nearly present all over the globe
- Lizards avoid water.
- They need sunlight for survival.
- They come in all sizes from some inches to feet.
- Their tail is extremely fragile and can be regrown if hurt.

Skilled teacher, knowledgeable in and in adapting state content standards to individual needs in
Elementary-6th grade classrooms. Utilizes instructional materials, technology, and teaching methods to
engage students in effective learning opportunities in individual, small group, and whole-group settings to
maximize instructional time. Differentiates instruction for ELLs while exposing them to rigorous content,
with a focus on literacy skills in all subject areas. Establishes and maintains appropriate standards of
behavior in an inclusive and respectful environment for students from all socio-economic and cultural
backgrounds. Develops lesson plans using Backwards Planning Method to align content standards and
assessments with effective learning activities. Communicates and collaborates effectively with staff and
parents, and creates a safe and positive learning environment for students. Has taught in both in-person
and virtual environments. Professional Communicator with 20+ years of experience.