Learning to draw hibiscus will make you proficient in drawing very pompous, ornamental, and brightly colored flowers. They attract hummingbirds and butterflies quite easily. They are also used as herbal medicine and tea in a variety of cultures.
Yellow Hibiscus flower is the state flower of Hawaii and referred to as a Hawaiian flower. Do you want to draw a hibiscus flower then read, the following simple step-by-step tutorial?
You will require some colors to complete your drawing, it is always advisable to use some sort of user-friendly colors. You can also learn to draw rose.
How to draw a Hibiscus for kids:
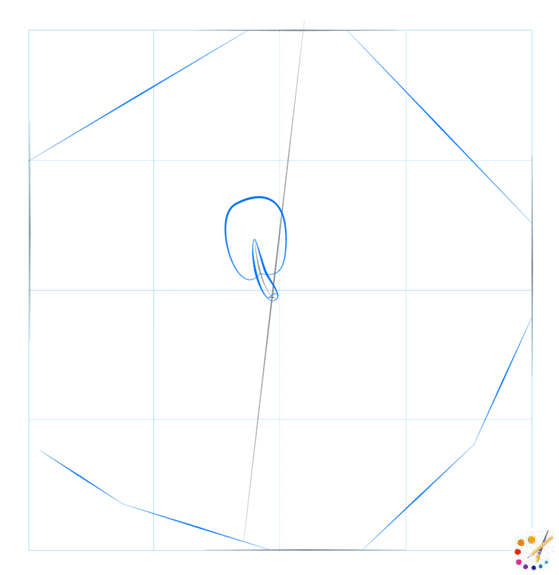
Step 1: Draw a line in diagonal shape to begin with the picture observing the height and width of it and mark a curve line in the middle part of it.

Step 2: Firstly, draw a sharp spike type of shape draped with a round square. Also, draw 4 diagonal lines on the edges of the paper as shown below.
Step 3: Draw 5 curves lines in the corner of the papers from the center.
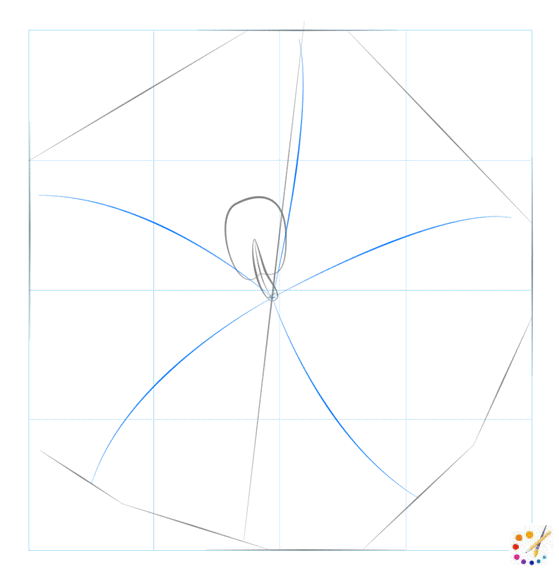
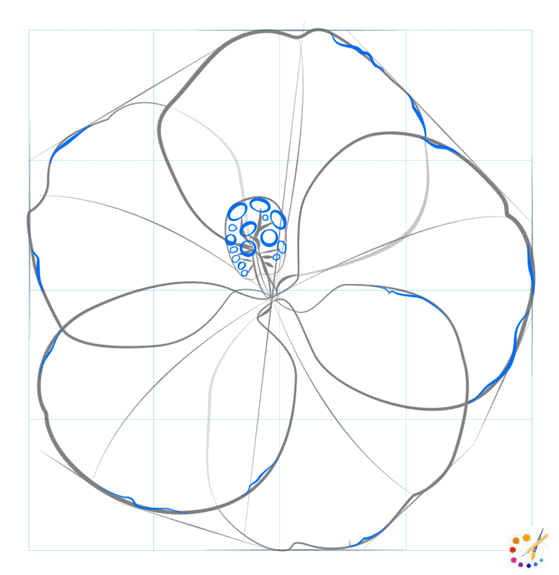
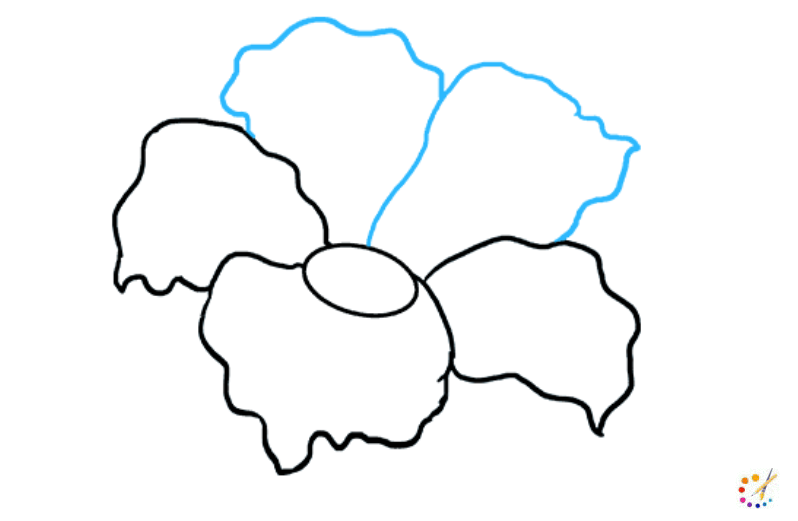
Step 4: Now draw the flower’s petals, begin with the center of the flower and draw round thick shape coming back towards the center. Draw 3 petals where 2 are overlapped.
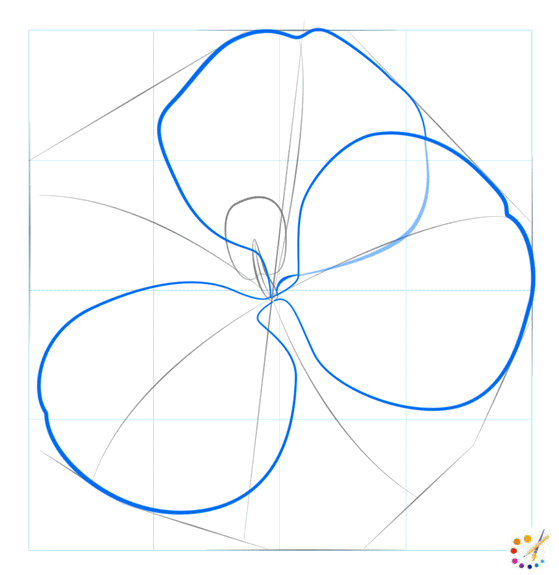
Step 5: Draw 2 more overlapped petals and thin branched stamen.
Step 6: Sketch the petals using wavy lines and draw little round ovals above stamen.
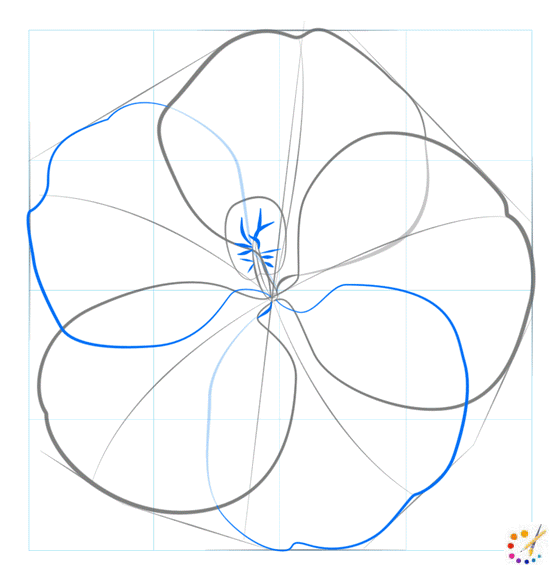
Step 7: Draw the outer wall with thicker lines and lots of random fine lines to change the thickness.
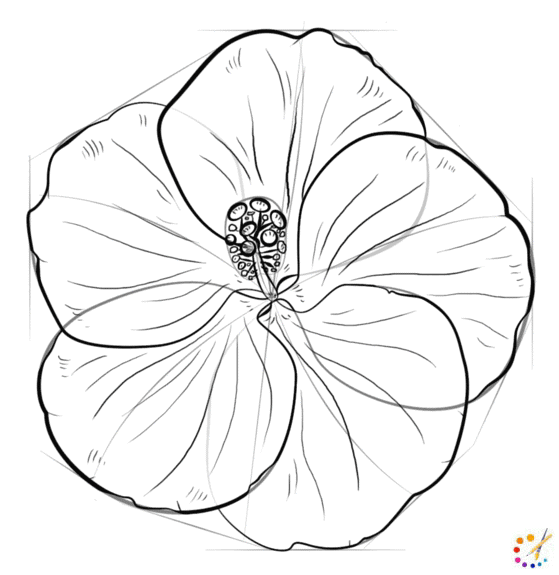
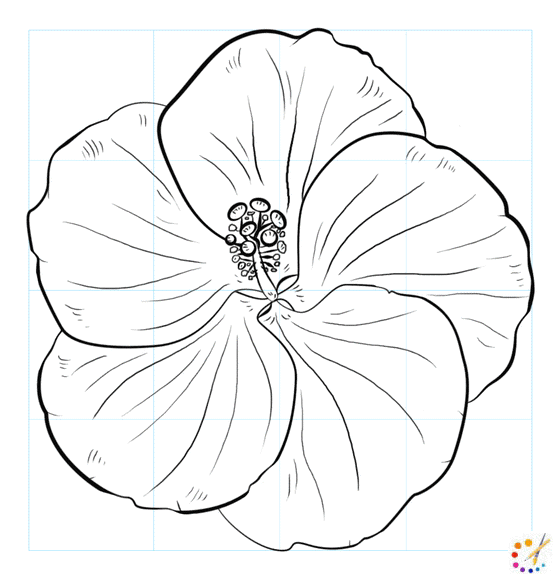
Step 8: Draw attention to the entire image outline contour it and remove all the unnecessary lines.
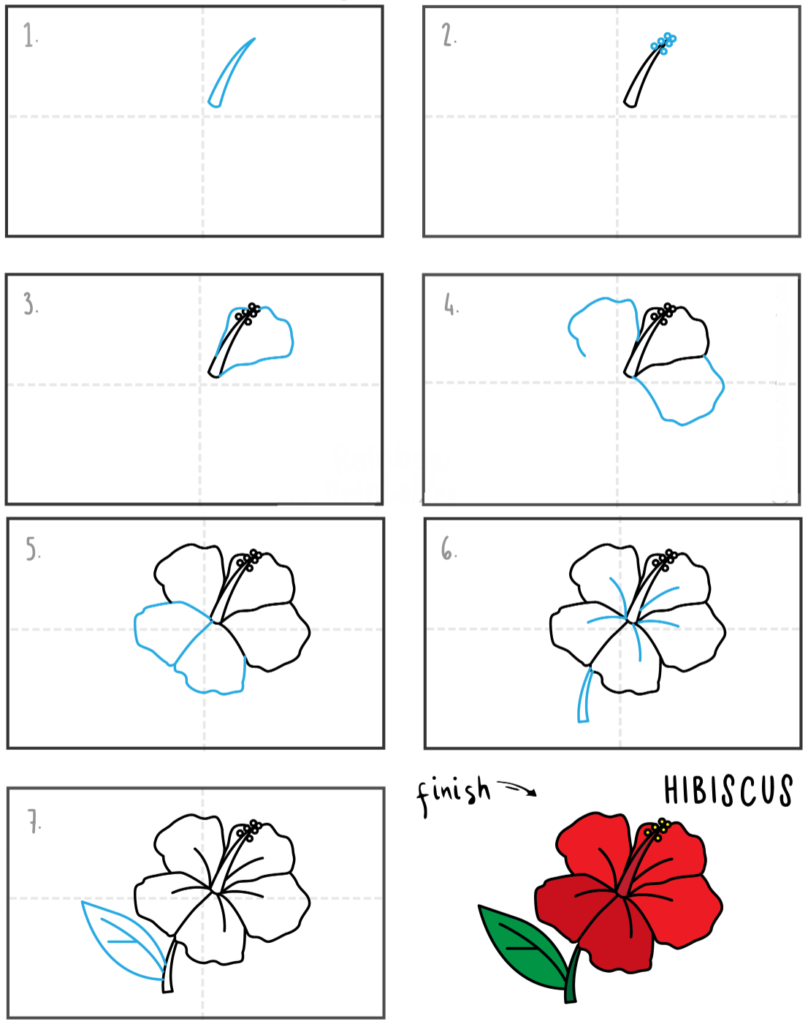
How to draw a Hibiscus with leaf:
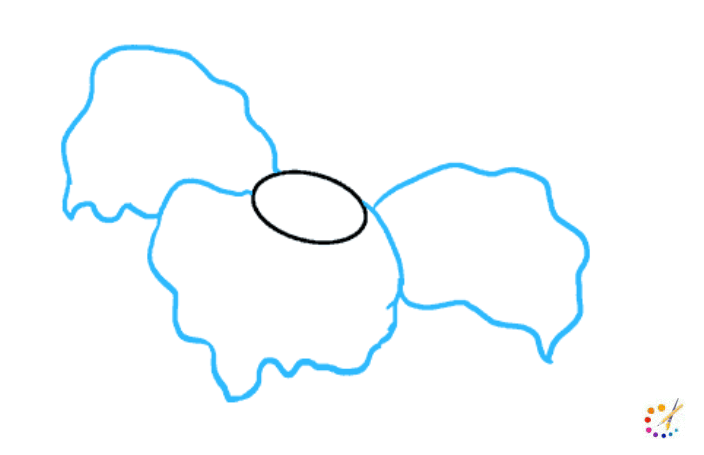
Step 1: Begin your drawing with the slanted oval for the flower center as given below.

Step 2: From one side of the flower center begin drawing wavy line in the direction towards the other side of the oval, begin another wavy jagged line from the petal and connect to the beginning point of the first petal. Similarly, draw the third petal.
Step 3: Draw 4th and 5th petals in the same way as described above.
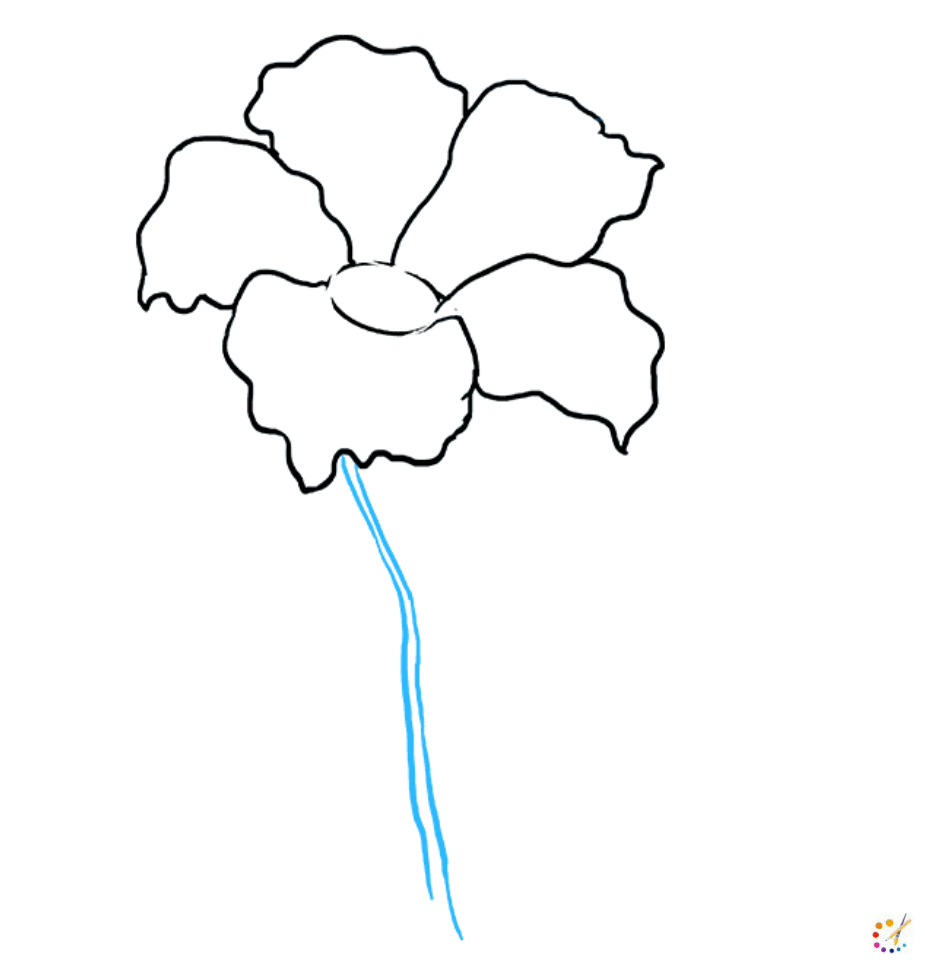
Step 4: Draw stalk by using the curved line of lower petal, they can be parallel to each other.
Step 5: Draw 2 parallel line from the middle of the flower it will make style, bifurcate them in two and draw round over it. On both sides of it draw small rounds.

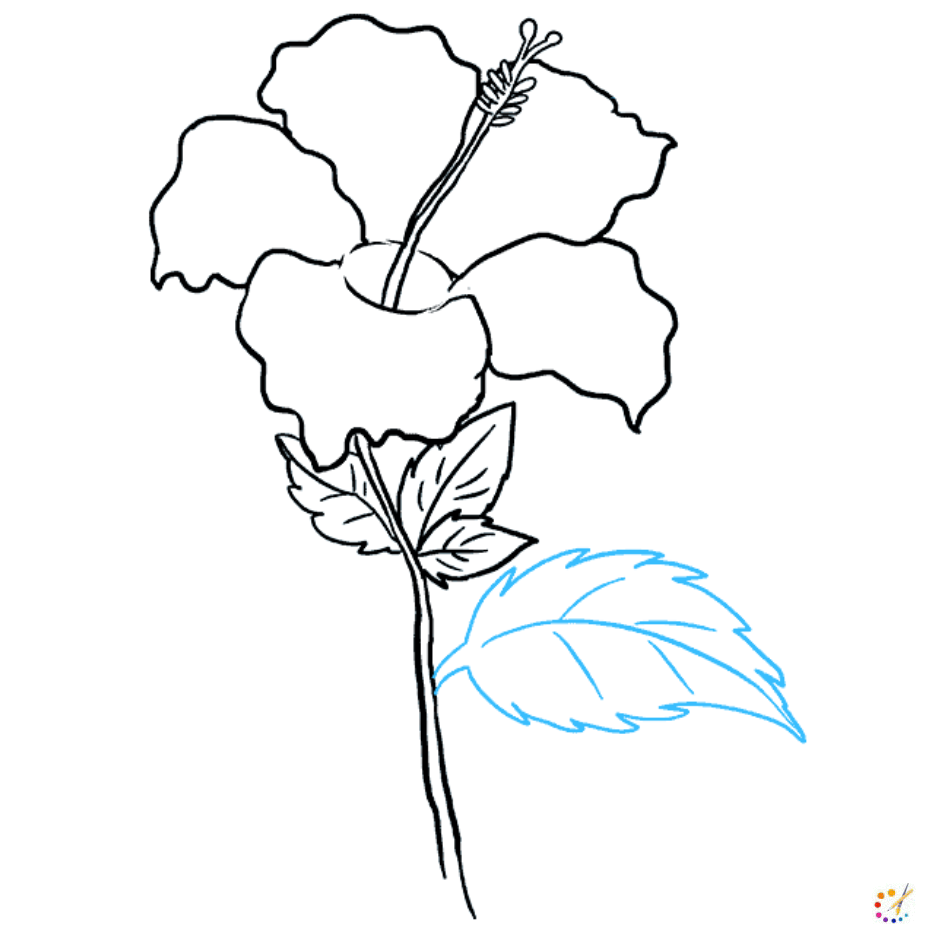
Step 6: Draw small 3 leaves joined with the stalk using the number of curved lines meeting at the jagged end. Draw central and branched veins of the leaf.

Step 7: Draw another pointed large leaf below the first drawn leaves. Draw central veins and other small branches of veins from it.
\\[]\
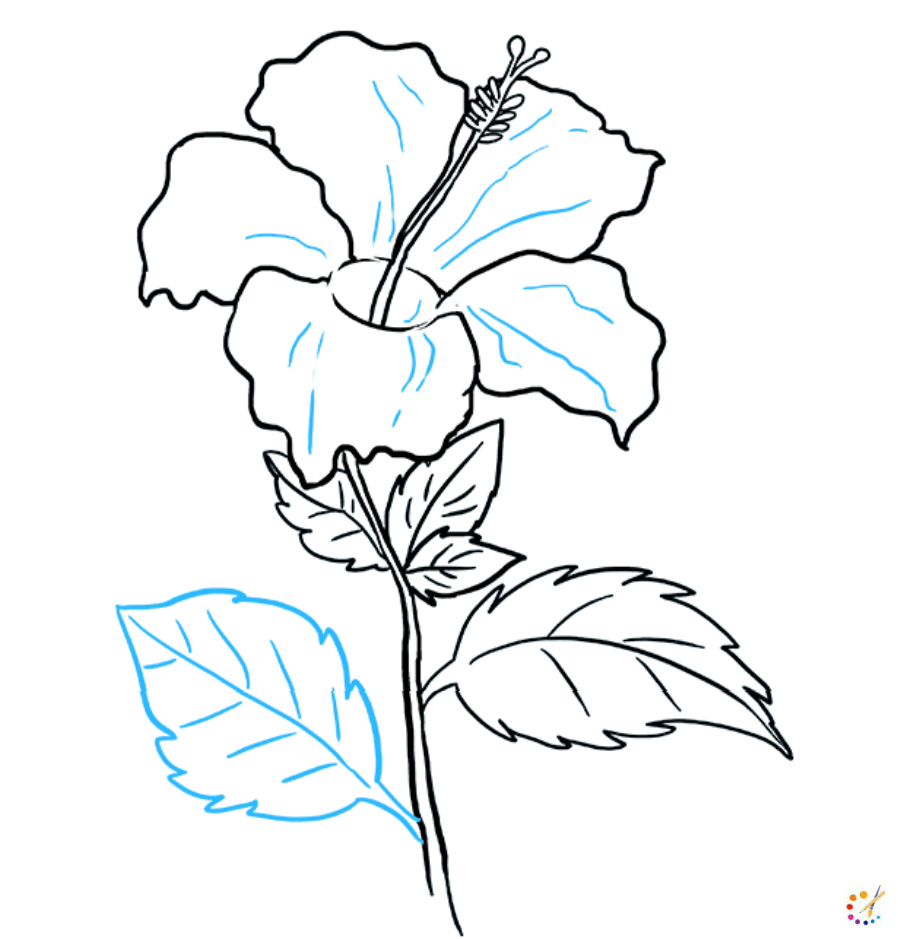
Step 8: On the stem’s opposite end once more, draw a leaf in the same direction. More lines to add to the coming out of petal from inside the flower.
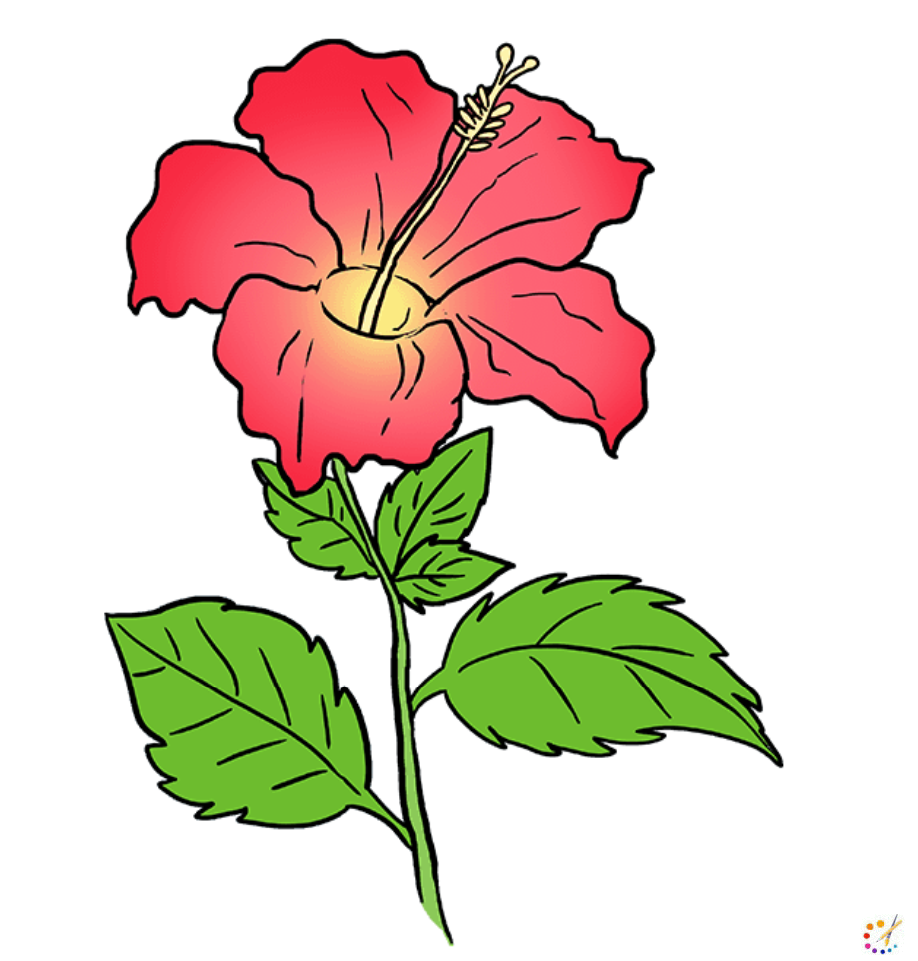
Step 9: Dark red fill your picture on petals and a yellow hue for style, color leaves with green, you can go around the whole picture with black.
How to draw step by step hibiscus:


Skilled teacher, knowledgeable in and in adapting state content standards to individual needs in
Elementary-6th grade classrooms. Utilizes instructional materials, technology, and teaching methods to
engage students in effective learning opportunities in individual, small group, and whole-group settings to
maximize instructional time. Differentiates instruction for ELLs while exposing them to rigorous content,
with a focus on literacy skills in all subject areas. Establishes and maintains appropriate standards of
behavior in an inclusive and respectful environment for students from all socio-economic and cultural
backgrounds. Develops lesson plans using Backwards Planning Method to align content standards and
assessments with effective learning activities. Communicates and collaborates effectively with staff and
parents, and creates a safe and positive learning environment for students. Has taught in both in-person
and virtual environments. Professional Communicator with 20+ years of experience.