Hi.! students we are here to guide you how to draw a cube. We are here with accurate guidance on drawing a cube. In this tutorial, there is a step-by-step guide for you, you just need a pencil, a sheet, and an eraser. Cube is a geometric figure and utilized in mathematics for extremely regular. Whenever we view a cube it looks complex. Learn to draw a cube through this simple tutorial depicted below. But first, do you know the cube, what it is.?
What is a Cube:
Cube is a closed shape form with joining 6 squares of the same size. It is also termed hexahedron. It is a 3D structure having length, breadth, and height. It has 6 sides with 12 edges, 8 vertices, and its main parts are Face, edges, vertex, face diagonals, space diagonals.
How to draw cube for kids and beginners:
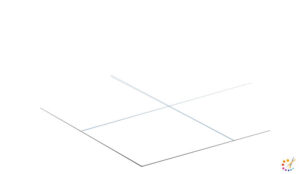
Step 1: Draw 2 adjacent lines on the top corner side of the page.

Step 2: From the middle of both lines draw 2 other lines which are intersecting at a point.
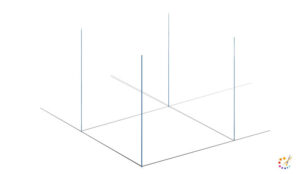
Step 3: Draw 4 lines from each joining point of lines.
Step 4: Draw 2 another adjacent line parallel to step 1 in the way they lie over the 4 vertical lines.
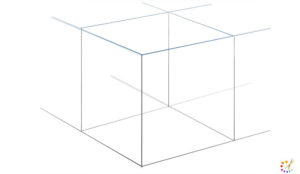
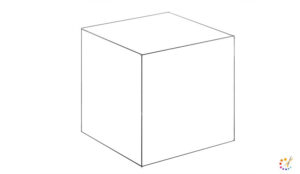
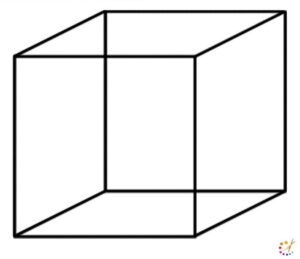
Step 5: Remove outlines and other lines extending out of the box and you will have an image as shown below.
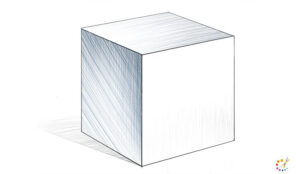
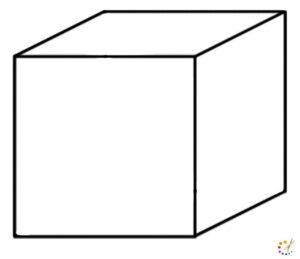
Step 6: Shade top and left side of the box to provide depth and volume.
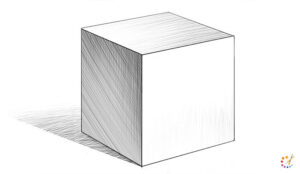
Step 7: With the hatching technique, on the right side of the box create the shadow of our cube.
How to draw A Cube step by step:
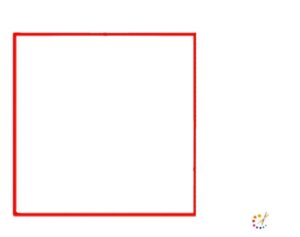
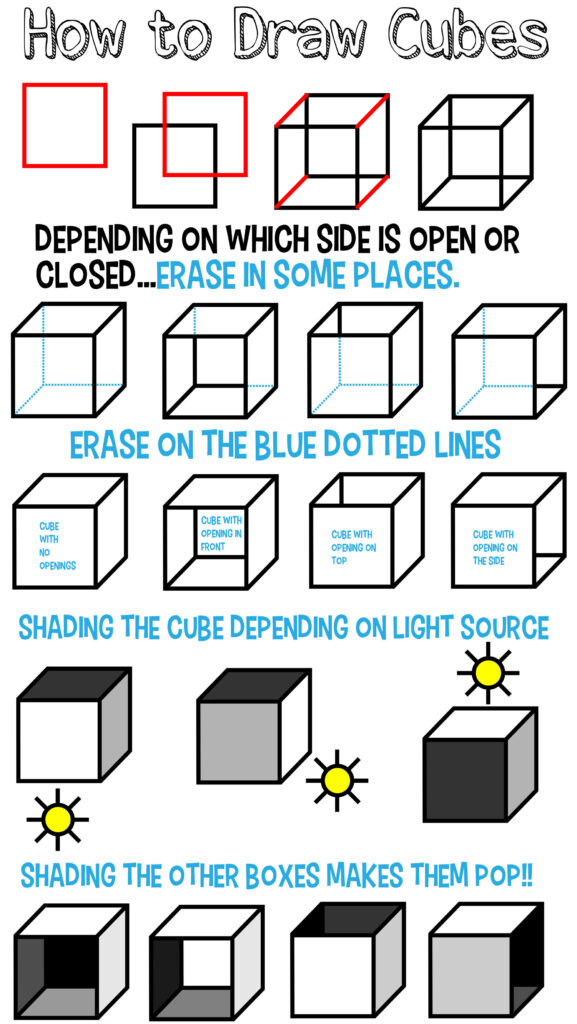
Step 1: Draw a square i.e., a closed box with 4 lines.
Step 2: Draw another overlapped square to the previous one.
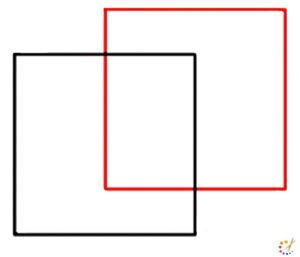
Step 3: Connect all the 4 corners of both the square with each other and it will create an enclosed shape as shown below.
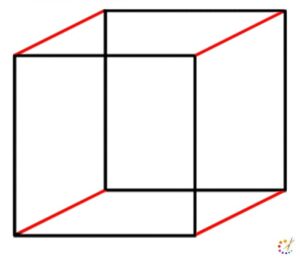
Step 4: Once you sketch this shape, you will receive something as indicated below.
Step 5: Delete the line from left, bottom, and diagonal.
How to draw cube easily:
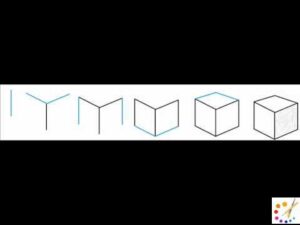
Step 1: Draw a straight line in order to initiate your cube.
Step 2: Above the straight line draw 2 adjacent lines similar to Y.
Step 3: Draw 2 lines in downward direction from both sides of Y.
Step 4: Now, connect all 3 vertical lines from below to other 2 adjacent lines.
Step 5: At the top of the structure draw inverted v and connect them with the top.
Your cube is prepared with very easy and simple steps.
Methods to draw Cube:
To draw a cube is purely a geometrical tutorial, you can draw it with the help of ruler and stencil. In the first step determine the direction to work on. Then begin to draw a line horizontal moving left to right these points will serve as vanishing points for the cube. Then determine which side will be your front page for the cube. Similarly, you can also choose to shade your cube, whichever is in front of it does not shade it. Always make the side and back part shaded so that it has depth. In the illustration given below, we have provided a few examples of varying shading techniques. By following them you can understand how to draw a cube with varying shaded sides.

Skilled teacher, knowledgeable in and in adapting state content standards to individual needs in
Elementary-6th grade classrooms. Utilizes instructional materials, technology, and teaching methods to
engage students in effective learning opportunities in individual, small group, and whole-group settings to
maximize instructional time. Differentiates instruction for ELLs while exposing them to rigorous content,
with a focus on literacy skills in all subject areas. Establishes and maintains appropriate standards of
behavior in an inclusive and respectful environment for students from all socio-economic and cultural
backgrounds. Develops lesson plans using Backwards Planning Method to align content standards and
assessments with effective learning activities. Communicates and collaborates effectively with staff and
parents, and creates a safe and positive learning environment for students. Has taught in both in-person
and virtual environments. Professional Communicator with 20+ years of experience.