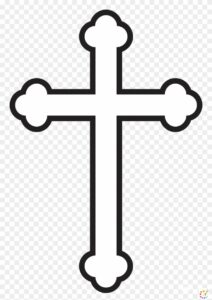
We are learning how to draw a cross for beginners and kids, the cross is also called a crucifix and it has been a religious symbol for centuries. Everywhere across the globe, it is welcomed as a symbol of Jesus and Christianity. Cross is easy to draw as it has a simple + sign. In this tutorial, we will learn how to draw a simple cross, a cross covered with cloth, and a 3D cross. To draw these tutorials take out your material and start. It is a very basic geometrical drawing, do not use a stencil or ruler and practice freehand drawing it.
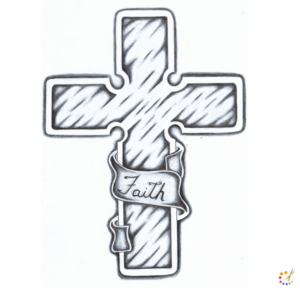
How to draw Cross step by step:
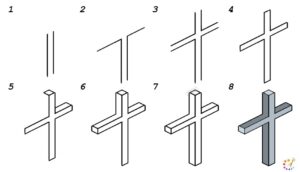
Drawing a cross is a very easy task, here is the guideline for you to do this task. You don’t have to exert extra efforts, cross takes the basic form of plus(=), only the difference is the lower part of horizontal line is way longer. There are numerous approaches in drawing it based on the variation you willing to draw. For the simple basic cross drawing, draw 2 parallel lines then transform into T as shown below. Then draw the same inverted figure above with little gap between them. Now you can give a 3d appearance just by following the below illustration.
How to draw Cross for kids:
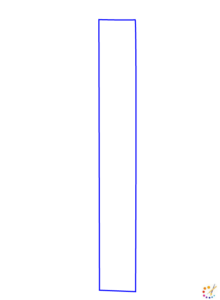
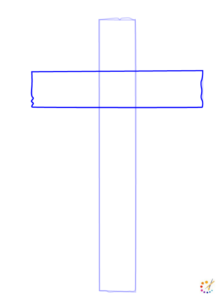
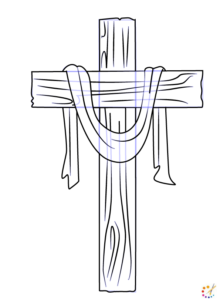
Step 1: Draw a long rectangular shape as shown below.
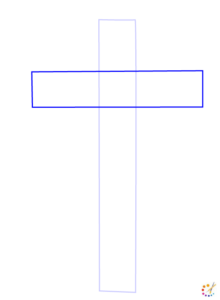
Step 2: Draw a horizontal rectangle a little below the top.
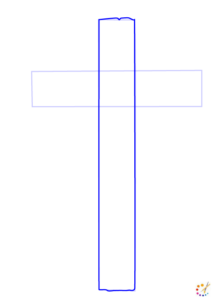
Step 3: Draw the top and bottom of the verticle rectangle a little zig-zag and tilted.
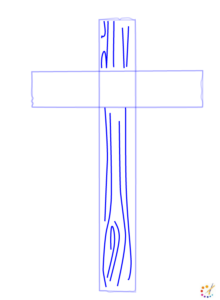
Step 4: Draw the same on both sides of the horizontal rectangle draw zig zag.
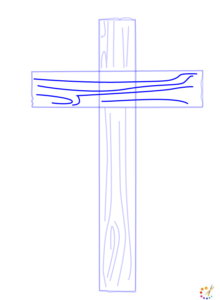
Step 5: Draw curved lines all over the vertical rectangle in a random way to give it a wooden look.
Step 6: Draw the same wooden pattern on the vertical rectangle also.
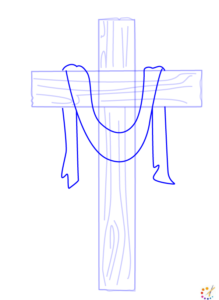
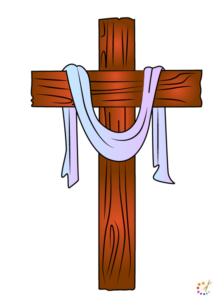
Step 7: From the one arm of the cross draw a curved line or semi-circle to the other arm of the cross. Double the curved line and dropping down below from the arm.
Step 8: Sketch the cross border with the marker or dark pencil.
Step 9:
How to draw 3D Cross step by step:
It is simple to draw a 3d just go through the following steps:
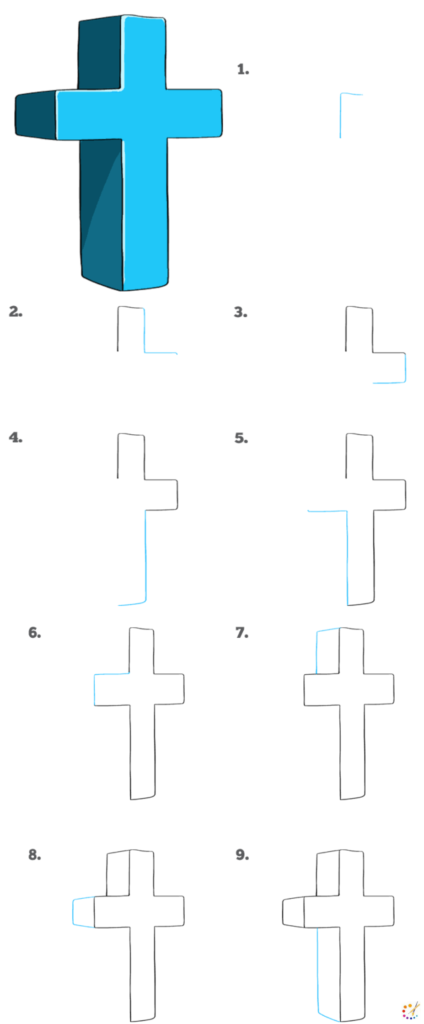
Step 1: Draw a straight line with a verticle line on the left hand side above it.
Step 2: Draw an L shape of the same length from the left hand side attached.
Step 3: Draw a line going to the left as in the figure.
Step 4: In this step draw a mirror of L.
Step 5: Draw a line up draw it to the right of the paper.
Step 6: Once again in this step draw a line up and turn it left to meet step 1. By which your basic cross is complete.
Step 7: Make your drawing 3d for this draw upside-down L shape at the top of the left arm.
Step 8: Once again on the tip of the left-arm draw a trapezium shape.
Step 9: On the left side of the lower half of the cross draw the L shape beginning from the below of the left arm towards the bottom.

Skilled teacher, knowledgeable in and in adapting state content standards to individual needs in
Elementary-6th grade classrooms. Utilizes instructional materials, technology, and teaching methods to
engage students in effective learning opportunities in individual, small group, and whole-group settings to
maximize instructional time. Differentiates instruction for ELLs while exposing them to rigorous content,
with a focus on literacy skills in all subject areas. Establishes and maintains appropriate standards of
behavior in an inclusive and respectful environment for students from all socio-economic and cultural
backgrounds. Develops lesson plans using Backwards Planning Method to align content standards and
assessments with effective learning activities. Communicates and collaborates effectively with staff and
parents, and creates a safe and positive learning environment for students. Has taught in both in-person
and virtual environments. Professional Communicator with 20+ years of experience.

