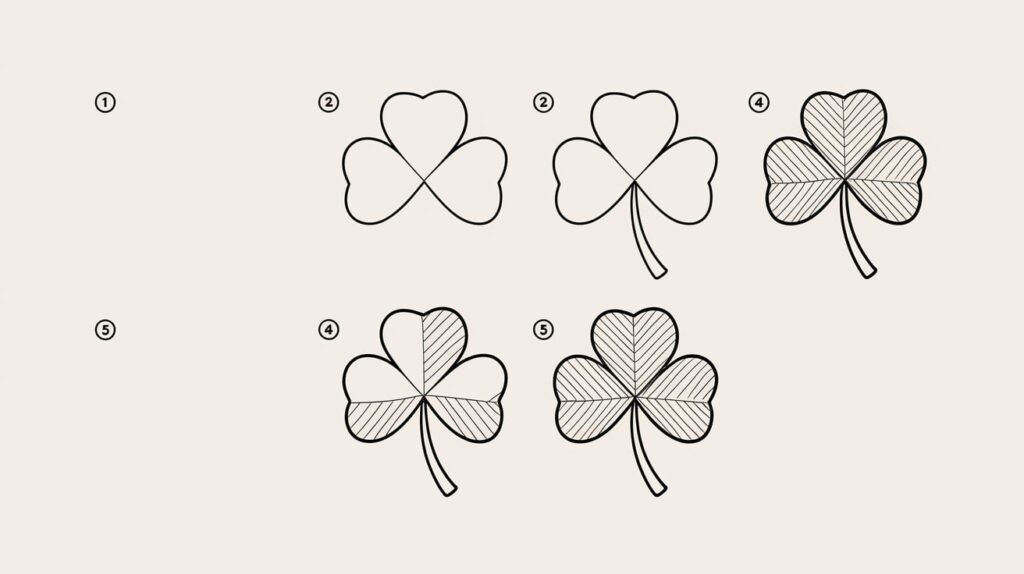
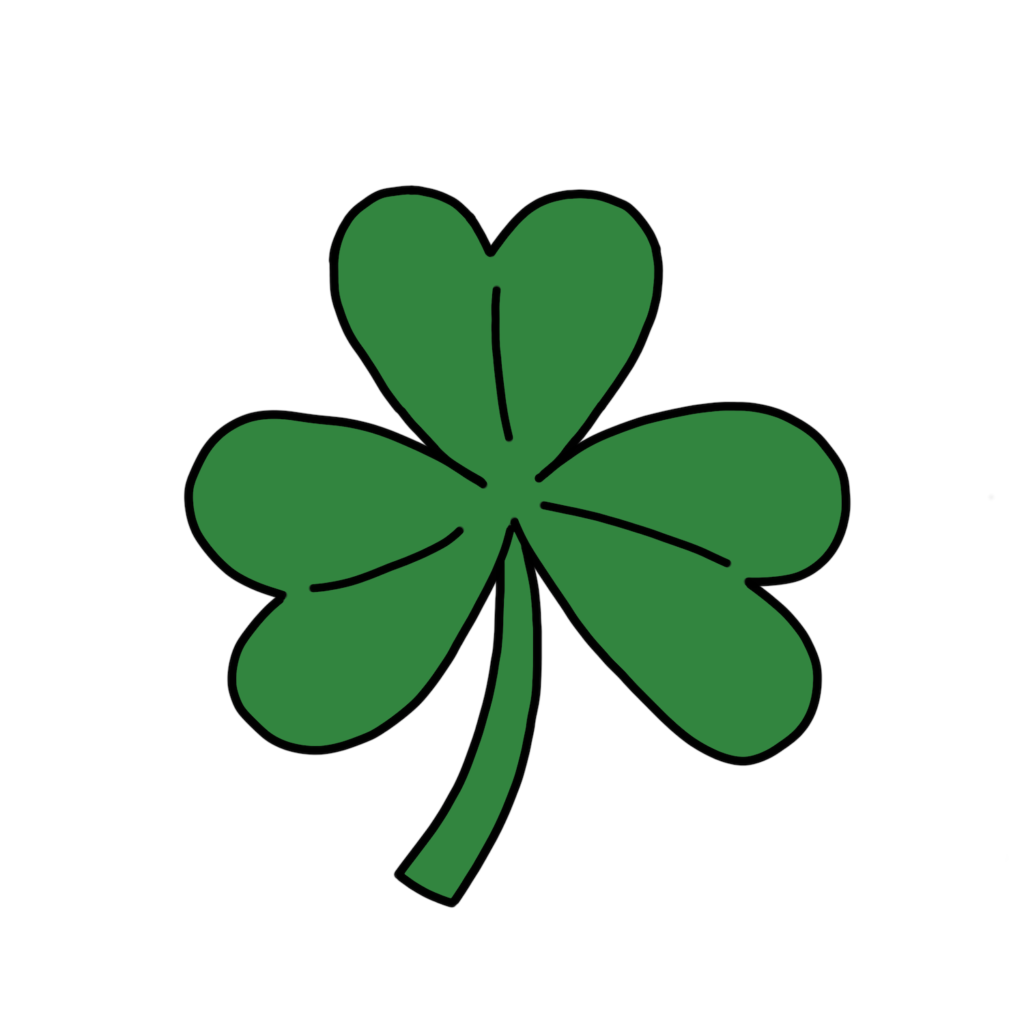
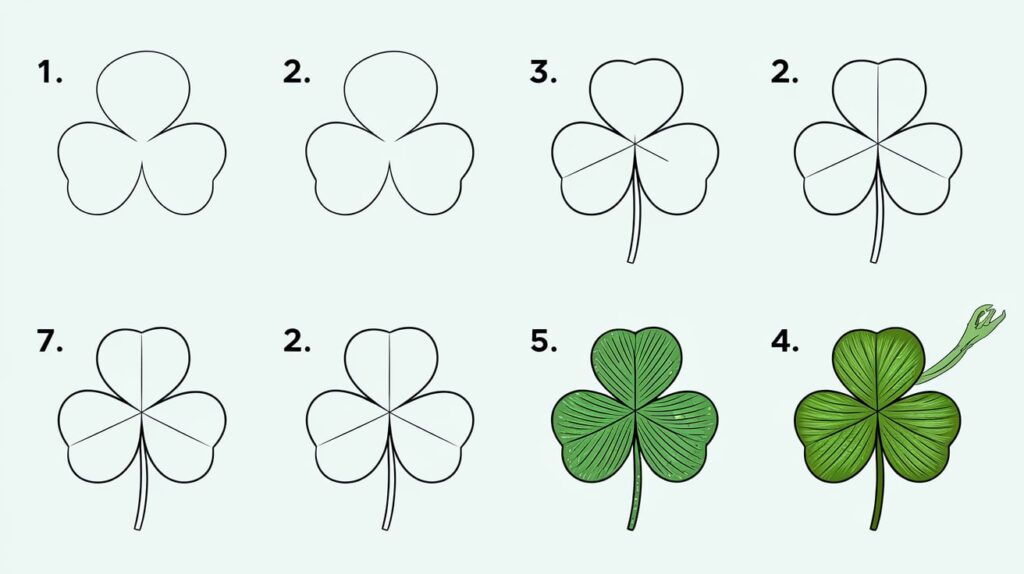
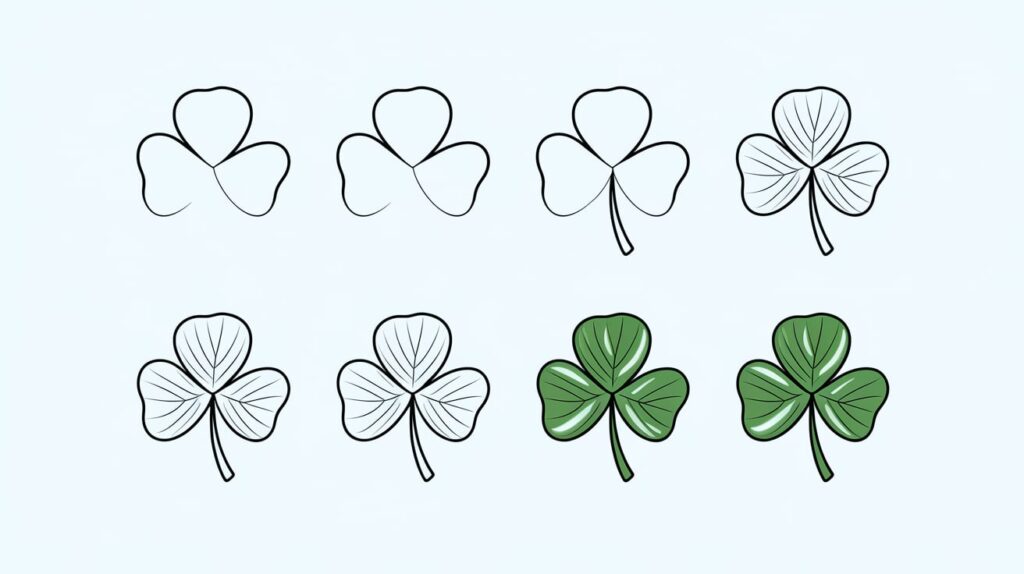
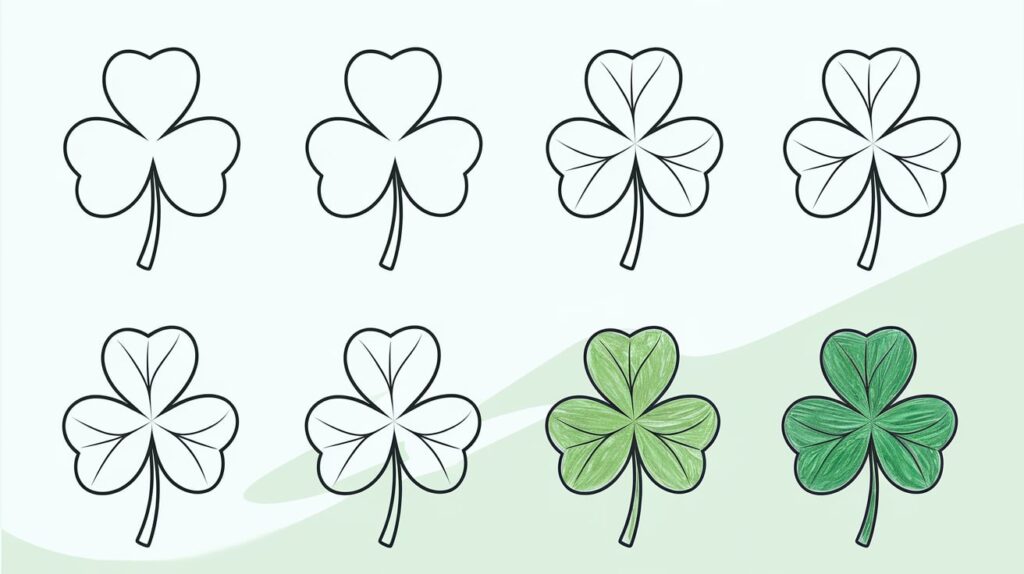
We are here with the easiest tutorial on how to draw a Shamrock step by step, as we are already done with a different type of leaf drawing.
Shamrock is Ireland’s national flower also called clover. It is also found in many other regions of the world like Europe and North America. They Have 3 leaflets thus called trifoliate, very rarely they produce 4 leaflets and termed as four-leaf clover.
A health club in the USA emblem shamrock to symbolize “Head, Heart, Hand, and Health” to help others. Irish legends Saint Patrick selected this plant for the trinity doctrine to believe the God, Jesus, and the Holy Spirit are the same. This is the reason Shamrock is an icon of the holiday St. Patrick’s Day.
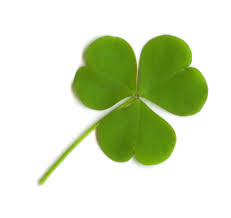
For coming St. Patrick’s Day practice this easy step-by-step Shamrock drawing. In this tutorial you can learn single as well as a bunch of Shamrock, I love the color combination of Shamrocks. Its green color is shooting for the eyes and mind.
Material we need
You just need simple supplies such as a pencil, paper, an eraser, color, and a paintbrush. Use the color you here handy, but the watercolors are easier to blend but tough to use. So, you can use crayons or pastel colors too.
How to Draw Shamrock
Learn to draw single Shamrock step by step illustrated for kids and novice. Draw with light hand at initial stage and follow the instruction carefully.
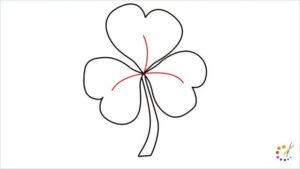
Step 1: Draw a X shap or 2 vertically crossed line as shown in the image. It will form 4 portions.
Step 2: Above the one portion draws 2 acres forming a heart shape.
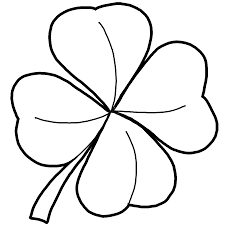
Step 3: Repeat the step 2 for 3 more times on the other parts too.
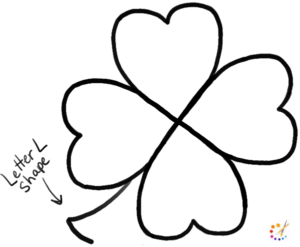
Step 4: You will get a structure as 4 hearts are join together as shown below.
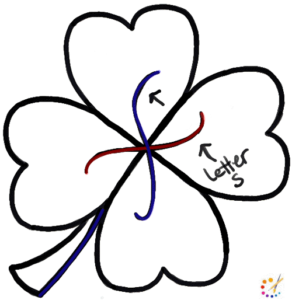
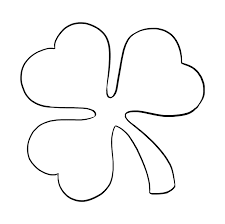
Step 5: From one corner of the leaf draw an L shape as indicated in the image below.
Step 6: Draw flattened elongated S shape intersecting 2 clovers. At the same time draw the stalk by drawing another line joining L drawn in the last step.
Step 7: Outline your drawing with a black marker and Color shamrock with a combination of yellow and green color.
How to draw multiple shamrocks
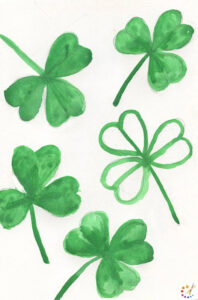
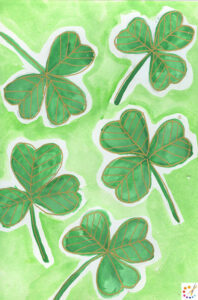
These are multiple shamrock drawings colored with watercolor. You can change the color according to your ease, use crayons or a sketch pen.
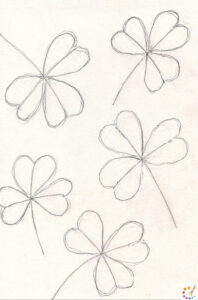
Step 1: Draw 5 cross (multiplication sign) randomly on the paper.
Step 2: Around the 3 ends draw a heart shape, try to draw little flattened shapes as they should not at the end. Leave the 4th end for the stalk of the shamrock.
Step 3: Start filling the drawing with color, for this firstly outline with green color then fill it with the same color or a shade lighter.
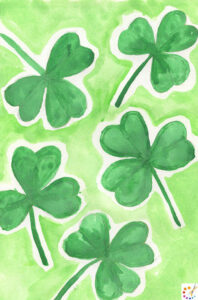
Step 4: Fill the background with a light green shade, leave spaces around every shamrock for a white border. If you don’t have a light shade of green add white color to the dark green color.
Step 5: Outline the border of shamrock with golden color or golden marker to give it a shiny touch.
Step by step Shamrock Drawing:
Below is the step by step illustration for Shamrock drawing, follow to render your Shamrock.
Hope you enjoyed this tutorial and did well with your Shamrock drawing.
Here’s a detailed step-by-step guide on how to draw a shamrock:
1. Draw the Central Stem:
- Start with the Stem: Draw a short, vertical line in the center of your page. This will be the stem of the shamrock.
2. Draw the Leaves:
- Create the First Leaf: At the top of the stem, draw a heart-shaped curve on each side, making sure the curves meet at the top of the stem. This forms the first leaf.
- Add the Second Leaf: To the left of the first leaf, draw another heart-shaped curve that overlaps slightly with the first leaf. The curves should meet at the top of the stem.
- Draw the Third Leaf: Repeat the process for the third leaf on the right side, making sure it overlaps with the other two leaves at the top of the stem.
3. Refine the Leaf Shapes:
- Smooth the Curves: Go over the heart shapes and refine them by smoothing out the curves. The leaves should be more rounded and symmetrical.
- Add Veins: Draw a small, central vein in each leaf, extending from the point where the leaf connects to the stem. Add two or three smaller veins branching out from the central vein.
4. Detail the Leaves:
- Texture and Shading: Lightly shade the leaves to give them some depth. You can use cross-hatching or gentle shading to create a natural look.
5. Draw the Stem’s Base:
- Widen the Base: At the bottom of the stem, draw a slightly wider base where it connects to the leaves. You can add a couple of small curves or lines to make it look more natural.
6. Add Final Touches:
- Review Your Drawing: Check for any areas that need adjustment or refinement. Ensure the leaves are symmetrical and the stem is centered.
- Erase Unnecessary Lines: Remove any extra lines or construction marks that are not part of the final shamrock.
7. Optional – Add Additional Elements:
- Background Details: You can enhance your drawing by adding background elements like a pot of gold, rainbow, or other St. Patrick’s Day-themed decorations.
- Coloring: If desired, color the shamrock green. You can use different shades of green to add depth and dimension to the leaves.

Skilled teacher, knowledgeable in and in adapting state content standards to individual needs in
Elementary-6th grade classrooms. Utilizes instructional materials, technology, and teaching methods to
engage students in effective learning opportunities in individual, small group, and whole-group settings to
maximize instructional time. Differentiates instruction for ELLs while exposing them to rigorous content,
with a focus on literacy skills in all subject areas. Establishes and maintains appropriate standards of
behavior in an inclusive and respectful environment for students from all socio-economic and cultural
backgrounds. Develops lesson plans using Backwards Planning Method to align content standards and
assessments with effective learning activities. Communicates and collaborates effectively with staff and
parents, and creates a safe and positive learning environment for students. Has taught in both in-person
and virtual environments. Professional Communicator with 20+ years of experience.

