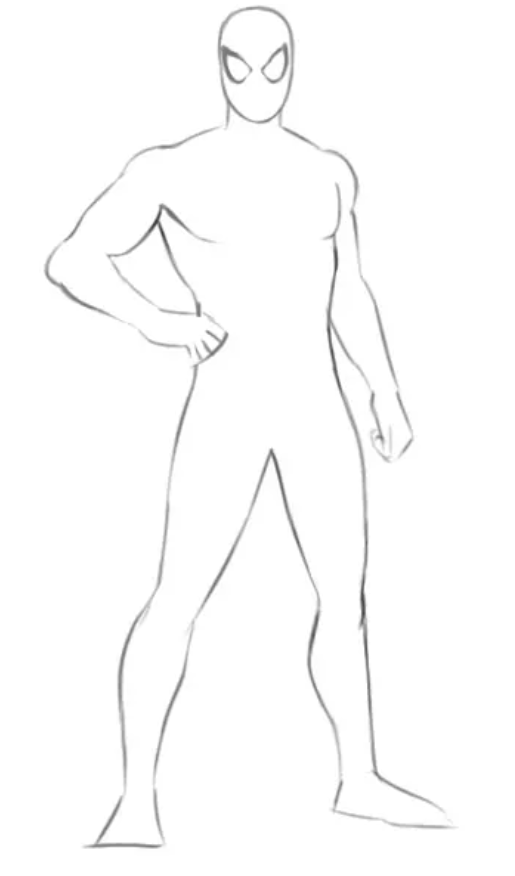
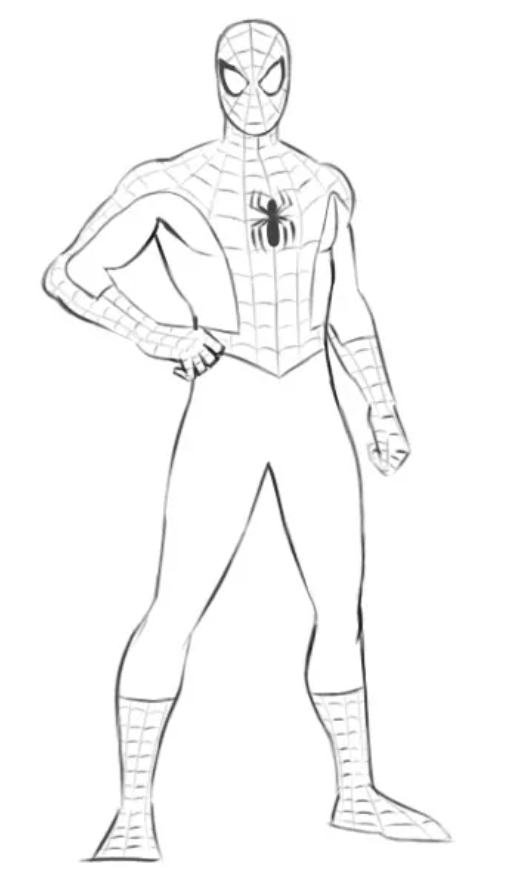
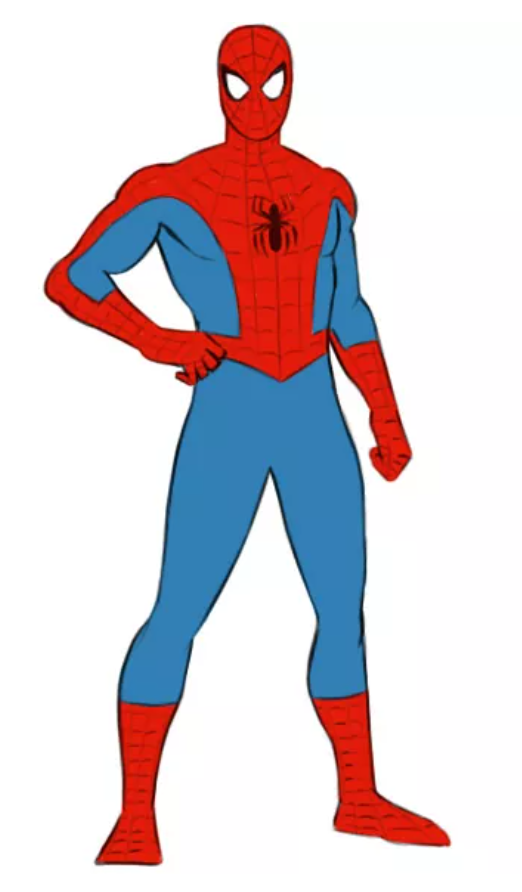
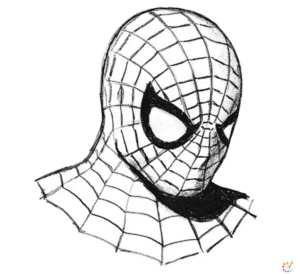
This tutorial is about how to draw spiderman for kids and beginners step by step. Draw your superhero using the given tutorial using a pencil to sketch the guiding shapes, and an eraser to clean up your outline as you go. Spiderman is an ordinary kid, Peter Parker, who was bitten by a radioactive spider which turns him into the superhero Spiderman.
How to Draw a Spiderman for kids
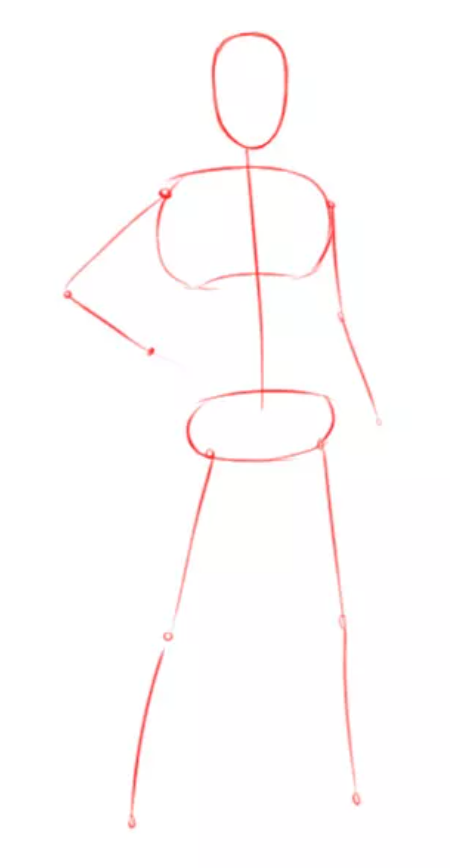
Step 1: Firstly start your drawing with the guideline of a man using simple straight lines and circles, this will help you in marking the actual proportion of the body on the paper. While drawing any human guideline the chest must be wider than the pelvis.
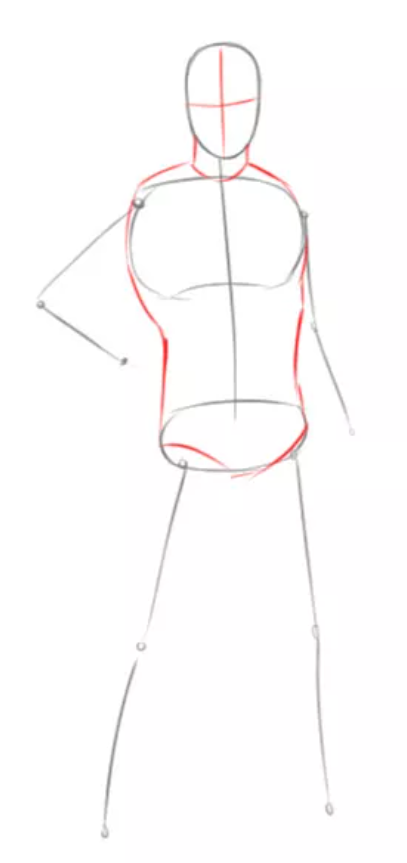
Step 2: In the second step draw intersecting lines in the face to mark the facial features. The Verticle line divides the face into 2 equal parts while the horizontal line goes a little below from the middle. Now star shaping the torso and neck of the superhero, also shape up the pelvis of the and form a tapering waist.
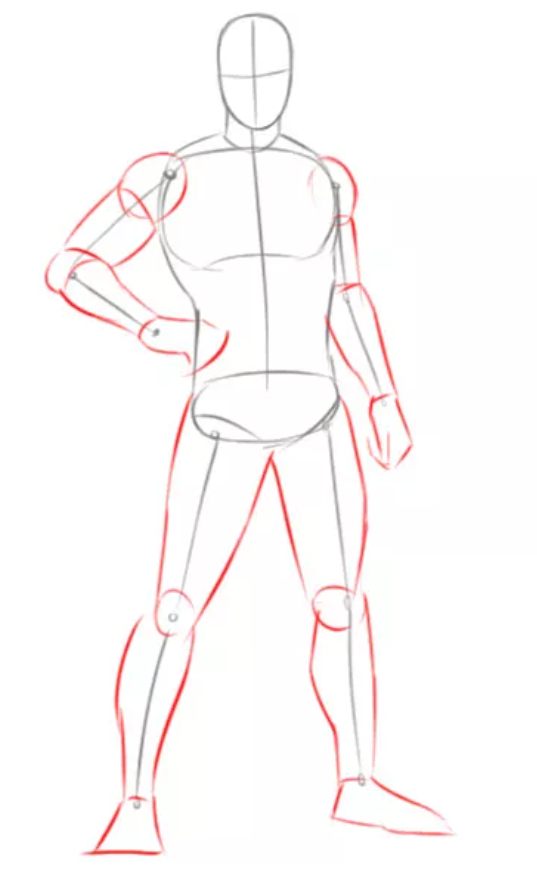
Step 3: In the third step, we will start contouring limbs using the set of small boxed circles and rectangles. Draw cylindrical legs which are thinner at the end. Always care about the proportions legs ar upper body should not be oversized.
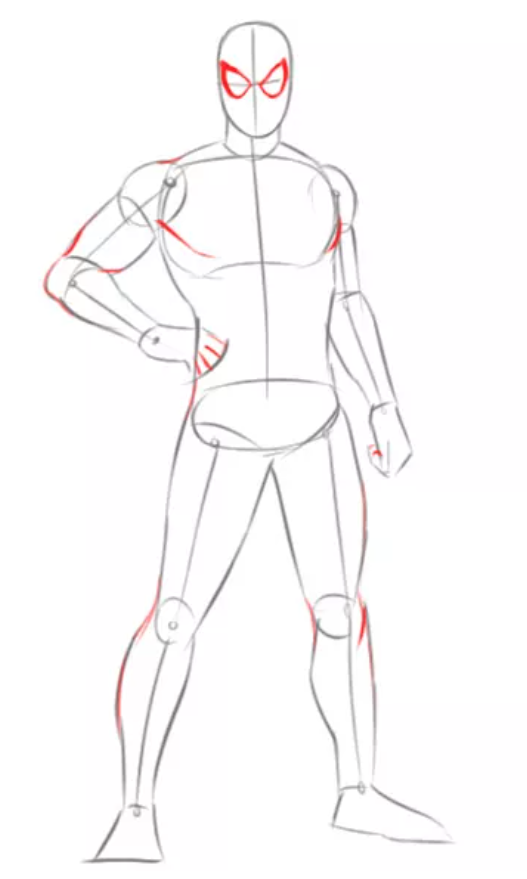
Step 4: Start working on the facial part, draw the eyes mask then add little relief to the arms and legs of the superhero.
Step 5: Once you have correctly drawn the outlines start working on the costume of the hero. For doing so firstly erase all the extra lines and guidelines and form the proportionate body.
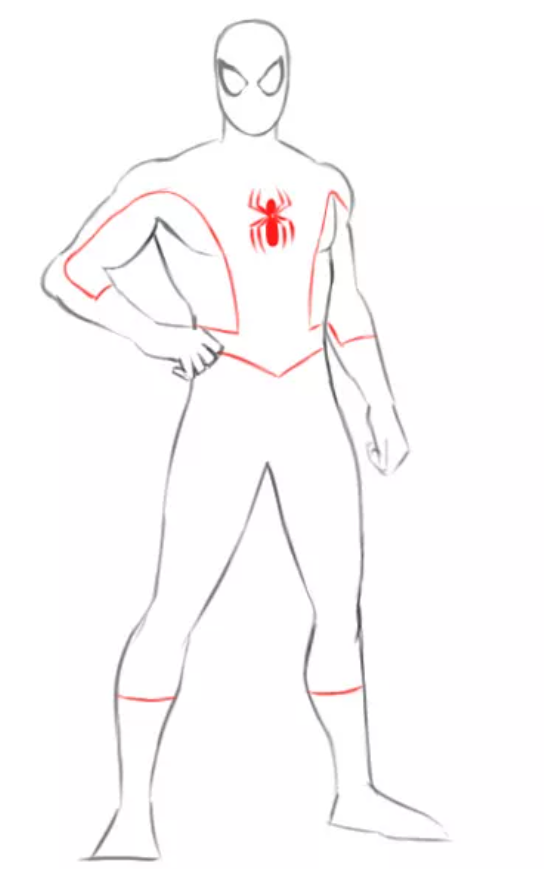
Step 6: Start marking spiderman costumes that have red and blue elements. In the center of the chest draw a spider which is the logo and contour the red part of costumes on the upper body and lower leg.
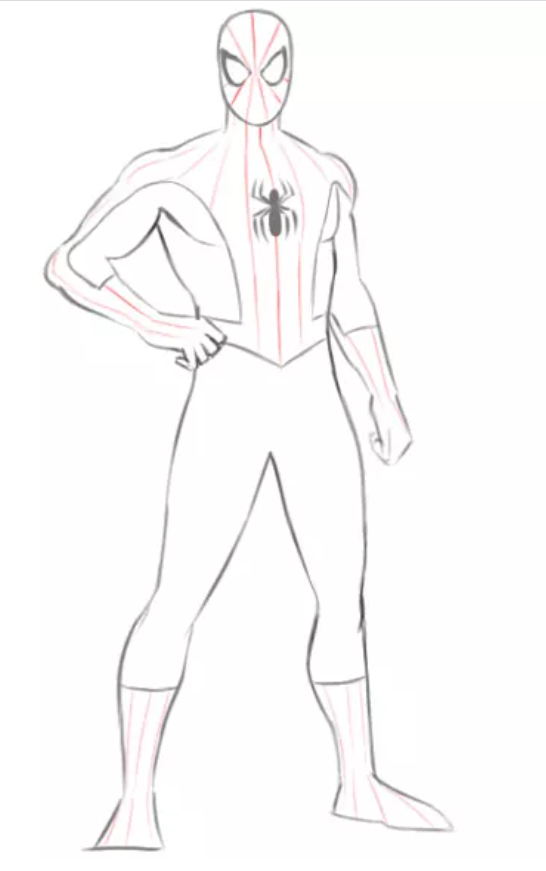
Step 7: Start drawing spiderman’s web, from above the nose and middle of eyes draw longitudinal lines going all sides of the face and moving toward body and limbs.
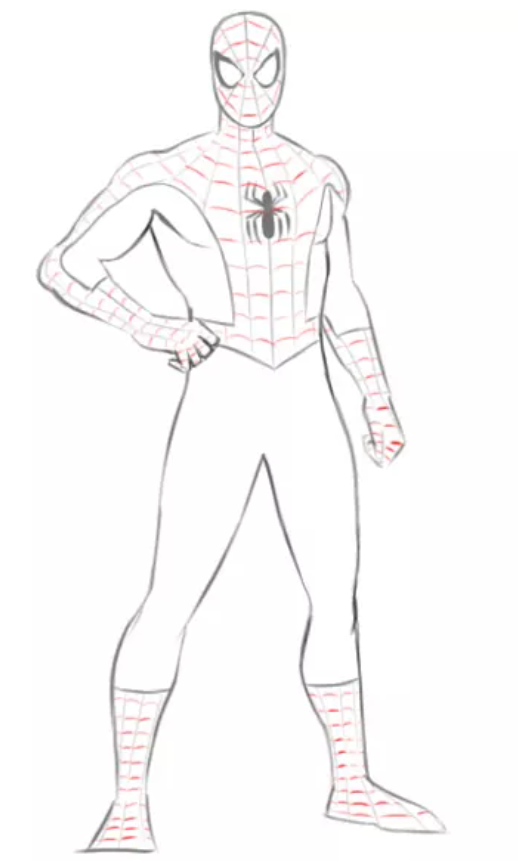
Step 8: Draw the verticle lines of the web which is close to the nose bridge. Draw the tight webs on the gloves and on the feet.
Step 9: Analyze the figure very closely, logo, mask every other detail. To look it real the proportion between the body and physique must be good, remove all the excess lines.
Step 10: To create the spiderman appearance use red and blue color for cloth, white for eyes, and black for the logo.
How to draw Spidermans Head
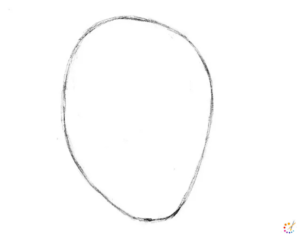
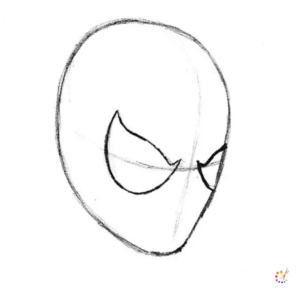
Step 1: To draw a spiderman head draw an inverted oval or egg shape. Draw this shape with very thin and light lines.
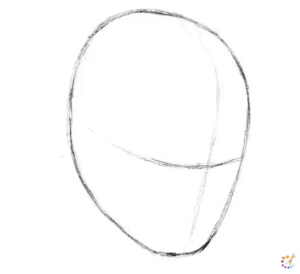
Step 2: Draw 2 intersecting lines to divide the face into 2 parts which will help you draw eyes and mouth in the right place. These lines will also show the symmetry of the face.
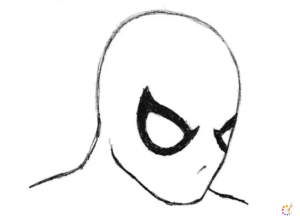
Step 3: Draw the spiderman facial mask eyes using the horizontal line as a guideline. Both eyes must be on both sides of the verticle line.
Step 4: Darken the eyes mask in proper shape, extend the shoulder on both sides of the head and erase all extra lines.
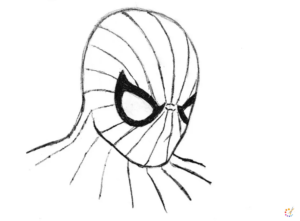
Step 5: Draw a horizontal line all over the head from the center of eyes, lines are close in the center going apart as moving outside.
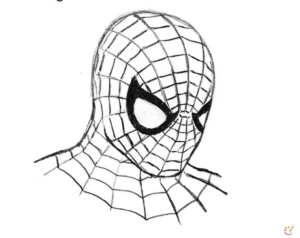
Step 6: Draw verticle lines in the circular pattern forming the web pattern.
Step 7: Draw a shadow on the left side of the shoulder and your superhero head is ready.
Draw step by step Spiderman for kids:
Below is the step-by-step demonstration of the spiderman cartoon for the kids. Just by following the steps given below you can draw your own kidzoo spiderman.
Here’s a step-by-step guide to drawing Spider-Man:
Step 1: Outline the Body (Stick Figure Framework)
- Draw a stick figure for Spider-Man’s pose. Include the head, torso, arms, legs, and hands.
- Make the pose dynamic (such as crouching or swinging), as Spider-Man is known for action-filled movements.
Step 2: Shape the Body
- Build on the stick figure with cylinders and ovals to flesh out the body.
- Keep him slim and athletic, with well-defined muscles—especially in the arms, chest, and legs.
Step 3: Draw the Head and Mask
- Sketch an oval head, slightly flat on the top.
- Add two big eyes shaped like elongated teardrops on the mask. These will be the most recognizable feature of the mask.
- Lightly draw horizontal and vertical guidelines across the face to help with web patterns later.
Step 4: Add the Torso and Arms Details
- Refine the chest and shoulders. Draw well-defined abs to hint at his fitness.
- Make the arms thinner toward the wrists, as Spider-Man isn’t bulky but agile. Include gloves at the end.
Step 5: Sketch the Legs and Feet
- Keep the legs long and lean with slight muscular definition.
- Draw his boots, which cover the lower legs and feet. Maintain the same snug appearance as the rest of his costume.
Step 6: Add Webbing Patterns on the Suit
- Use the guidelines on the head to draw curved lines for the webs, originating from the nose area and extending outward.
- On the chest, arms, and legs, draw webbing grids. Make sure the webs follow the curves of the body to suggest depth.
Step 7: Draw the Spider Symbol
- On the chest, sketch the classic spider emblem.
- There’s usually a smaller spider symbol on the front and a larger one on the back.
Step 8: Inking and Shading
- Ink over your final sketch lines, adding thicker lines for emphasis around the mask and body edges.
- Use shading to highlight muscles and folds in the costume, especially around the elbows and knees.
Step 9: Erase Guidelines and Refine Details
- Erase unnecessary pencil lines and make sure the webbing patterns look clean and symmetrical.
- Add any final touches to the eyes, hands, and spider symbols.
Step 10: Coloring (Optional)
- Color the suit red and blue, with black webbing and white eyes. Use dark red and blue shades to enhance shadows for a more realistic effect.

Skilled teacher, knowledgeable in and in adapting state content standards to individual needs in
Elementary-6th grade classrooms. Utilizes instructional materials, technology, and teaching methods to
engage students in effective learning opportunities in individual, small group, and whole-group settings to
maximize instructional time. Differentiates instruction for ELLs while exposing them to rigorous content,
with a focus on literacy skills in all subject areas. Establishes and maintains appropriate standards of
behavior in an inclusive and respectful environment for students from all socio-economic and cultural
backgrounds. Develops lesson plans using Backwards Planning Method to align content standards and
assessments with effective learning activities. Communicates and collaborates effectively with staff and
parents, and creates a safe and positive learning environment for students. Has taught in both in-person
and virtual environments. Professional Communicator with 20+ years of experience.

