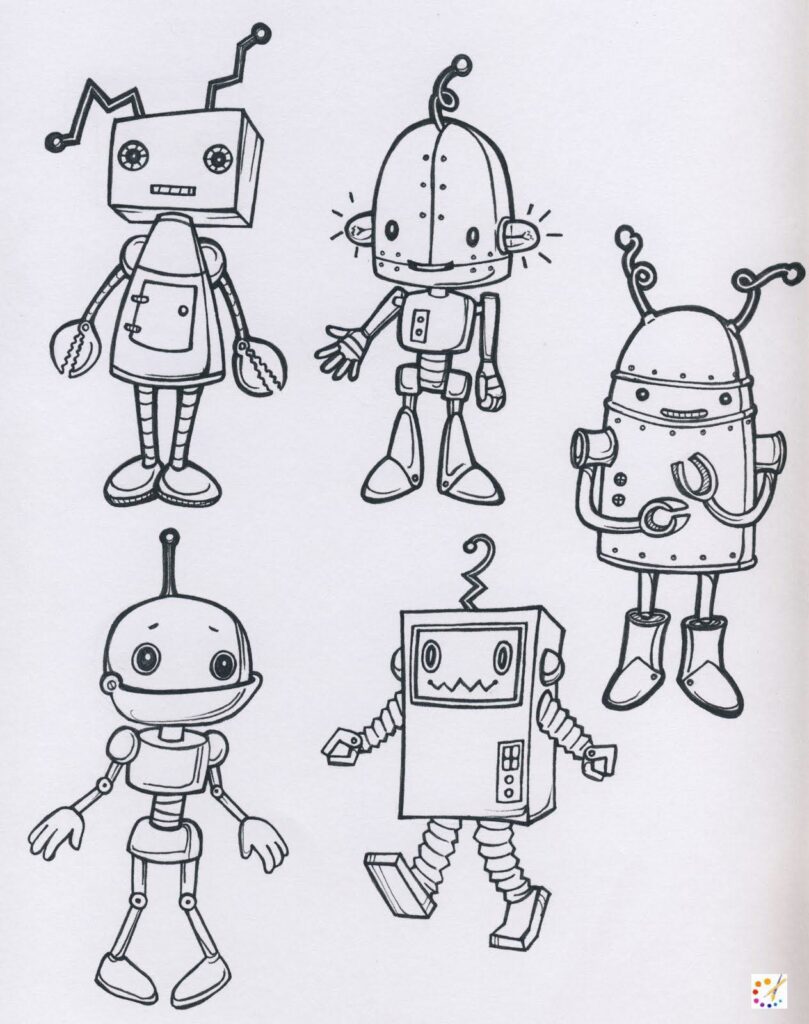
Hey all kids and novice, we are here with a tutorial on how to draw Robot, for kids and beginners. Robots are the automatically operated machines to help and replace human efforts. The word Robot derives from the word ‘robota’ which means slave or serf. In 1939 Elektro named robot was invented by humans. The nanorobot is the smallest robot invented. Nowadays many different robotic devices as a vacuum cleaner and many other helping robots has been developed.
We always think of human-shaped robots but actually, most of them are rectangular, disc-shaped, doglike or any other shape. All the machines working in factories, cleanliness, search engines can be a robots. Fictional stories and series have depicted many lovable robots as in Star Wars, Transformers, and Disney’s Big Hero 6. Other robots in many stories are villains taking the world, and destroying humanity.
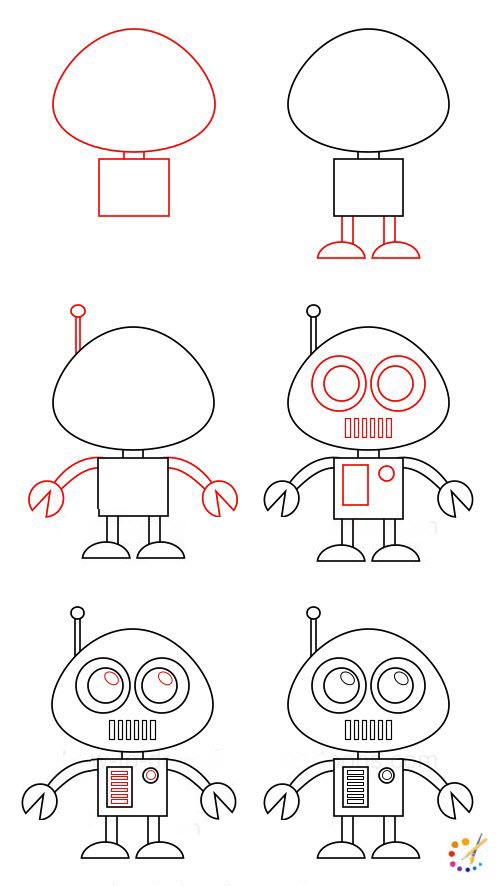
Draw your own robot by following our tutorial, grab paper, a pencil, erase and get ready. This Robot drawing tutorial has many step by step illustrations to help you, start with any one of it.
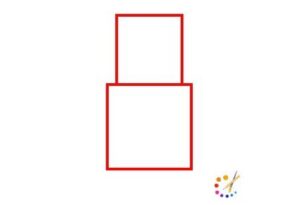
How to draw a simple and easy robot:
Step 1: Draw 2 geometrical shapes, mainly 2 squares above each other.
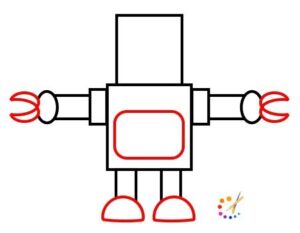
Step 2: Draw hands using other geometrical shapes and 2 curvy shapes at the end. Draw a square shape in the middle of it. Below draw parallel legs and an oval below it.
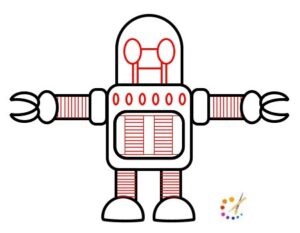
Step 3: Draw 2 ovals for eyes connected with horizontal and verticle lines. Draw fine lines in the hand, leg, and stomach. Draw many small ovals above the stomach.
Step 4: Color your drawing with your choice, you can use a combination of grey and black for it.

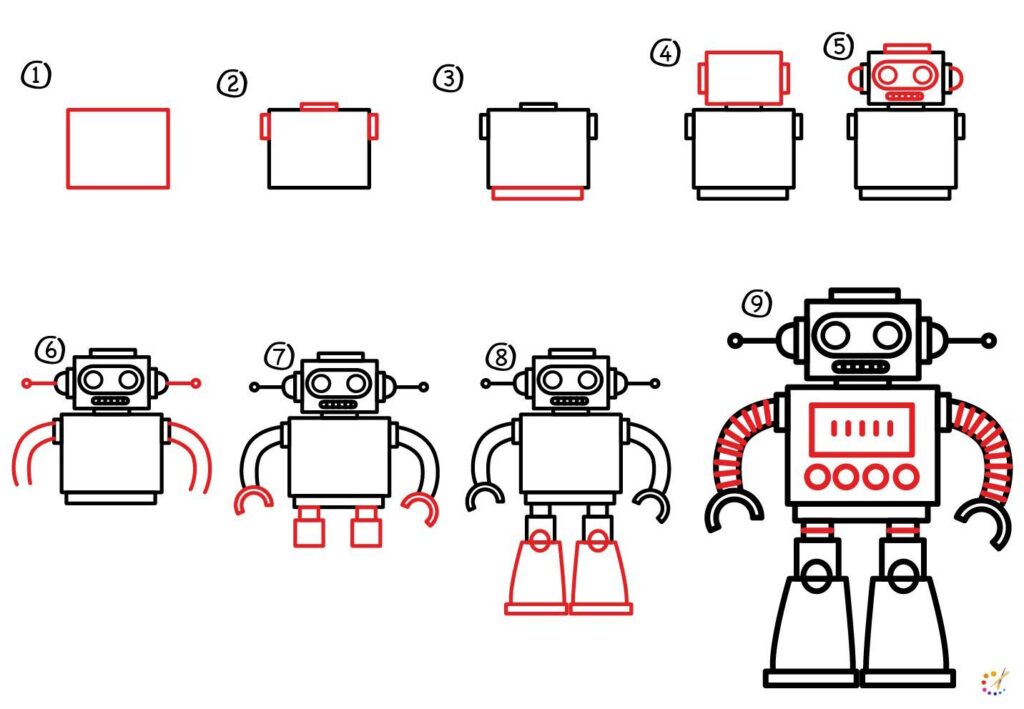
How to draw a robot for kids:
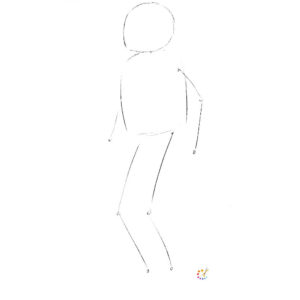
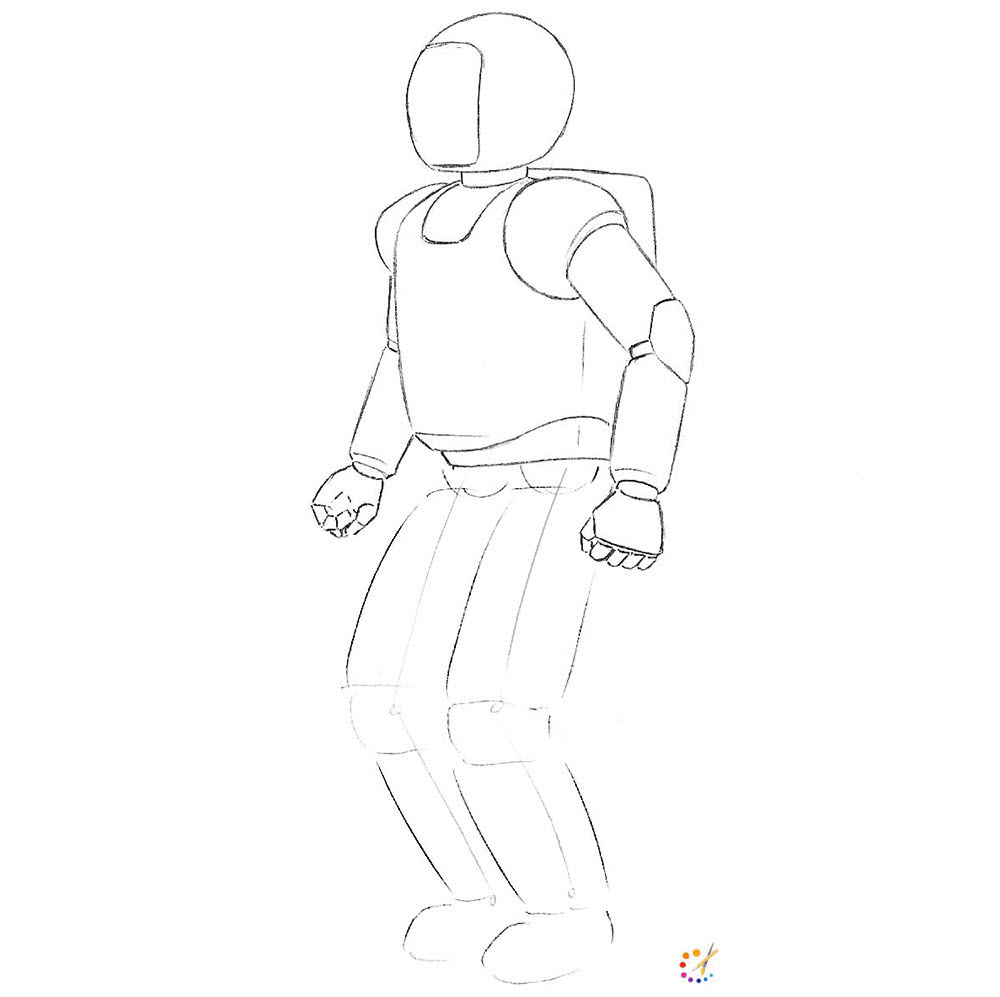
Step 1: Draw the outline of the body for the robot, just draw a round for the head and depict the rest body with lines.
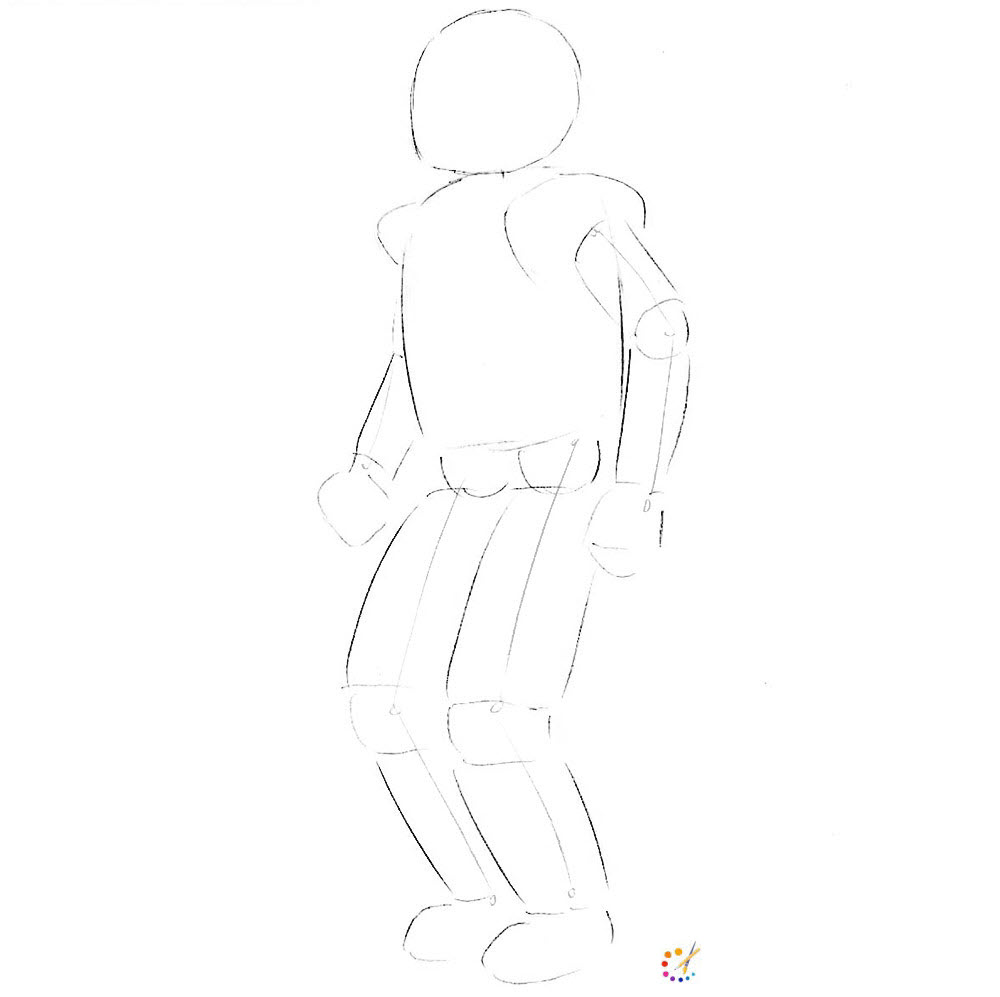
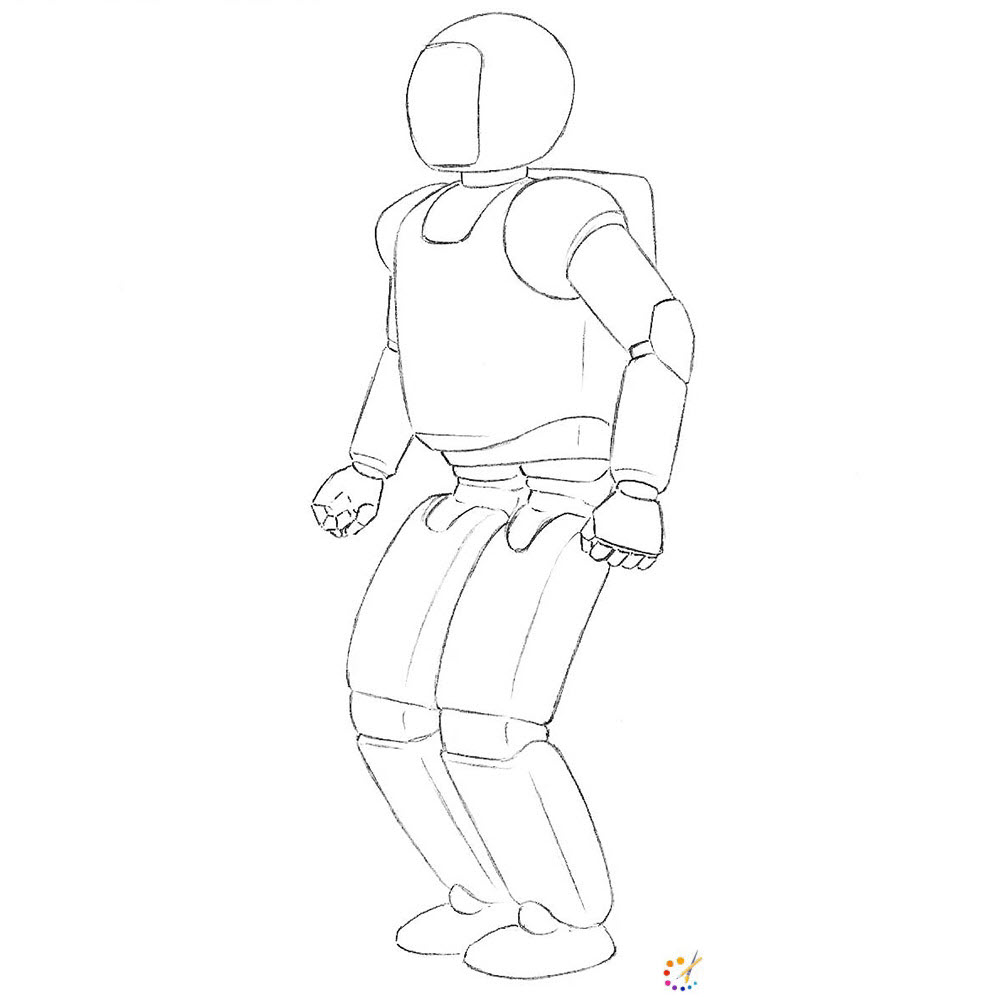
Step 2: Start finishing your drawing, firstly shape the head, draw the arms and shoulder with round finishing. Draw legs with curvy lines having a joint pad in the middle.
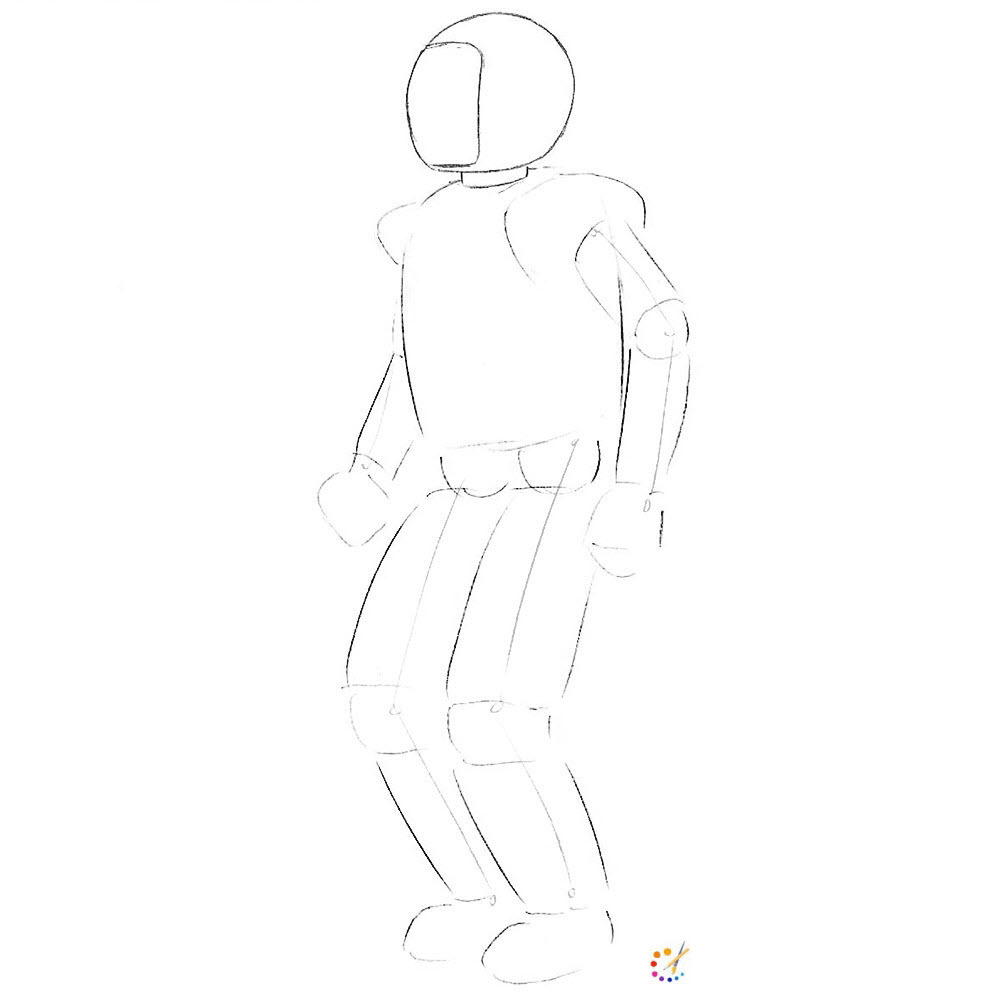
Step 3: Shape the helmet and draw a square portion depicting the mirror in front.
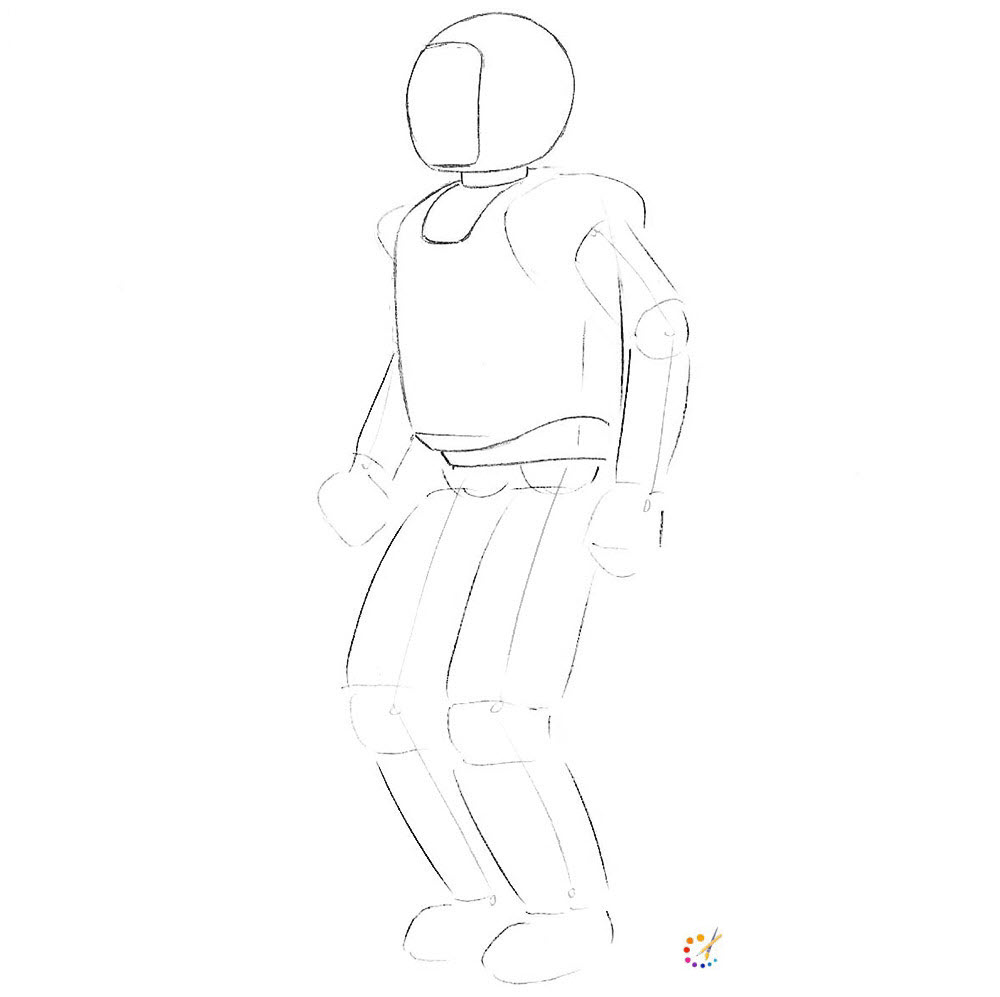
Step 4: Depict the cloth of the robot as shown in the below illustrations.
Step 5: Finish the other details including hand, fingers, and back of it.
Step 6: In the junction of the upper body and legs draw depict as spring joint.
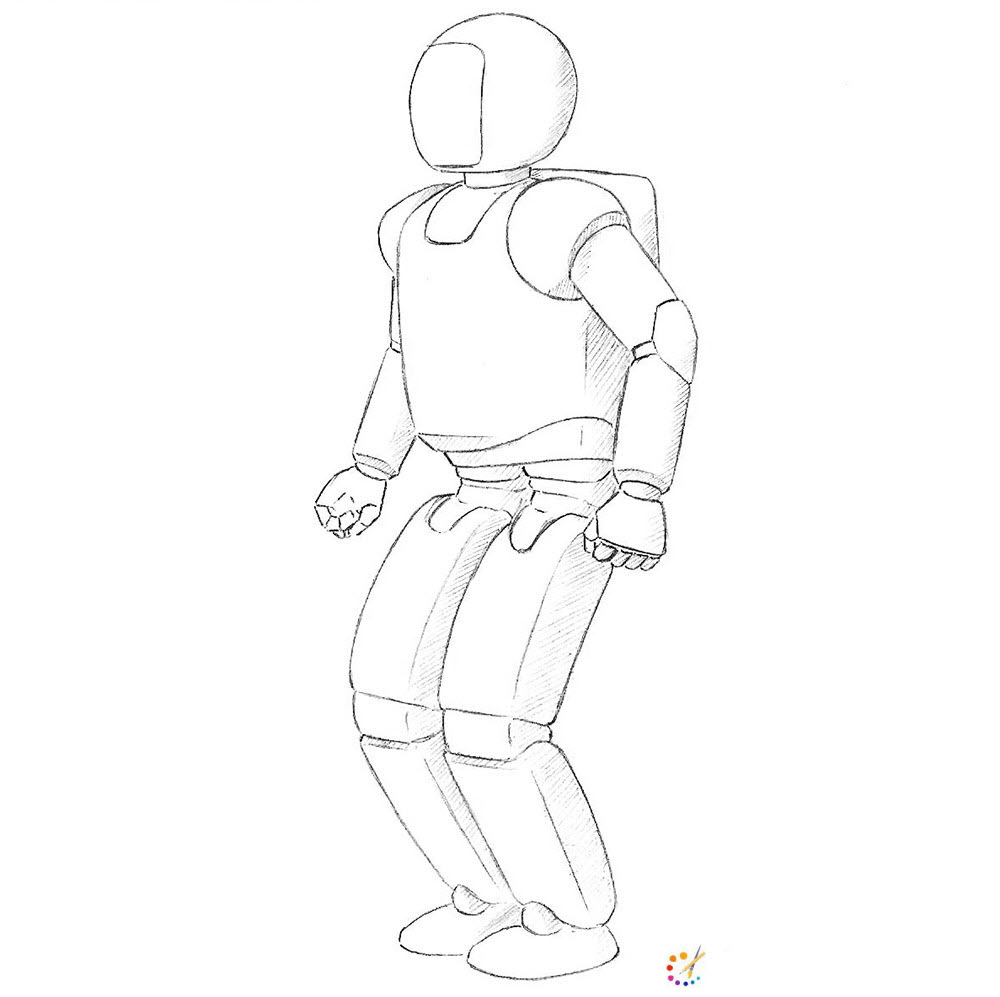
Step 7: Use the hatching technique to shade your robot.
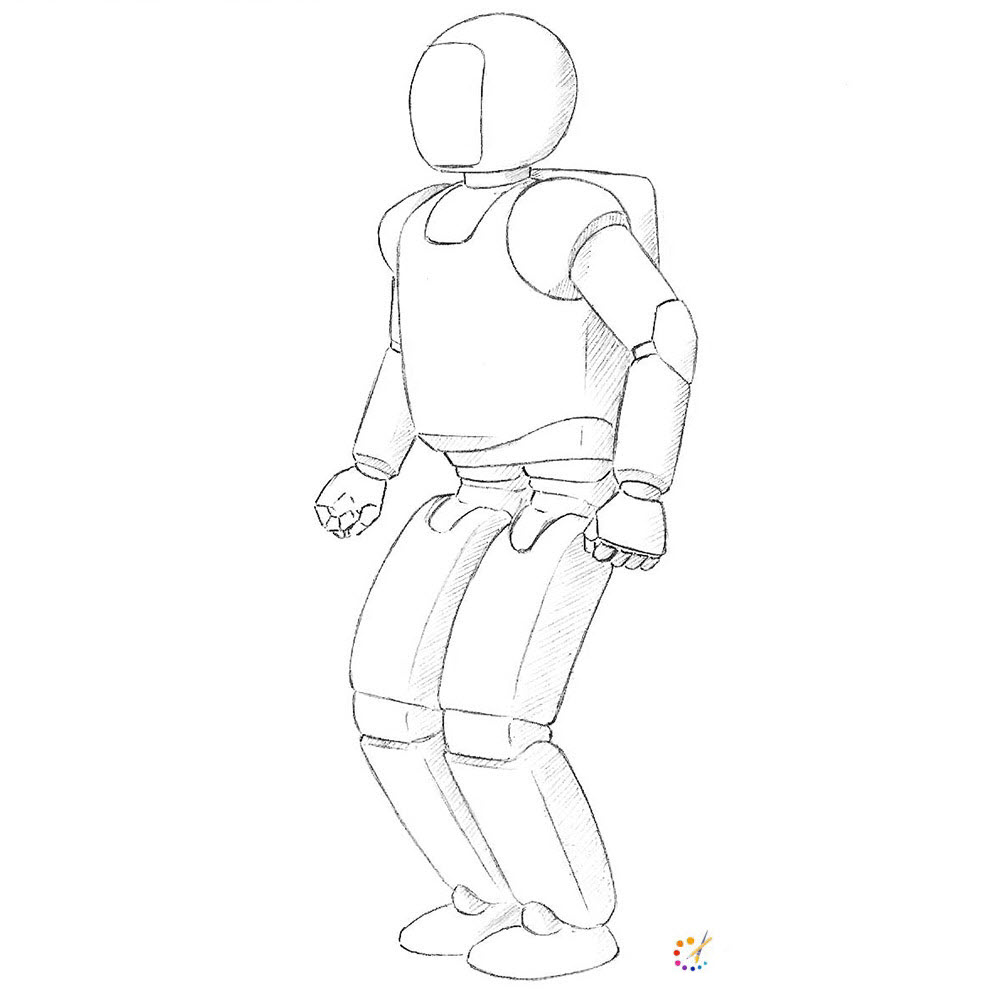
Step 8: Outline all the borders and delete the extra lines to bring your drawing neat and clean.
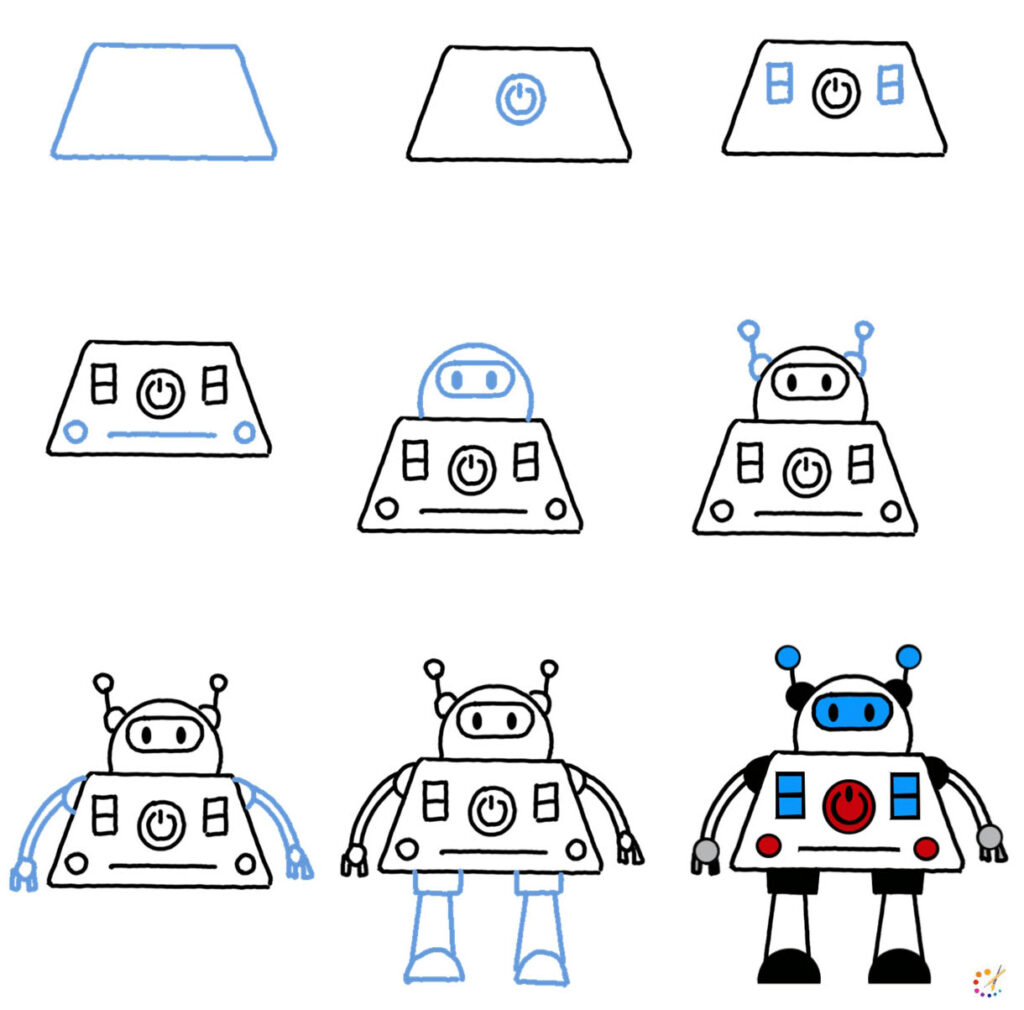
How to draw robot step by step
Just by drawing a few very basic shapes and geometrical shapes you can draw your robot excellently. Use rectangle for stomach, hands, legs, draw circle for head, eyes, fingers, use curves and semicircle for more features according to your perception and observation. Drawing a robot is an easy task as they don’t have any specific shape and size. Below we are presenting a few illustrations to help you in your drawing. Always keep practicing adding your observations to be skilled.

Skilled teacher, knowledgeable in and in adapting state content standards to individual needs in
Elementary-6th grade classrooms. Utilizes instructional materials, technology, and teaching methods to
engage students in effective learning opportunities in individual, small group, and whole-group settings to
maximize instructional time. Differentiates instruction for ELLs while exposing them to rigorous content,
with a focus on literacy skills in all subject areas. Establishes and maintains appropriate standards of
behavior in an inclusive and respectful environment for students from all socio-economic and cultural
backgrounds. Develops lesson plans using Backwards Planning Method to align content standards and
assessments with effective learning activities. Communicates and collaborates effectively with staff and
parents, and creates a safe and positive learning environment for students. Has taught in both in-person
and virtual environments. Professional Communicator with 20+ years of experience.

