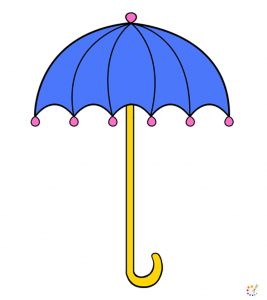
How to draw an umbrella is a very easy step by step tutorial for the kids and beginners. Umbrella is also called parasol which was firstly invented in china. It was first used to protect carriage and also it is widely used in Korea in the first century.
Art and culture of ancient history are evident of umbrella used to shade royal personages. Nowadays its most important use is to get protection with rain.
By following this easy drawing tutorial you will render your umbrella. It is one of the basic object kids start drawing at a very early age. This tutorial will help you in improving your basic drawing skill.
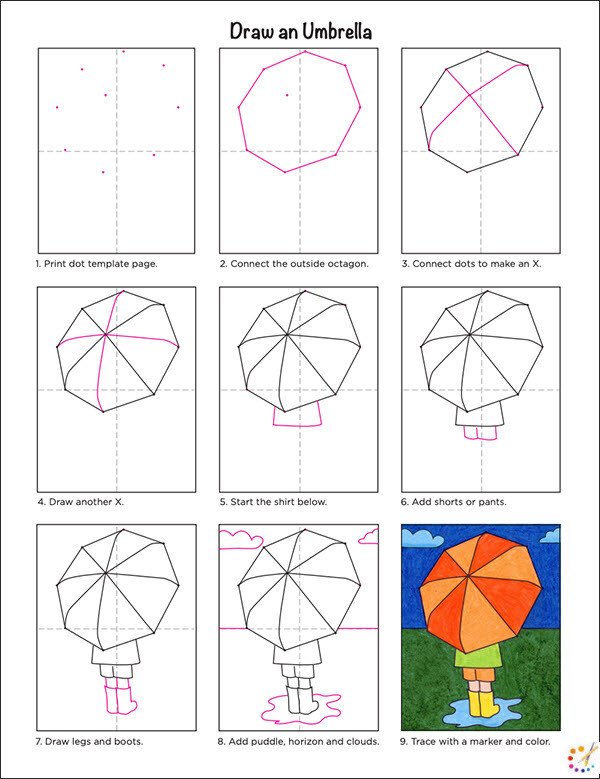
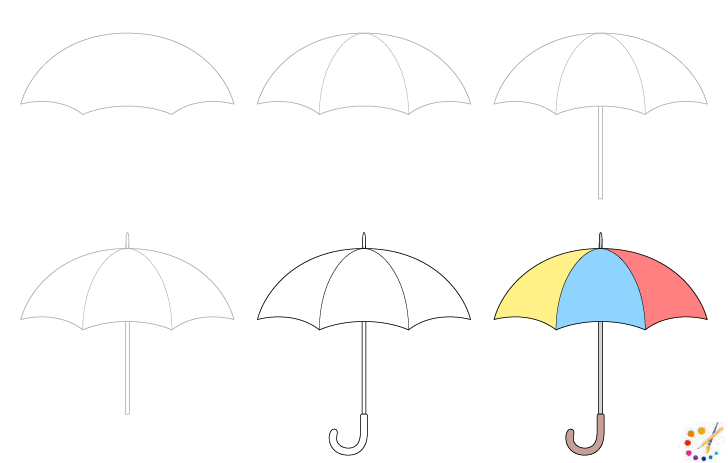
How to draw an Umbrella for kids:
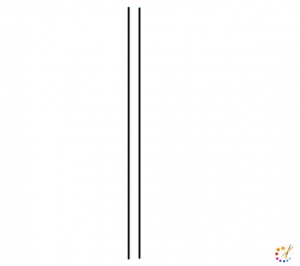
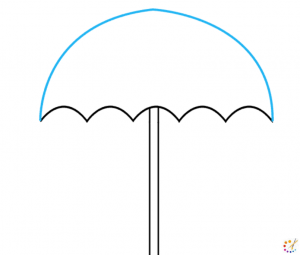
Step 1: Draw 2 straight parallel lines in the beginning of drawing. This staright line will work as stick for the umbrella.
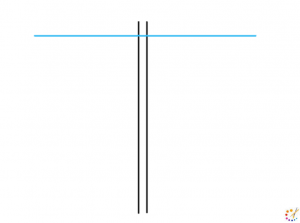
Step 2: On the top of this straight line draw a horizontal straingt line. By doing this the verticle line will be perpendicular on it.
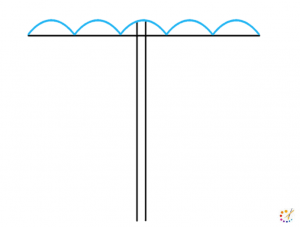
Step 3: On the top of the horizontal line draw small curves which are 5 in number.
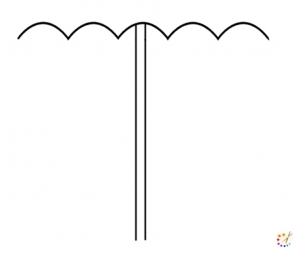
Step 4: Now in this step erase the base horizontal line. You will get a vertical line with downward curve on top.
Step 5: Above the drawn shape draw 2 curve from both the sides which will joint at the top center. By drawing this it will form a tomb shape and upper part of umbrella.
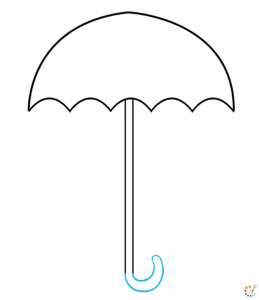
Step 6: Below the umbrella draw 2 enclosed parallel curves. This sjape will be in the form of mirror image of J.
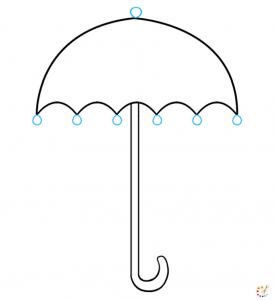
Step 7: Now add some extra elements to the drawing. Draw a small circle on the top of the umbrella and one one circles at the end of every curve.
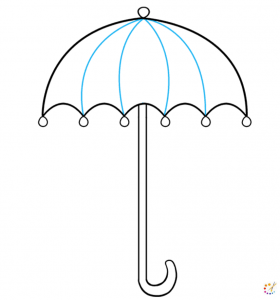
Step 7: Draw curve from the joining part of curve to the top of it. Repeat the shape from every curve joint.
Step 8: Umbrella is ready color it with bright or favourite color.
How to draw umbrella easy:
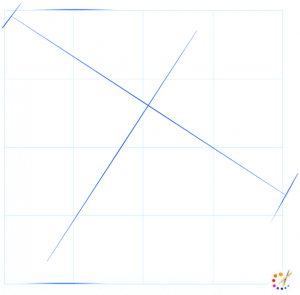
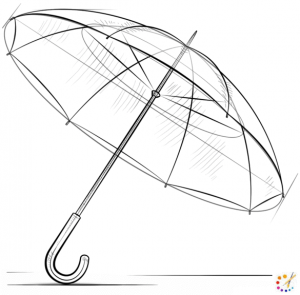
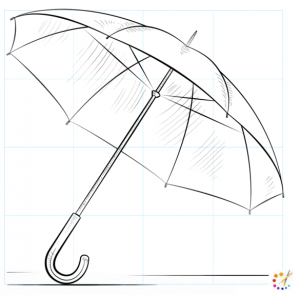
Step 1: Draw a diagonal line on the paper as depicted below. Then draw a intersecting line with this line which is also perpendicular to first line. On the both edge of line draw 2 more small line.
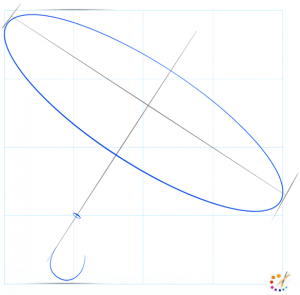
Step 2: Draw a big flat oval covering the whole line. Draw this oval from one end to other end. Then draw a small curve on the lower part to form a handle.
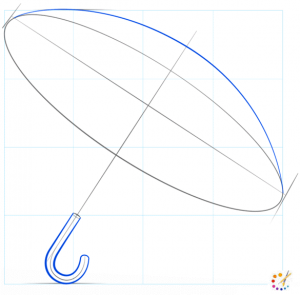
Step 3: On the top of the drawn oval draw one more downward curve as asecond layer. Then on the lower part draw mirror image of J with using double line. Draw all this shapes with the guideline.
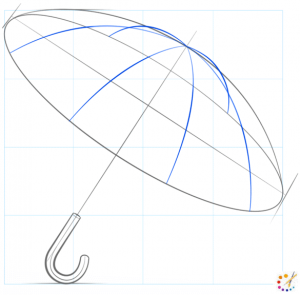
Step 4: From the top center of umbrella draw curved lines falling down on the curve of the umbrella. It will form the joints of the frills.
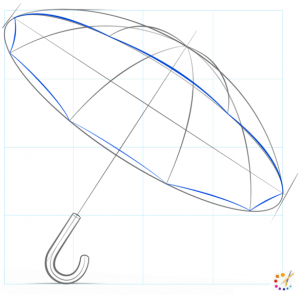
Step 5: Outline the frill border with the curved line. Then draw number of small curve in between every long verticle curve.
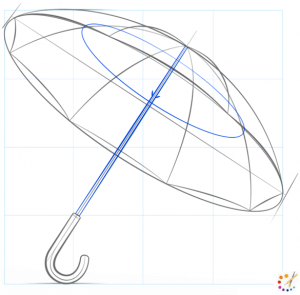
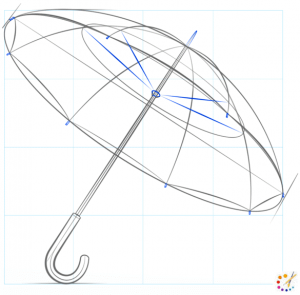
Step 6: Draw long sleek oval on the center overlapping the umbrella handle. In between the rod draw 2 small pointed shape.
Step 7: From the middle of the rod draw 2 pair of line on both the side going toward the umbrella.
Step 8: Then outline overall drawing with dark color. Do some shading in overall drawing.
Step 9: Give finishing to the drawing, erase extra lines.
Step by step Umrella Drawing:
2.

Skilled teacher, knowledgeable in and in adapting state content standards to individual needs in
Elementary-6th grade classrooms. Utilizes instructional materials, technology, and teaching methods to
engage students in effective learning opportunities in individual, small group, and whole-group settings to
maximize instructional time. Differentiates instruction for ELLs while exposing them to rigorous content,
with a focus on literacy skills in all subject areas. Establishes and maintains appropriate standards of
behavior in an inclusive and respectful environment for students from all socio-economic and cultural
backgrounds. Develops lesson plans using Backwards Planning Method to align content standards and
assessments with effective learning activities. Communicates and collaborates effectively with staff and
parents, and creates a safe and positive learning environment for students. Has taught in both in-person
and virtual environments. Professional Communicator with 20+ years of experience.

