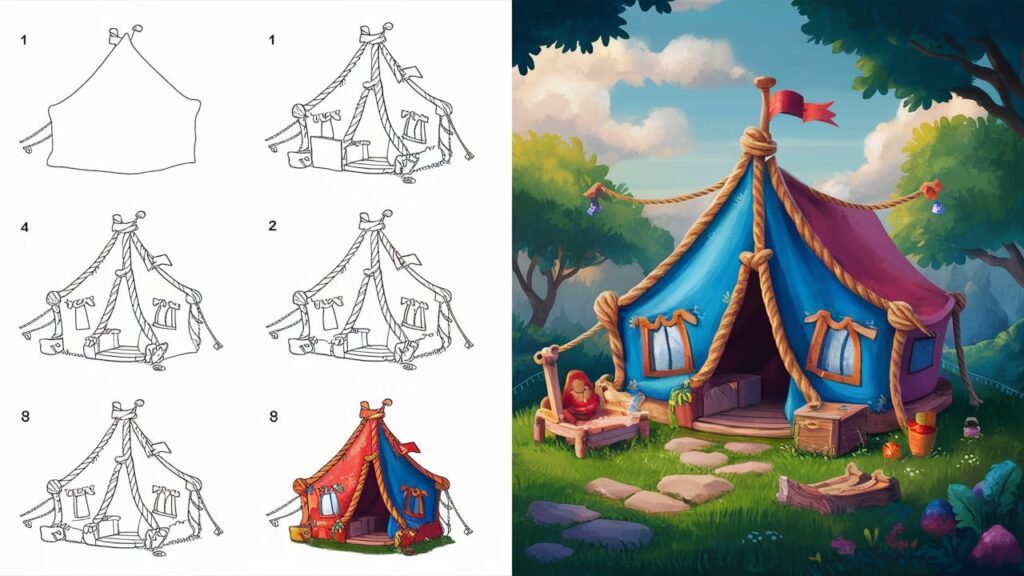
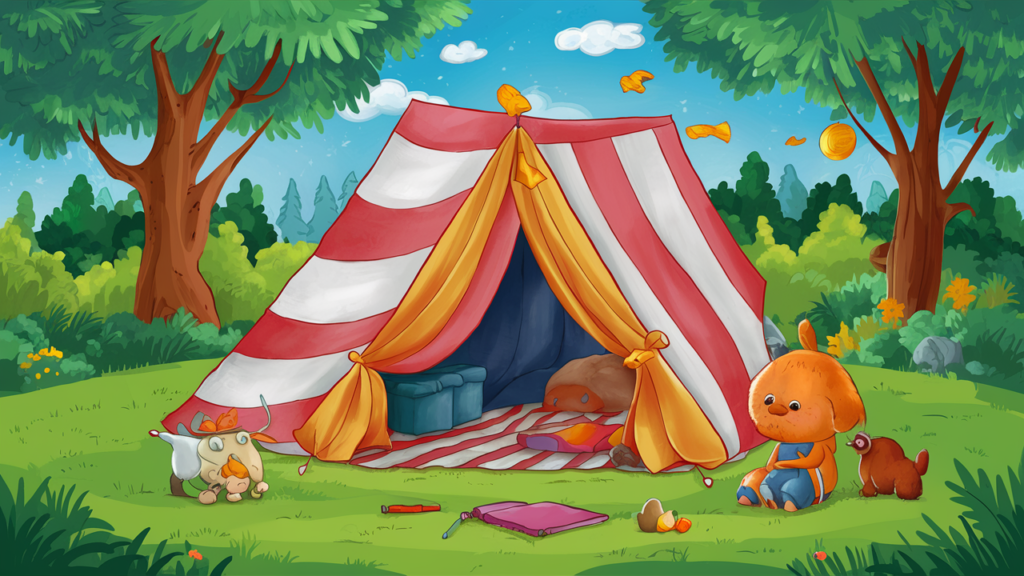
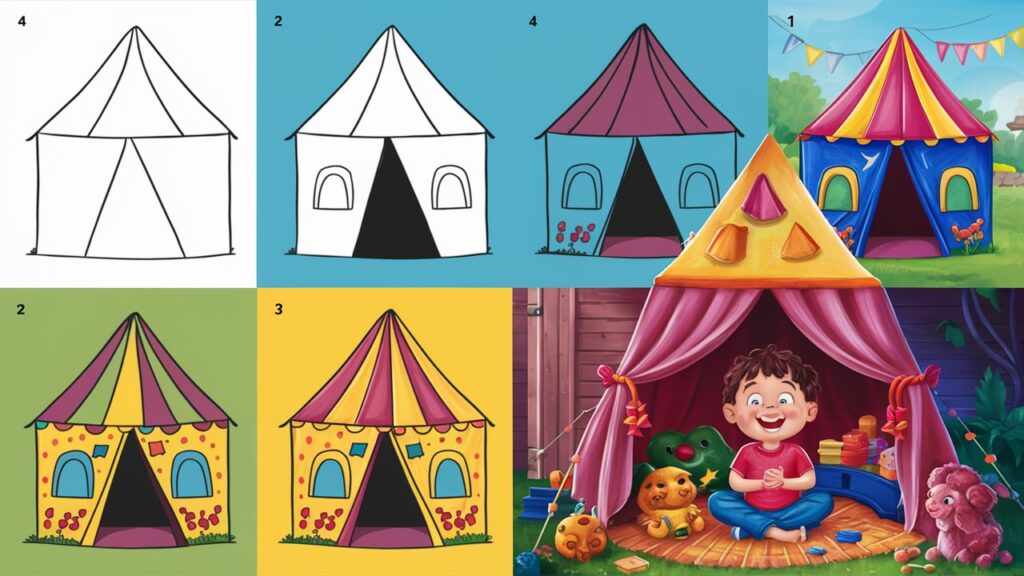
This tutorial how to draw a tent for kids and beginners which is a shelter that has been used since time immemorial. In ancient times, nomadic people used this to live in a tent full-time while traveling here and there.
It is also often used by the soldiers in tents when they are not in their camps or foreign land. In modern times, people go camping and use these tent houses for accommodation and night outs. To draw a cartoon tent you need the given tutorial which is a step-by-step illustration. This is an easy tent drawing tutorial for everyone who is interested in drawing it.
How to draw a Tent
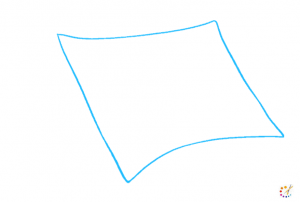
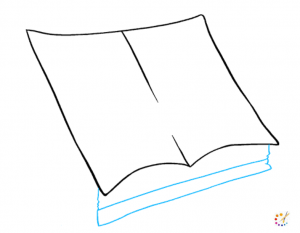
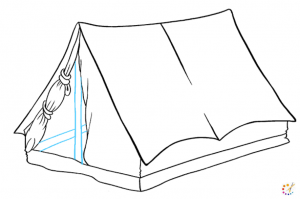
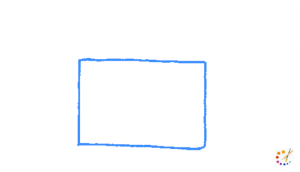
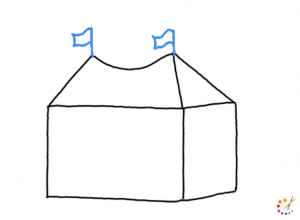
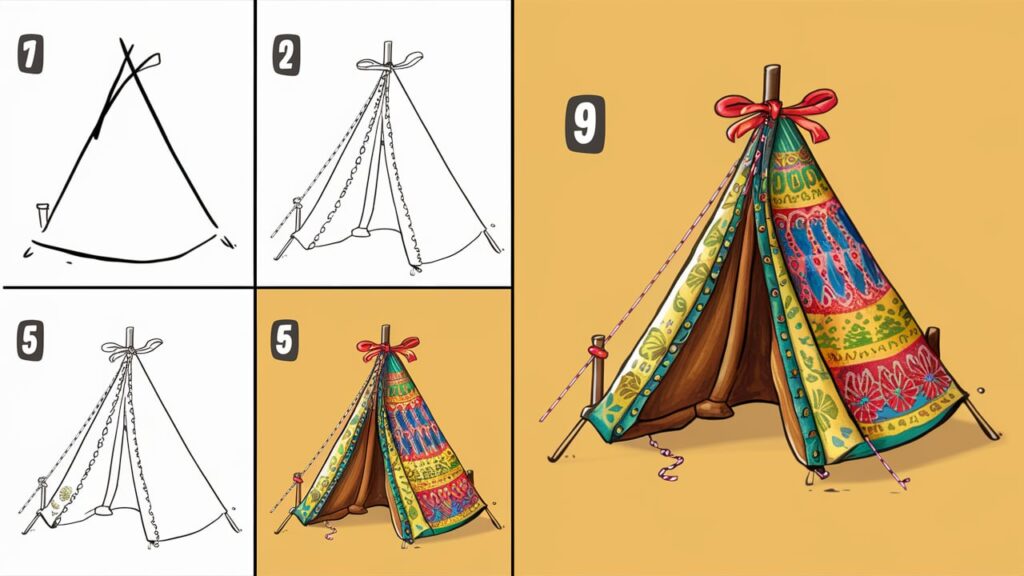
Step 1: Draw a quadrilateral using curved lines as shown in the below image.
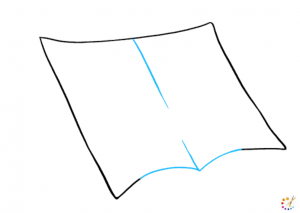
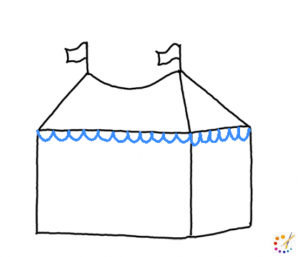
Step 2: Draw a line in the center which is a little apart from the center. In the lower border draw curved lines.
Step 3: Draw 2 parallel lines below the shape and attach it with a vertical line from the both corner of the shape.
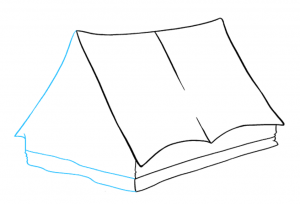
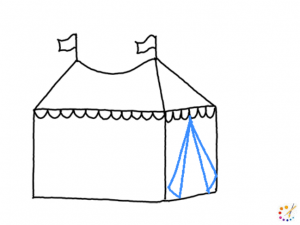
Step 4: On the left side of the shape draw a line at 45 degree angle. Below to it again draw 2 parallel lines joining prior drawn lines. By this time it has taken shape of hut.
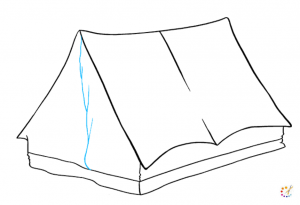
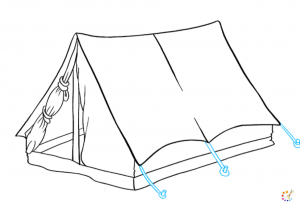
Step 5: Draw a distorted line from the side corner of the tent. For this use many lines attaching each other.
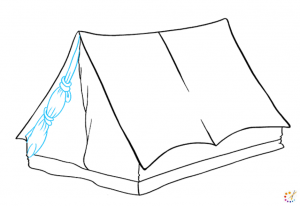
Step 6: Draw a piece of cloth that is tied with the tentpole. Draw many c shape lines and ovals forming knots and bundles of clothes.
Step 7: Draw 2 parallel lines to depict the tentpole and 2 lines for the side walls.
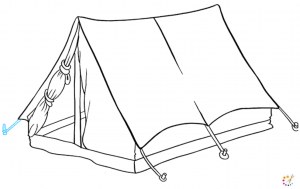
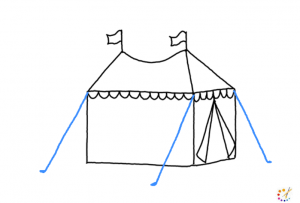
Step 8: On the side of the tent draw 3 ropes using lines forming string. Draw large nuts on the ground holding the ropes.
Step 9: Draw one more rope and nail on the surface.
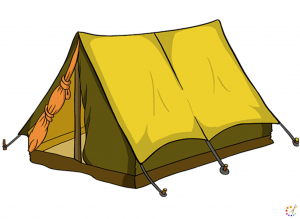
Step 10: Here we are done with the drawing part and now color it with your choice.
,
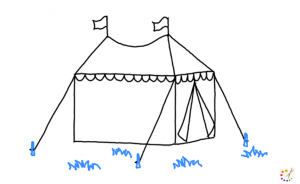
How to draw tent in easy way:
To draw a step by step tent you need to follow the given tutorial.
- In the beginning, draw a rectangle.
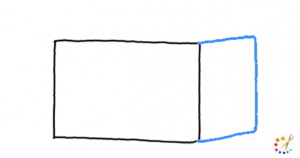
- On the side of the rectangle draw another long rectangle.
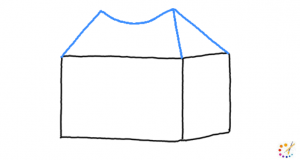
- On the top of this formed structure draw a triangle on one side and a single line on the other side. Join the tip of these with a curved line.
- On the peak of the curve draw 2 flags using pair of a curved lines.
- On the top of the roofline draw a curved frill.
- Draw 2 triangles joining from the top.
- In the next step draw 3 strings
- from the tent.
- Draw 3 nuts connecting the rope.
- Also, draw some grasses around the tent.
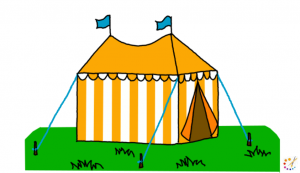
- You can color it or use the hatching technique to shade it.
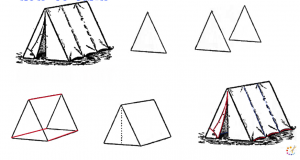
Here’s a step-by-step guide on how to draw a tent:
- Draw the Base:
- Start by sketching a horizontal line to represent the ground where the tent will sit.
- Draw the Tent’s Shape:
- Above the base line, draw a triangle or an inverted “V” shape to create the main body of the tent.
- Add the Tent Flaps:
- Extend two diagonal lines from the bottom corners of the triangle to the base line. These will represent the side flaps of the tent.
- Draw the Tent Poles:
- Add two vertical lines (one on each side) extending from the base line up to the top of the tent. Connect these lines with a small horizontal line at the top to form the top of the tent poles.
- Add Details to the Tent:
- Inside the tent shape, draw lines to show the folds and creases in the fabric. You can make these lines curved or angled to give a more realistic look.
- Draw the Tent Pegs:
- On the base line, draw small “U” shapes or hooks to represent tent pegs securing the tent to the ground.
- Add Shadows and Texture:
- Shade the areas under the flaps and along the folds to give the tent a three-dimensional appearance. You can also add texture by drawing small lines or patterns on the tent fabric.
- Finish with Details:
- Optionally, you can draw additional details like a campfire, trees, or other camping equipment around the tent to complete the scene.

Skilled teacher, knowledgeable in and in adapting state content standards to individual needs in
Elementary-6th grade classrooms. Utilizes instructional materials, technology, and teaching methods to
engage students in effective learning opportunities in individual, small group, and whole-group settings to
maximize instructional time. Differentiates instruction for ELLs while exposing them to rigorous content,
with a focus on literacy skills in all subject areas. Establishes and maintains appropriate standards of
behavior in an inclusive and respectful environment for students from all socio-economic and cultural
backgrounds. Develops lesson plans using Backwards Planning Method to align content standards and
assessments with effective learning activities. Communicates and collaborates effectively with staff and
parents, and creates a safe and positive learning environment for students. Has taught in both in-person
and virtual environments. Professional Communicator with 20+ years of experience.

