How To Draw A Spider -If you’re ever feeling scared or intimidated by spiders, don’t! Drawing one is very easy. In fact, with a bit of practice, you’ll be able to create amazing spider drawings that will make your heart race in fear and delight all at the same time.
If you’re someone who’s ever considered trying your hand at drawing, but wasn’t sure where to start, this guide is for you. We’ll introduce you to the basics of the art form and show you how to get started. From there, it’s up to you to explore and experiment – the sky’s the limit!
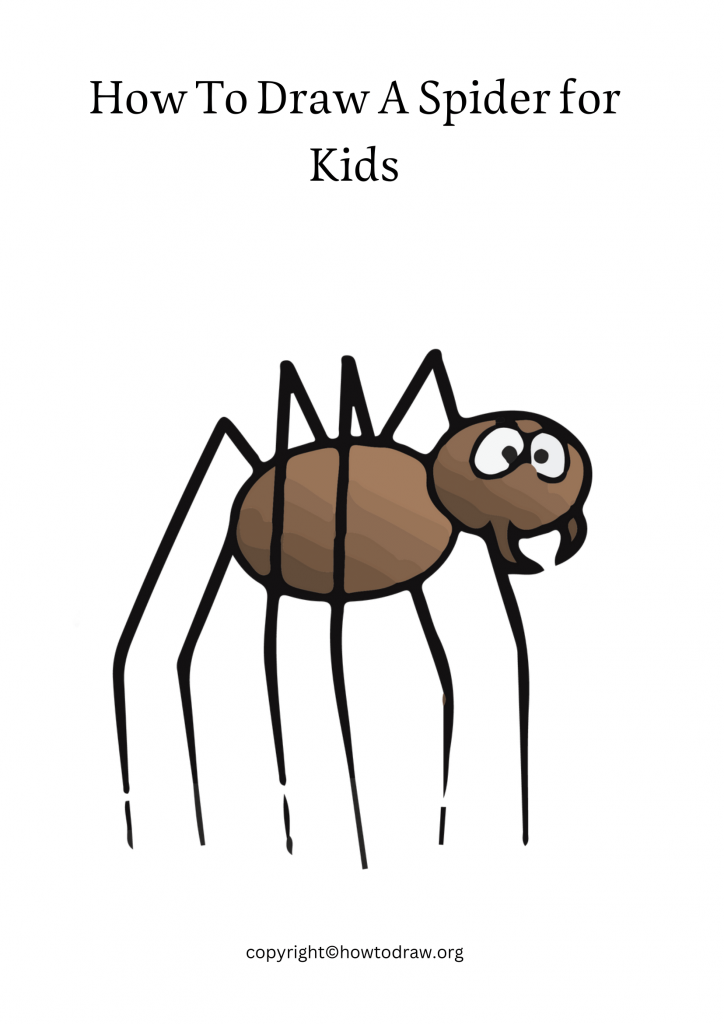
How To Draw A Spider for Kids
Kids love spiders, and drawing them can be a great way to show your appreciation.
If you want to learn how to draw a simple spider quickly, without any help, then this tutorial is perfect for you! In just a few simple steps, you’ll be able to create a realistic Spider illustration that will amaze your friends and family.
The benefits to draw a spider with your hand are numerous. By learning how to draw a spider correctly, you can improve your fine motor skills, develop hand-eye coordination, and increase your confidence. Plus, spiders are incredibly interesting and unique creatures that are sure to capture your attention.
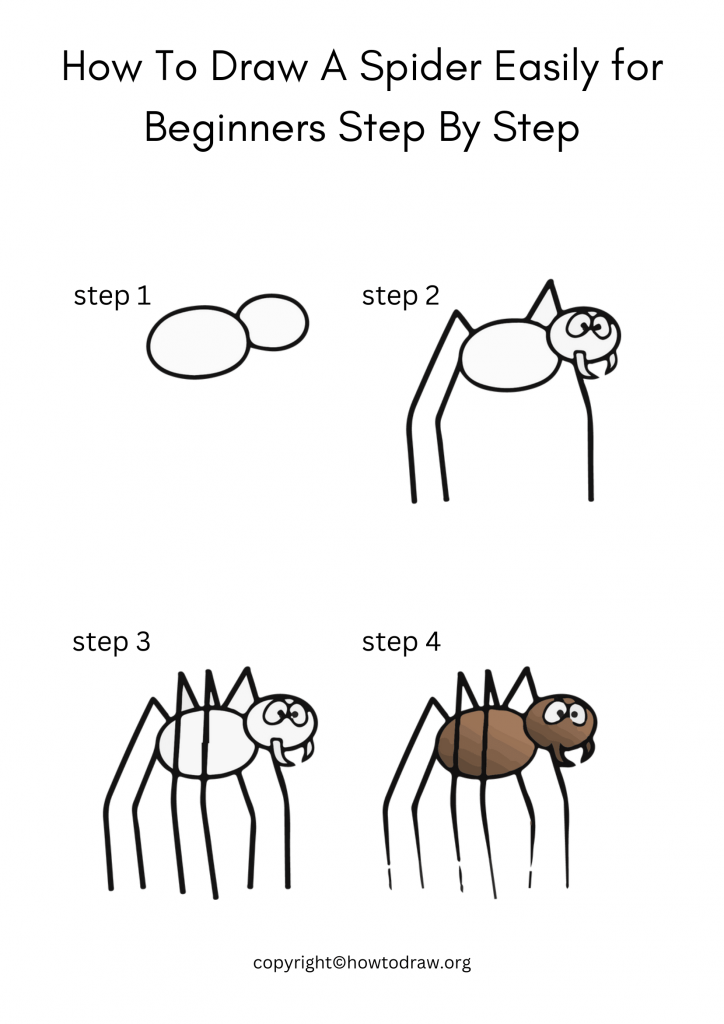
How To Draw A Spider Easily for Beginners Step By Step
If you’re looking to try your hand at drawing spiders, but don’t feel like you have the necessary skills, fear not! In this article, we will guide you through the process of drawing a spider easily, step by step. Whether you are a beginner or an experienced artist, following these easy steps should help create a believable and awe-inspiring spider design.
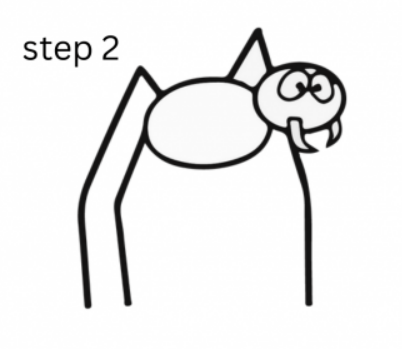
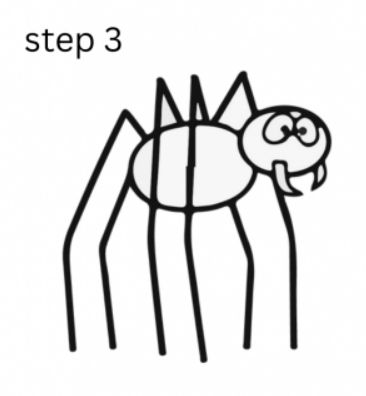
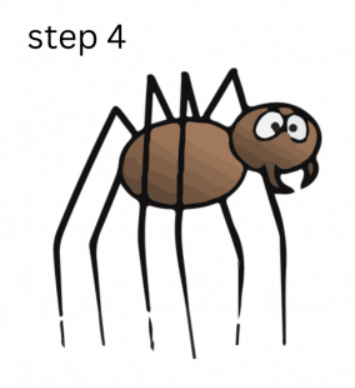
Here are easy steps on how to draw a spider for kids:
1. Start with a basic oval shape, and use curved lines to create the body.
2. Draw the legs next, using long, thin lines.
3. Next, add the webbing and spikes on top of the legs.
4. Finish up the spider by drawing in some details like eyes and mouth.
Looking to learn how to draw a spider easily for strong drawing skills? These simple steps on how to draw a Spider will show you the basic steps needed. Start by sketching a basic outline of the spider’s body with a light pencil, then fill in the details with a darker one. Keep in mind that spiders have soft bodies so don’t overwork your lines. Finally, add some highlights and shadows to make your spider look realistic
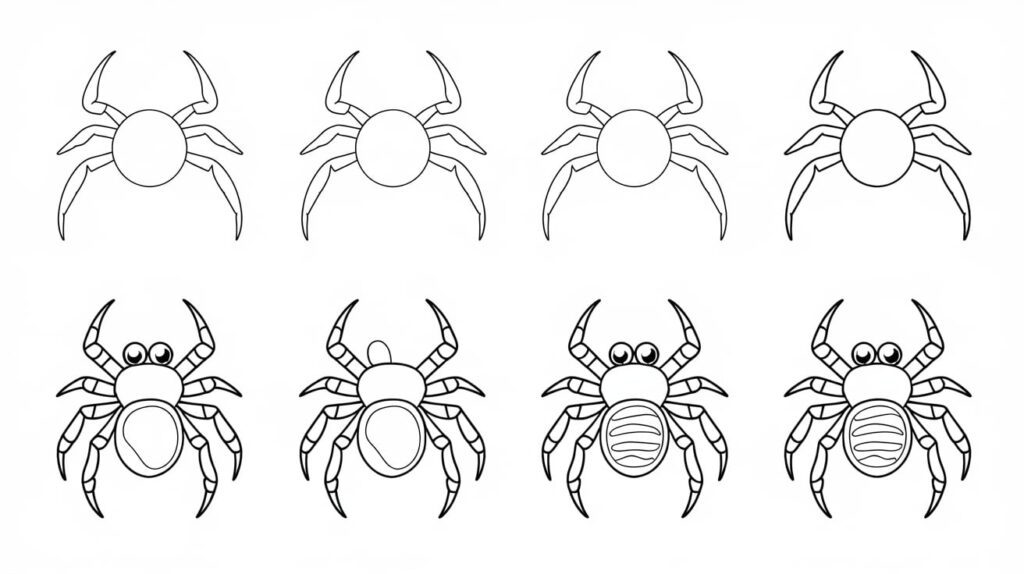
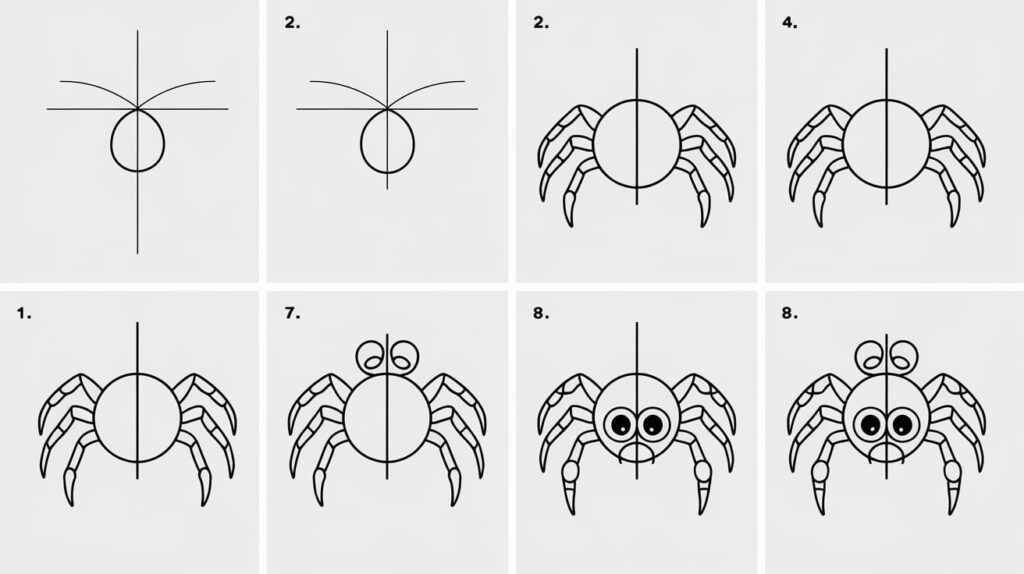
Here’s a detailed step-by-step guide on how to draw a spider:
1. Draw the Body:
- Create the Head and Abdomen: Start by drawing two oval shapes. The first oval is smaller and will be the head, positioned slightly above the second, larger oval, which will be the abdomen. Connect these ovals with a slight curve for the spider’s body.
2. Add the Eyes:
- Draw the Eyes on the Head: Inside the smaller oval (the head), draw several small circles or ovals for the spider’s eyes. Spiders typically have multiple eyes, so you can draw four to eight, depending on the type of spider.
3. Draw the Legs:
- Create the Leg Segments: Draw eight legs extending from the sides of the spider’s abdomen. Each leg should have three segments: a long central segment with two smaller segments attached at the ends.
- Position the Legs: Start by drawing the legs extending outward and slightly upward from the sides of the abdomen. The legs should curve and taper as they extend outward.
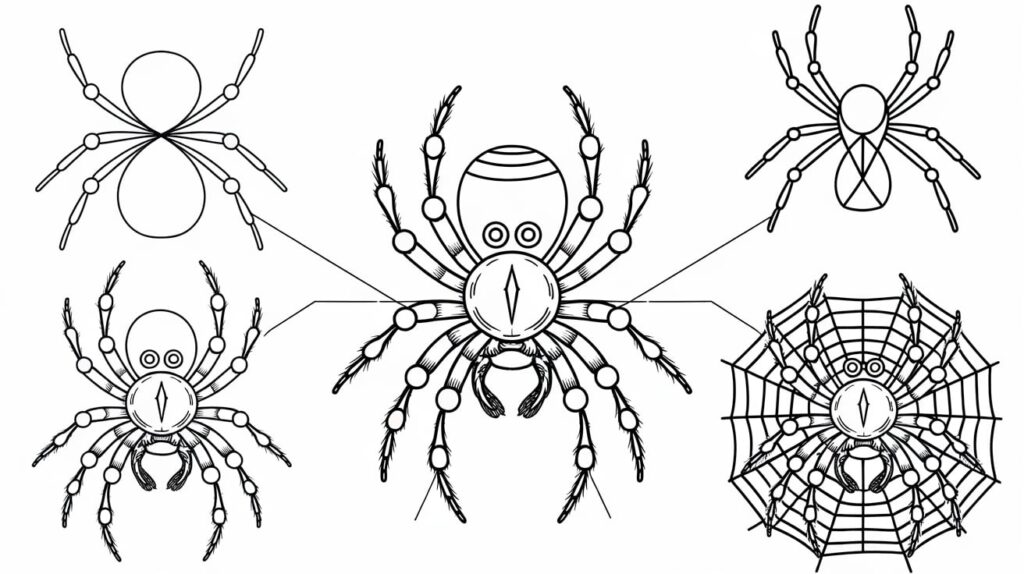
4. Add the Details to the Legs:
- Segment the Legs: For each leg, draw lines to indicate the segments. The central segment should be the longest, while the two smaller segments should be shorter and taper towards the end.
- Add Texture: Draw small lines or patterns on the legs to add texture and detail, making them look more realistic.
5. Draw the Mandibles:
- Add Fangs: At the front of the head, draw two curved lines extending downward. These are the spider’s mandibles or fangs. They can be pointed or slightly curved, depending on the spider species.
6. Add Additional Details:
- Draw the Spider’s Web (Optional): If desired, draw a spider’s web in the background by creating a series of concentric circles connected by radiating lines.
- Shade and Texture: Lightly shade the spider’s body and legs to add depth. You can also add some patterns or textures on the body to make it more interesting.
7. Final Touches:
- Review Your Drawing: Check for any inconsistencies or areas that need more detail. Make sure the legs are evenly spaced and the body is proportionate.
- Erase Unnecessary Lines: Remove any extra lines or construction marks that are not part of the final drawing.

Skilled teacher, knowledgeable in and in adapting state content standards to individual needs in
Elementary-6th grade classrooms. Utilizes instructional materials, technology, and teaching methods to
engage students in effective learning opportunities in individual, small group, and whole-group settings to
maximize instructional time. Differentiates instruction for ELLs while exposing them to rigorous content,
with a focus on literacy skills in all subject areas. Establishes and maintains appropriate standards of
behavior in an inclusive and respectful environment for students from all socio-economic and cultural
backgrounds. Develops lesson plans using Backwards Planning Method to align content standards and
assessments with effective learning activities. Communicates and collaborates effectively with staff and
parents, and creates a safe and positive learning environment for students. Has taught in both in-person
and virtual environments. Professional Communicator with 20+ years of experience.

