Hello, my students today we are with how to draw a sparrow. They are a very tiny, cute, bubbly bird which is seen everywhere in the world. These birds are very fond of humans and seen in deserts to forests all around. They used to feed on seeds, small insects and are very vocal. Their chirping invites and very soothing.
If you are eagerly waiting to draw your own cartoon or realistic sparrow. You can take the following tutorial as given below to guide you how to draw. Sparrows have also been referenced in Shakespeare’s Hamlet so just pick up your drawing supplies. As usual you require paper, a pencil, an eraser to start drawing.
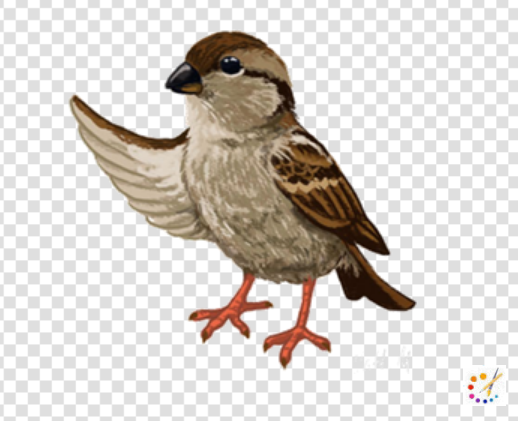
How to draw a sparrow for kids:
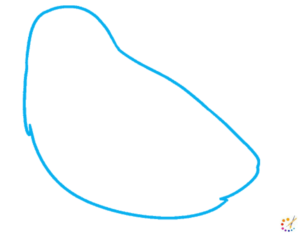
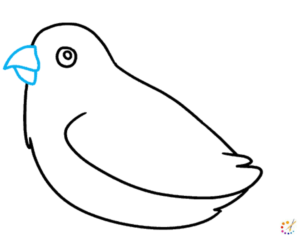
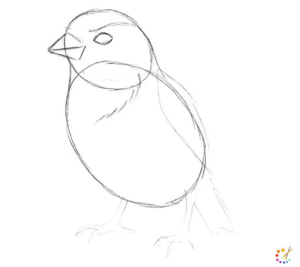
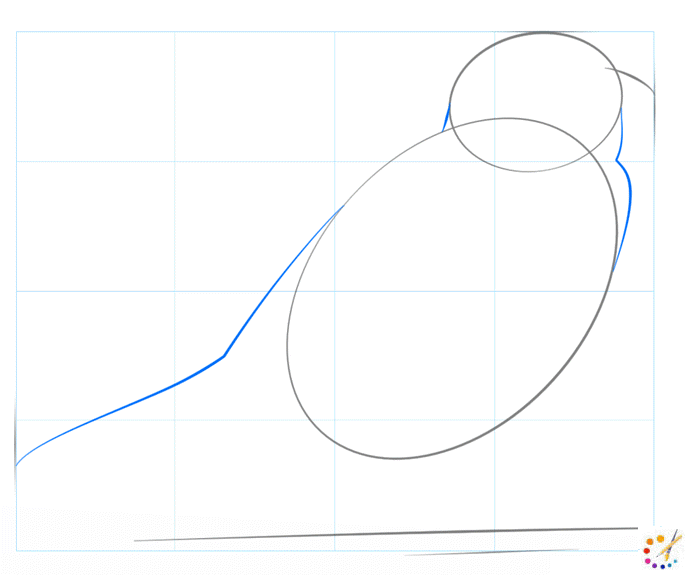
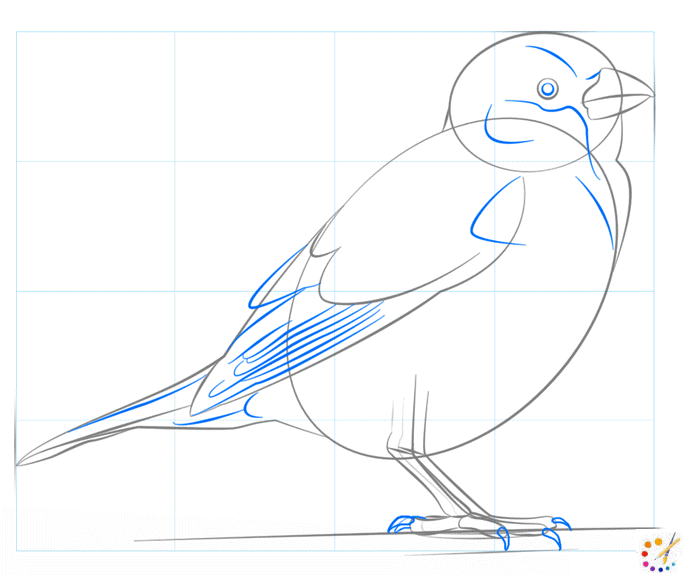
Step 1: To sketch a sparrow first go for the body’s outline. Draw long, curved lines and outline the head and body. The body should be small and chunky.
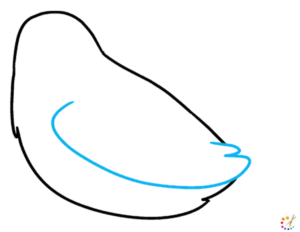
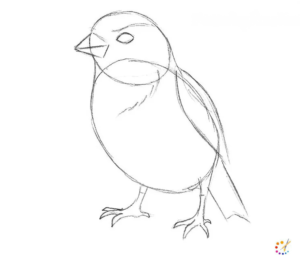
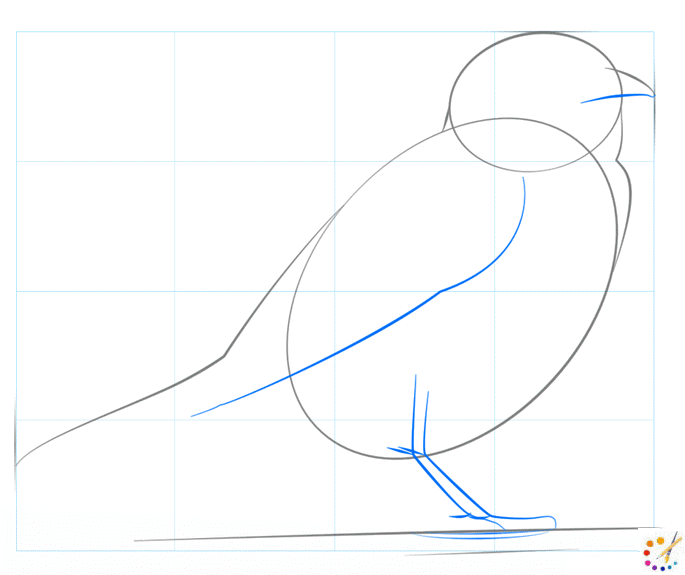
Step 2: In this step draw wings, remove a small portion on the tail side. Draw a “U” shaped curved line for the feather moving towards the tail. Draw 2 curves at the end of wings.
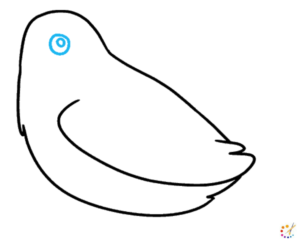
Step 3: Draw 2 circles within each other and create eyes.
Step 4: In the center of the eyes draw 2 triangular shapes facing towards each other and draw a beak. Remove the covered part from here.
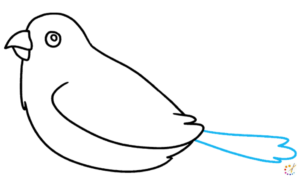
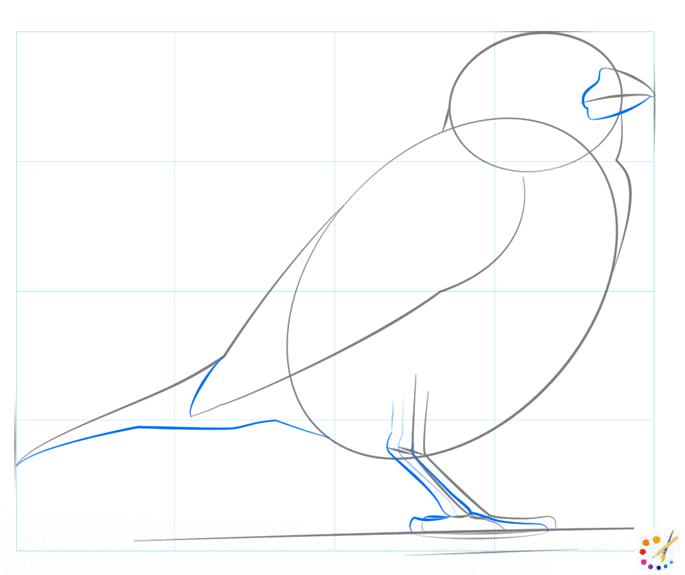
Step 5: This is for drawing the tail, begin with a straight line going in the opposite direction to the body and changing into w and then back towards the body.
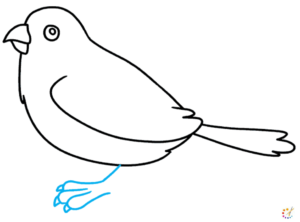
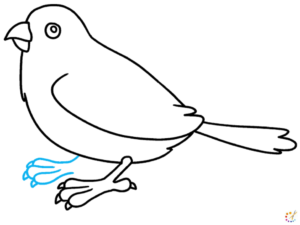
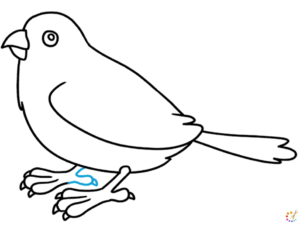
Step 6: Body is done by now, draw legs. Draw a line and divided it into 3 and creating toes with the triangle at the end of each toe to represent the claws.
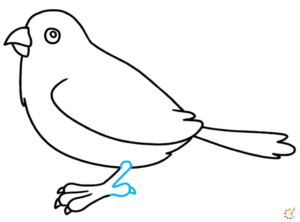
Step 7: Draw the back-side facing toe again with the claw on the tip of the toe use curved lines.
Step 8: Draw another leg using the same method and curved lines with the claws at the front.
Step 9: Draw the 4th toe at the back, end it also with claws.
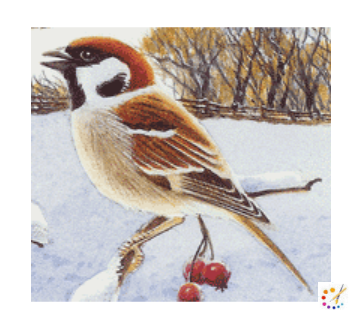
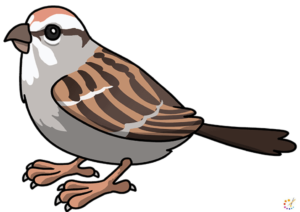
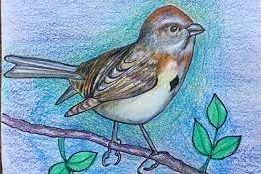
Step 10: Color your bird with brown and black, reddish-brown, and cream streaks. Refer to the given example.
Step by step easy sparrow drawing:
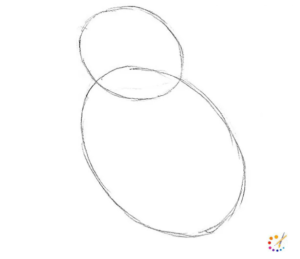
- You may draw a sparrow by using 2 overlapping a circle and an oval.
- The body of this bird is small bulked and small hence draw large rounded oval.
- Then draw its tiny beak which is also again very small.
- To draw a beak draw a triangular shape having the same baseline, the entire shape must overlap the head.
- Draw a long smooth shape encircled with 2 curved lines on side of the body to draw wings.
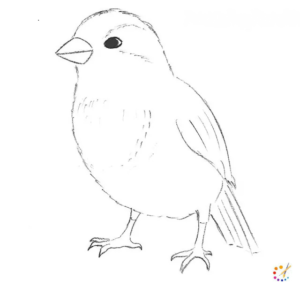
- From bottom the wings extend the line and draw the tail with 2 jagged ends.
- Draw straight lines in the wings and tails and the feather is done.
- Add some small feathers randomly here and there.
- Add details to the eye and head.
How to draw a sparrow:
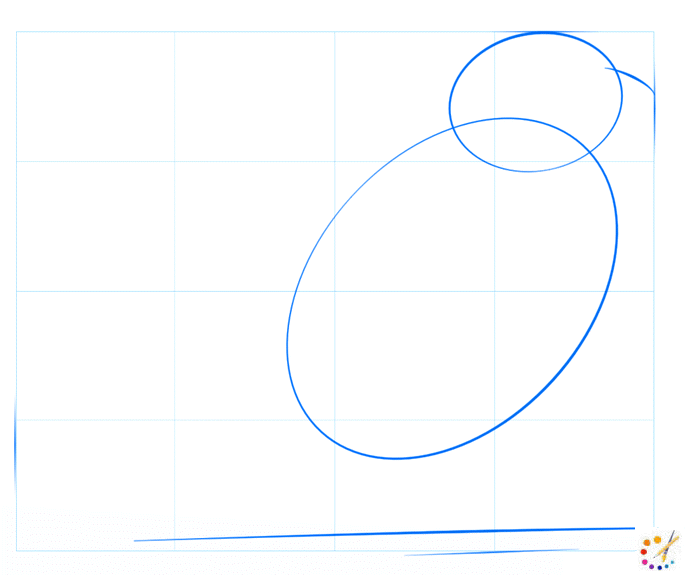
Step 1: Mark the height, width and draw the outline likewise for drawing in advance.
Step 2: Draw guidelines for the neck with the body and tail.
Step 3: Draw legs with 2 lines, curved wings, and curved beak.
Step 4: Form the legs from the area below the previously drawn line, complete with the tail, and beak with other curved lines.
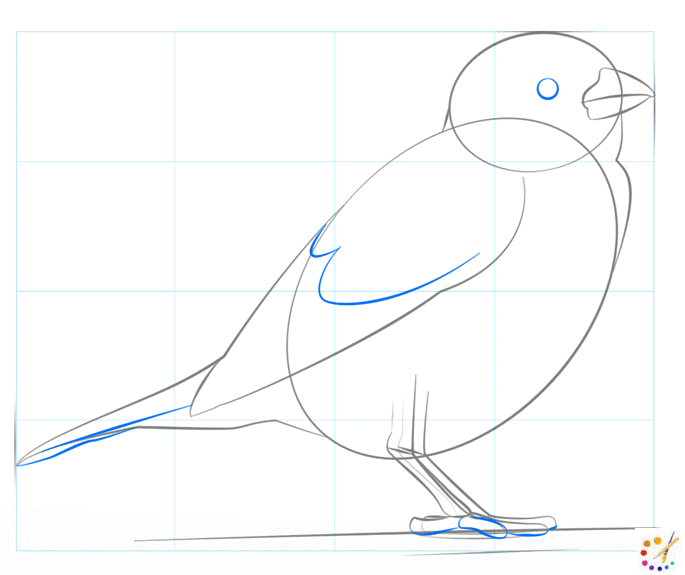
Step 5: Draw eyes, curved wings, and also create toes.
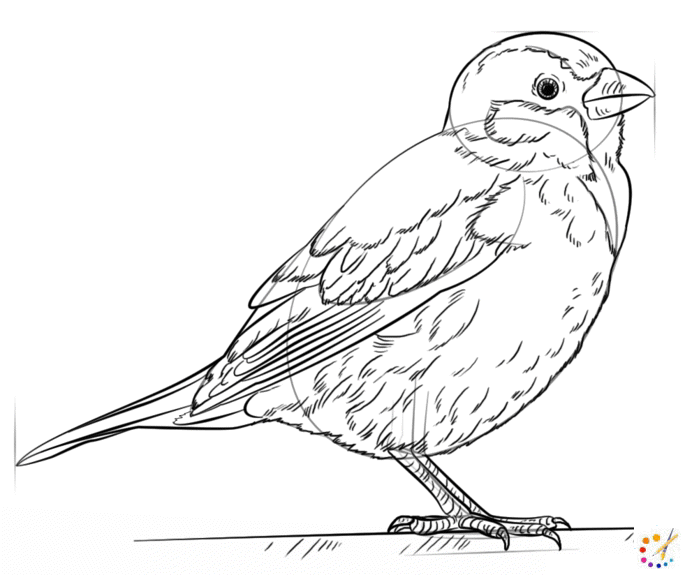
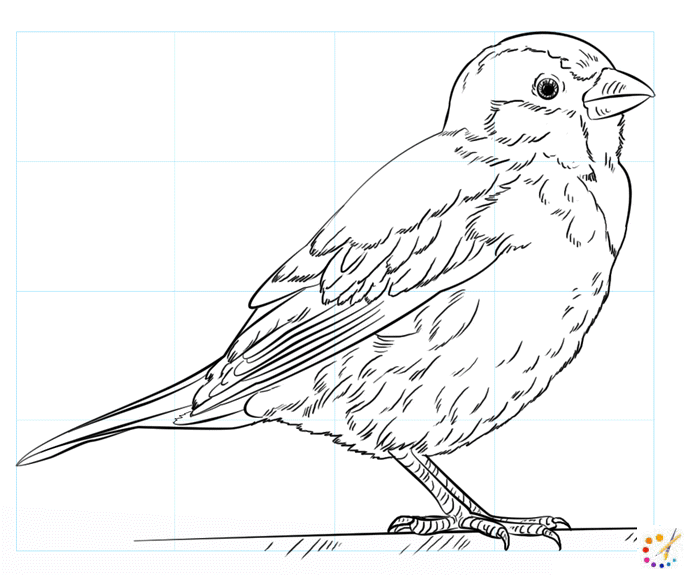
Step 6: Complete drawing with remaining details like feathers on wings and tail, draw claws, and some remaining details on the head.
Step 7: When the outline is done contour your drawing with feathers everywhere, lines on legs. It will make a difference in the thickness and blackness of the drawing.
Step 8: Remove all the guidelines and fetch your sparrow.

Skilled teacher, knowledgeable in and in adapting state content standards to individual needs in
Elementary-6th grade classrooms. Utilizes instructional materials, technology, and teaching methods to
engage students in effective learning opportunities in individual, small group, and whole-group settings to
maximize instructional time. Differentiates instruction for ELLs while exposing them to rigorous content,
with a focus on literacy skills in all subject areas. Establishes and maintains appropriate standards of
behavior in an inclusive and respectful environment for students from all socio-economic and cultural
backgrounds. Develops lesson plans using Backwards Planning Method to align content standards and
assessments with effective learning activities. Communicates and collaborates effectively with staff and
parents, and creates a safe and positive learning environment for students. Has taught in both in-person
and virtual environments. Professional Communicator with 20+ years of experience.

