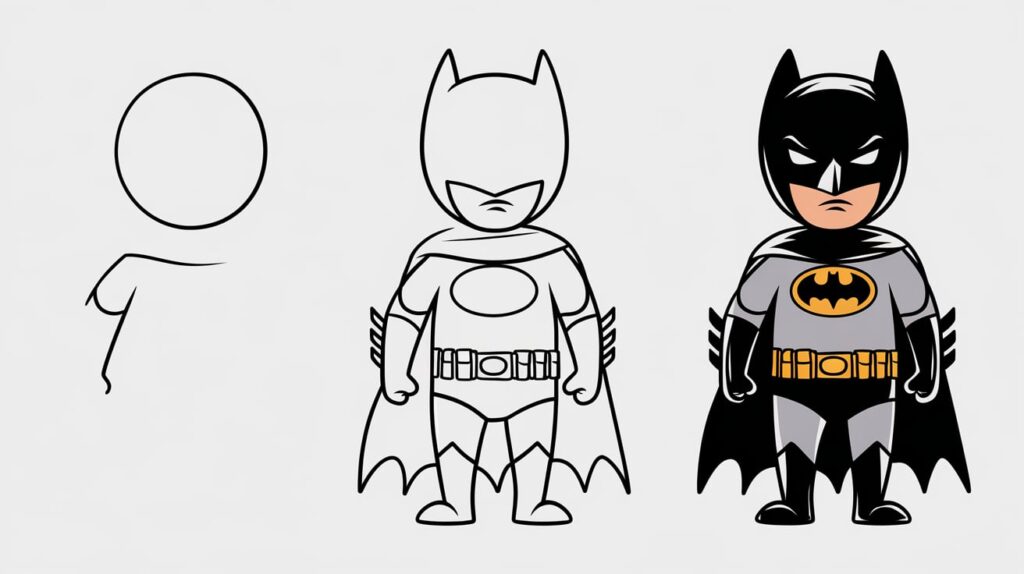
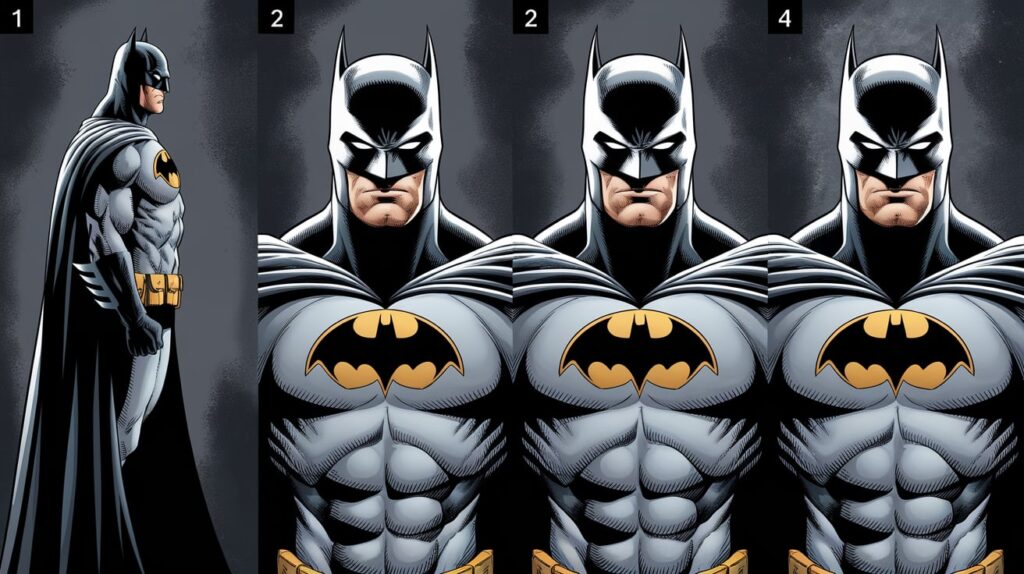
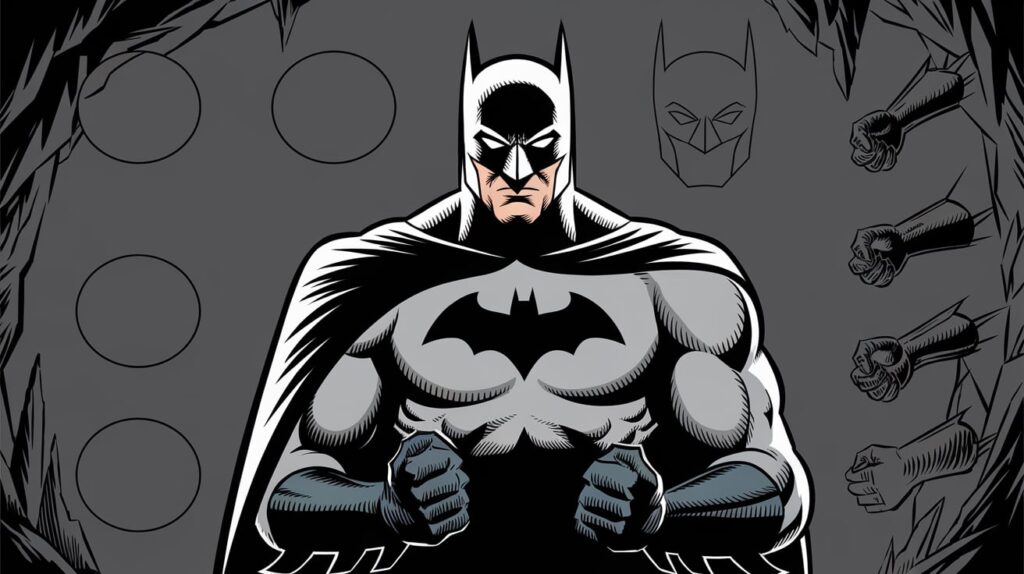
Hey kids..! we are here to help you how to draw batman for kids and beginners step by step with illustrations. Batman is a fictional superhero famous all around the world. He is firstly depicted in Detective Comics no. 27 in 1939 produced by DC Comics. Batman is also known as the Dark Knight and the Caped Crusader as after his parent’s death he started helping needy people wearing the cape.
Later it became part of the video games, movies, actions, animated cartoons once it became famous in comics. If you like to draw this super famous superhero, batman then follows the given steps and tutorial provided to help you. Get ready with your supplies as sharpen your pencil, take your eraser, paper, and other supplies.
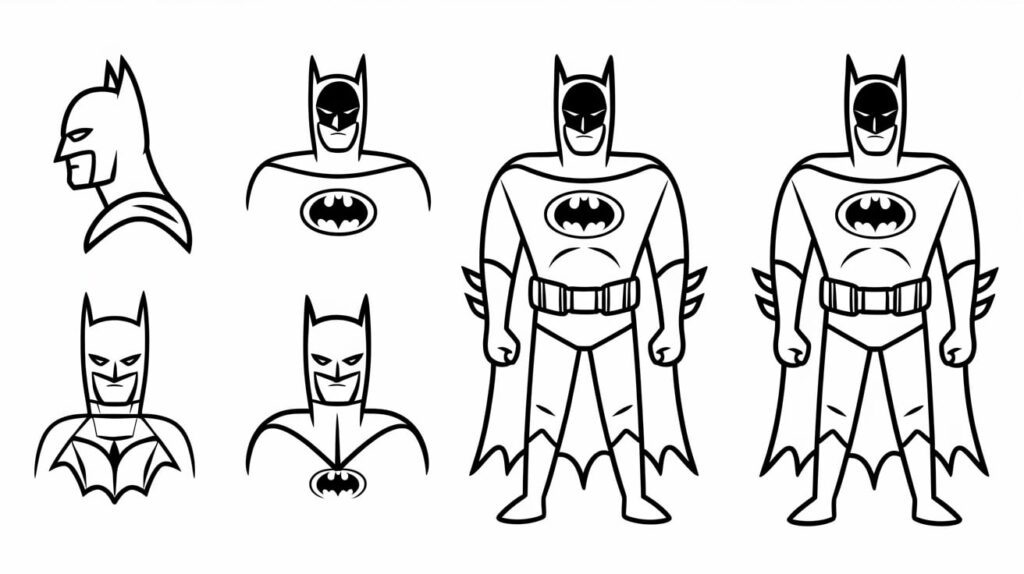
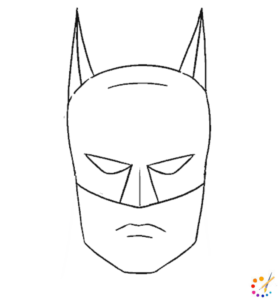
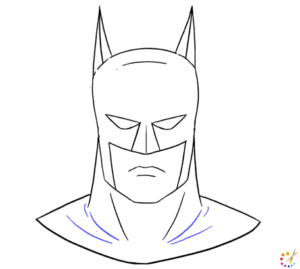
How to draw Batman Head
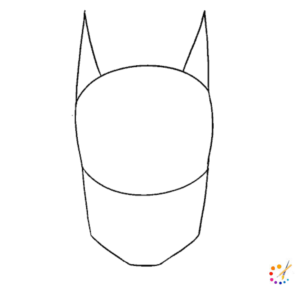
Step 1: Draw a circular shape with a flattened end on both sides. On the top of the circle draw, 2 pointed conical shapes for the ear. Below the head draw a triangular shape that will depict the jaw and chin of the drawing.
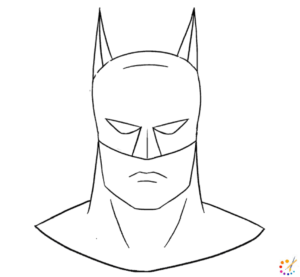
Step 2: In the middle of the ear draw a straight line. In the lower part draw 2 triangular eyes with the 3 lines from the corner of the eyes depicting the nose. In the lower part draw, a curved line for the mouth followed another line below.
Step 3: From the centerline of the face draw 2 tilted lines for the mask followed by the other flattened line join both these lines with curved lines as depicted in the 3rd image.
Step 4: Draw a few finishing lines on the neck and the head.
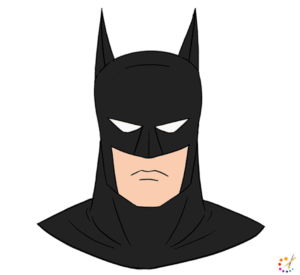
Step 5: Color the face mask with black.
How to Draw Batman for Kids
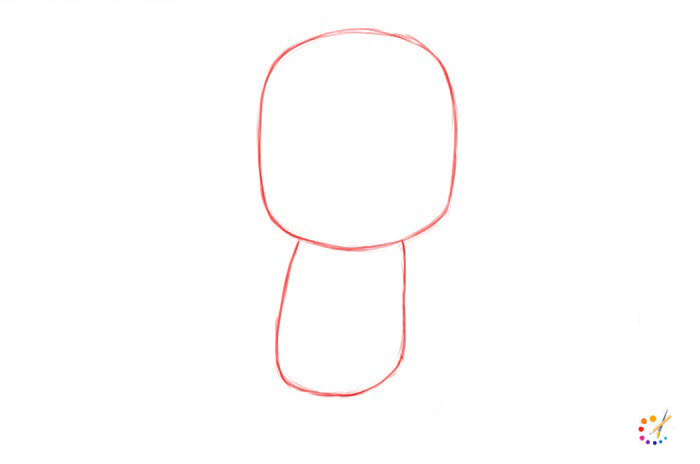
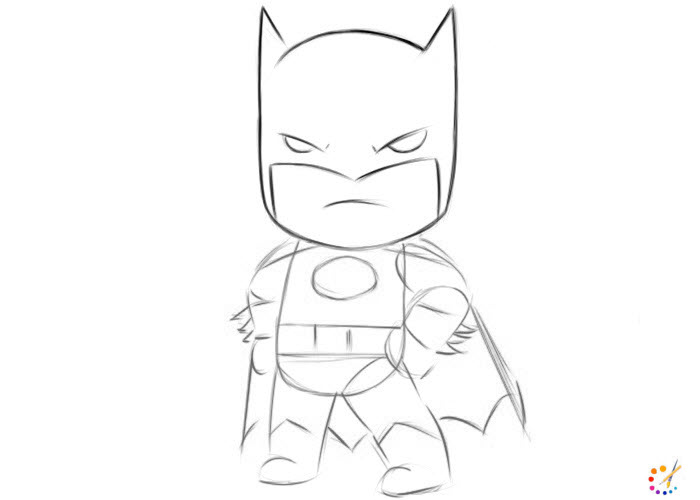
Step 1: Draw a square for the face and a rectangular shape below it for the body.
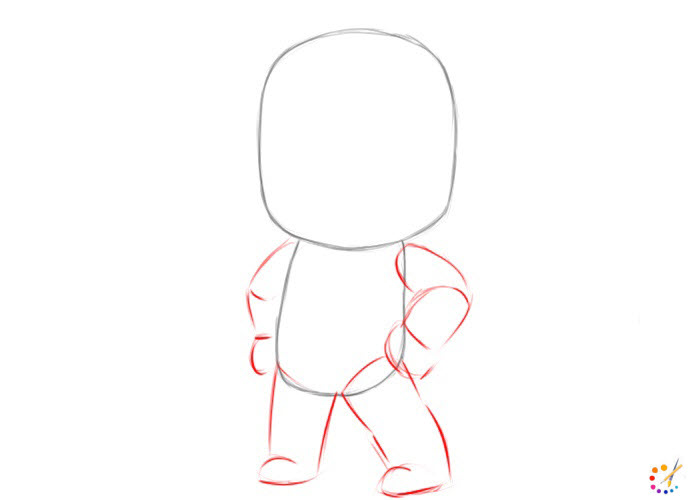
Step 2: Draw hands on both sides and below the body. For this draw set of simple lines as depicted in the image below.
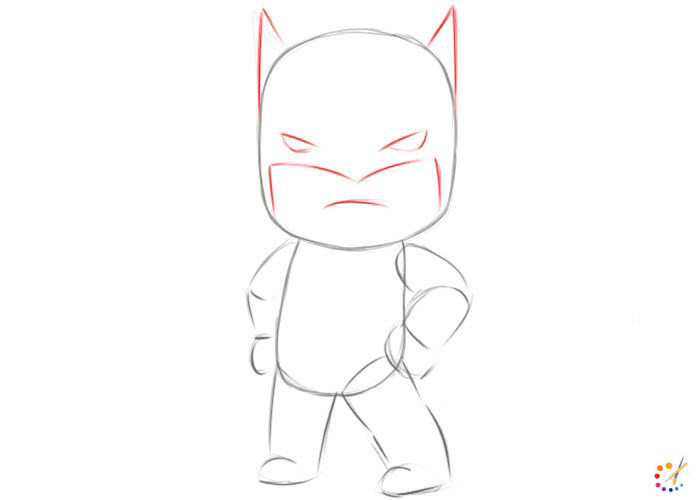
Step 3: Draw 2 pointed ears on the top of the head, 2 triangular eyes on the face, and lines depicting the border of the face mask.
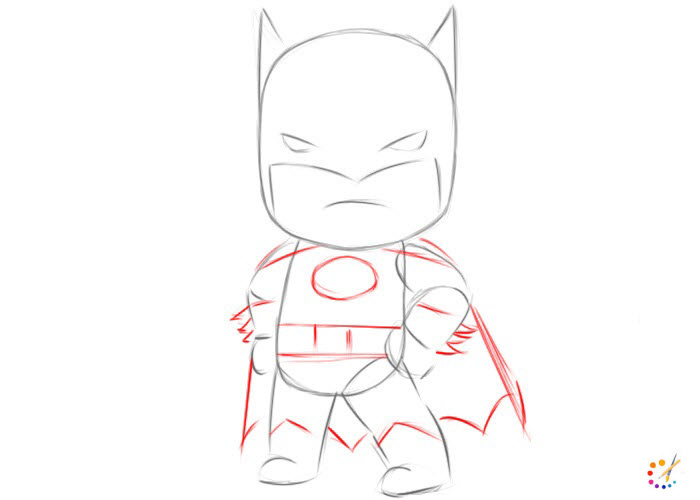
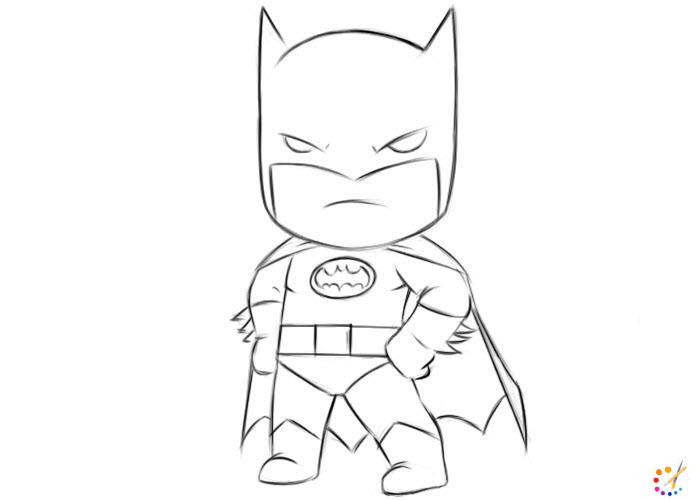
Step 4: In this step, we will draw other details of the dress as the belt, logo, and cape.
Step 5: Start finishing your drawing with the head, for this use dark pencil and erase all the extra lines.
Step 6: Now, finish the rest of the drawing keeping the outlines as base, don’t forget to finish small details like its logo and the border of the cape.
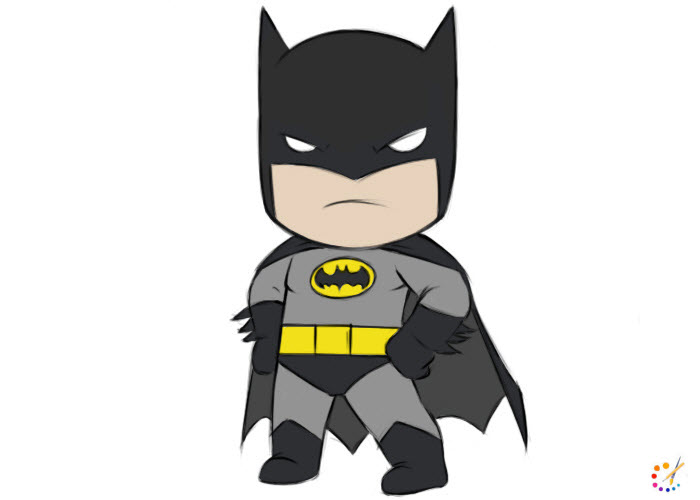
Step 7: Color the whole drawing with black, grey, and yellow colors.
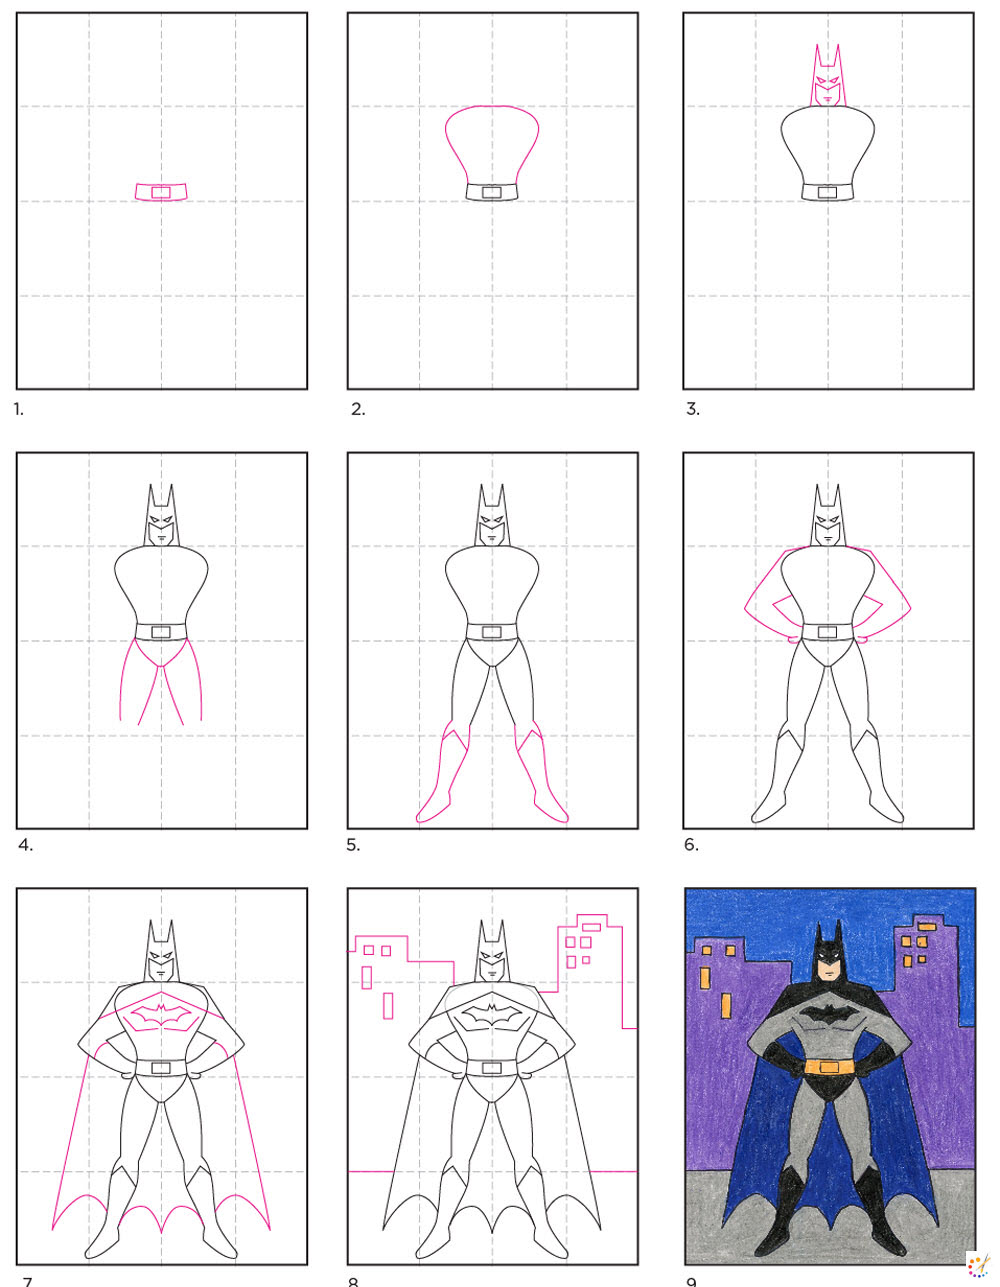
Draw Batman step by step
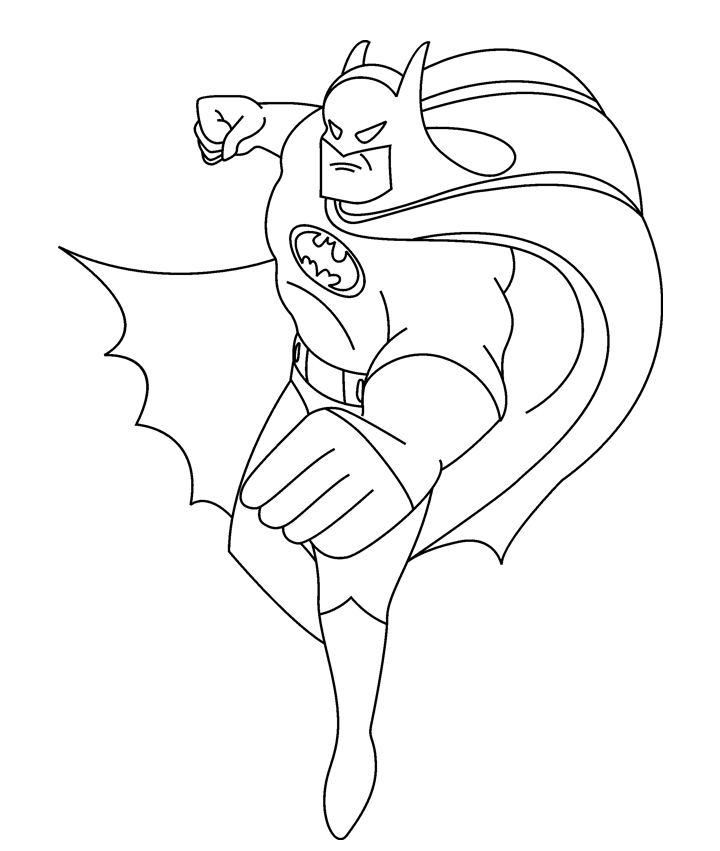
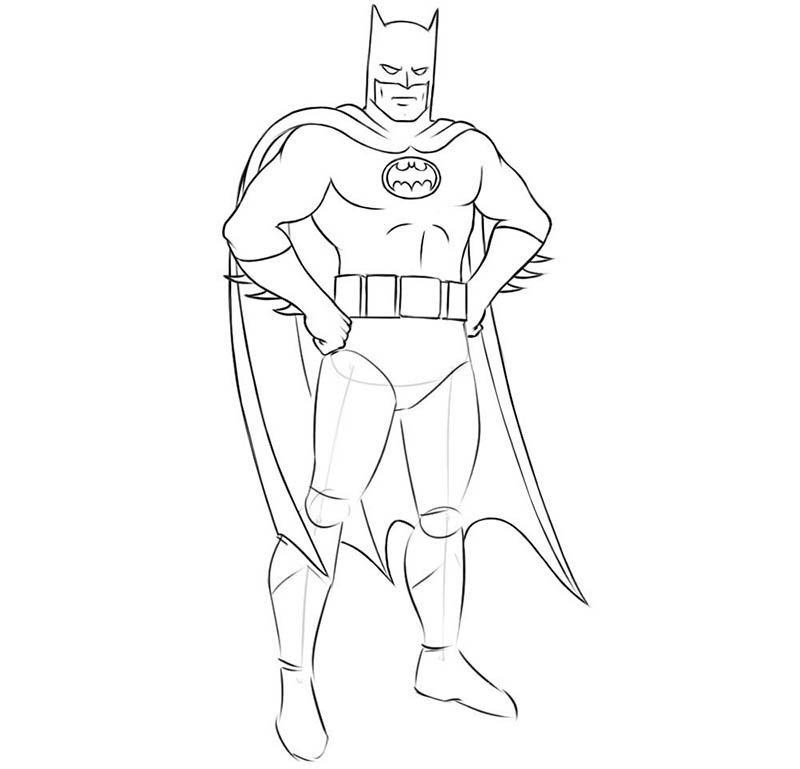
Draw the full body of the batman with the given below illustration, which is given in the steps. Follow all the steps carefully as it is given in parts, by following which you can render your batman.
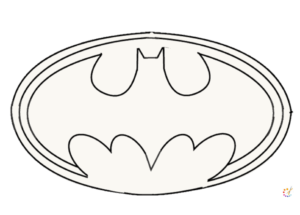
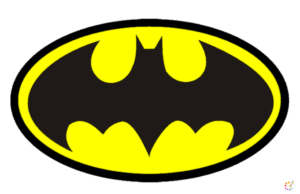
Logo of the Batman
The Batman logo resembles the wings of the bat, it is oval-shaped having wings inside it from the top and the below. It is yellow and black in color.
Here’s a step-by-step guide on how to draw Batman:
Step 1: Basic Framework (Stick Figure & Shapes)
- Draw a light sketch of Batman’s pose with a stick figure. Include the head, torso, and limbs to establish proportions.
- Add basic shapes: oval for the head, triangles for shoulders, and cylinders for arms and legs.
Step 2: Draw the Head and Cowl
- Sketch the oval face shape. Add guidelines for the eyes, nose, and mouth.
- Draw the cowl (mask) around the face. The top should form two distinct bat ears.
- Add details to the jawline, giving Batman a sharp, muscular look.
Step 3: Add Facial Features
- Place the eyes under the mask—keep them small and slightly angled for a serious expression.
- Draw a straight nose bridge and sketch his grim mouth. Batman’s lips are usually in a neutral or slight frown.
Step 4: Sketch the Torso and Arms
- Block out the muscular chest, emphasizing the pectoral muscles.
- Draw the Bat symbol across the chest (optional: classic or modern versions).
- Add details to the arms, showing bicep and tricep muscles. Include the gauntlets on the forearms.
Step 5: Add the Cape and Shoulders
- Start at the neck and draw the cape draping down his shoulders. Use flowing lines to suggest movement.
- The cape should extend outward, looking dramatic and slightly jagged.
Step 6: Draw the Belt and Lower Body
- Sketch Batman’s utility belt around his waist—draw pouches or gadgets across it.
- Add the legs, emphasizing the thigh and calf muscles. Draw his boots with pointed tips or straps.
Step 7: Refine the Details
- Add small details to the suit, such as seams, wrinkles, or armor plating, if following a modern version.
- Draw subtle shading and texture for depth, especially around muscles and folds in the cape.
Step 8: Inking and Shading
- Go over your final lines with black ink or a darker pencil.
- Use shading techniques like cross-hatching for shadows, giving a sense of depth and realism. Focus on the cape, face, and chest for a dramatic effect.
Step 9: Erase Guidelines and Final Touches
- Erase any leftover sketch lines and adjust proportions if needed.
- Add highlights with a white pencil or eraser for a finishing touch, especially around the edges of the cowl and cape.

Skilled teacher, knowledgeable in and in adapting state content standards to individual needs in
Elementary-6th grade classrooms. Utilizes instructional materials, technology, and teaching methods to
engage students in effective learning opportunities in individual, small group, and whole-group settings to
maximize instructional time. Differentiates instruction for ELLs while exposing them to rigorous content,
with a focus on literacy skills in all subject areas. Establishes and maintains appropriate standards of
behavior in an inclusive and respectful environment for students from all socio-economic and cultural
backgrounds. Develops lesson plans using Backwards Planning Method to align content standards and
assessments with effective learning activities. Communicates and collaborates effectively with staff and
parents, and creates a safe and positive learning environment for students. Has taught in both in-person
and virtual environments. Professional Communicator with 20+ years of experience.

