How To Draw arms – Arms are one of the most critical parts of the human body. They enable us to walk and reach, and they assist us in protecting ourselves. In this article, we are going to instruct you on how to draw arms effectively and correctly.
For students who go to school, learning to draw arms can be an intimidating experience. Luckily, there are a couple of easy steps on how to draw Arms that can make it easier.
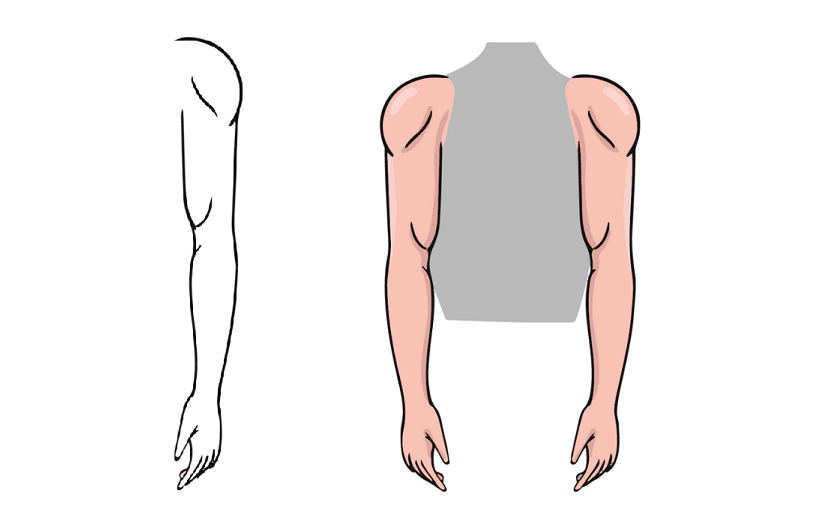
Begin by drawing out the major shapes of the arm with curved lines. Then, add the basic details with fine lines. Last but not least, use thick lines to depict the muscle and skin tones.
Arms are simple to draw when you know the basics of how they’re constructed. When drawing arms, begin by drawing the outline shapes of the bones and muscles. Then, add details with thin lines. Don’t overdo your arms-keep them simple and direct.
If you’re a beginner at drawing arms, the following suggestions can guide you. Begin by observing the overall structure of an arm. Then, master how to draw varying shapes and textures with basic implements. Finally, apply these techniques to drawing realistic arms for your character or background.
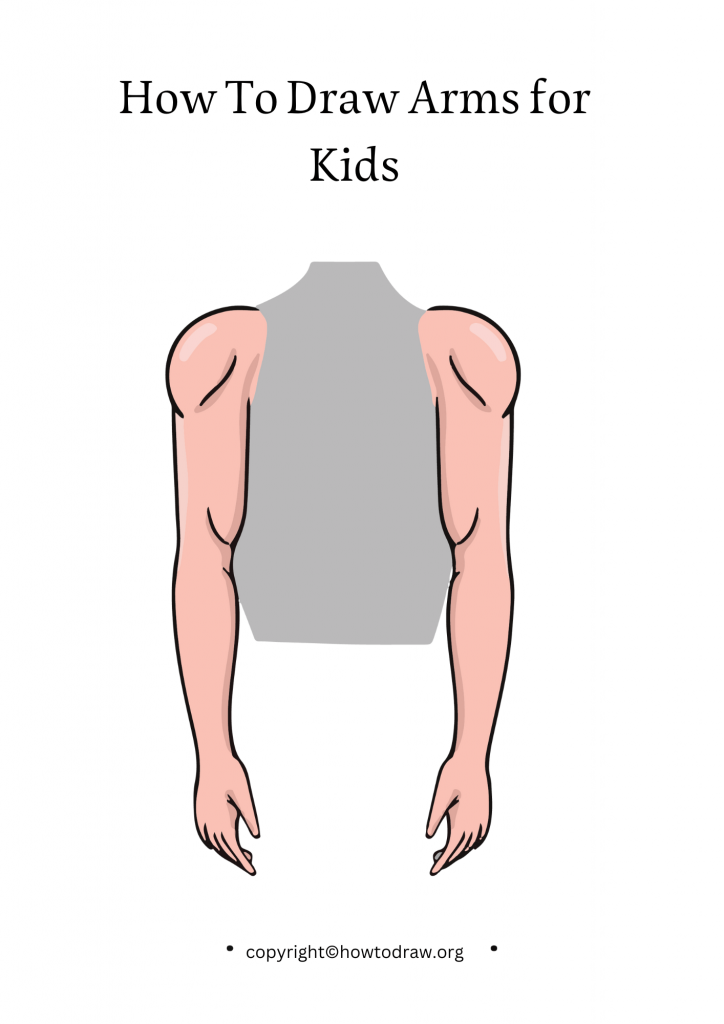
How To Draw Arms for Kids
Here in this article, we are going to demonstrate elegantly to draw an easy Arms from basic shapes. We will also give some ideas on how you can enhance your arm drawings adding details and realness. Then, we are going to offer you some ideas on how to apply these to draw realistic arms for your personal illustrations or comic books. Let’s start now!
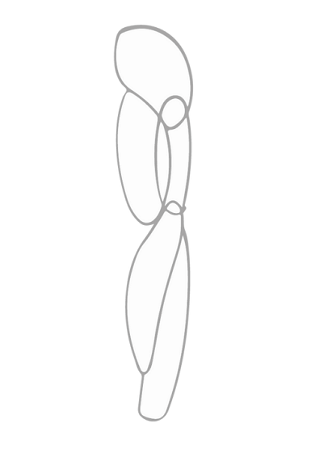
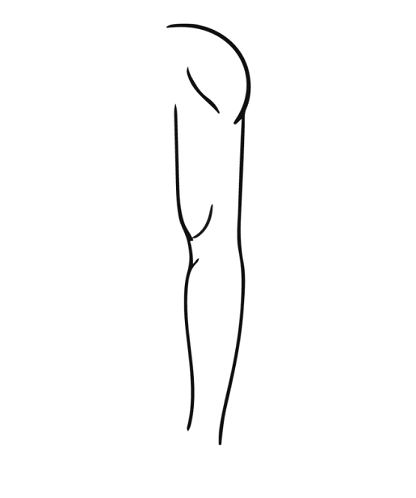
First, draw a simple outline of the arm in light pencil. Ensure that the outline is balanced and all the angles are proper. Then, proceed to fill out the big outlines in bold lines.
If you want to show your little children how to draw arms using your hand, the pencil is your best bet. Begin with the rough outline of the arm, relying on simple straight lines. Insert the detail such as hands and fingers, but ensure that the strokes are light and even. You can introduce more difficult shapes and bends once your child masters drawing arms.
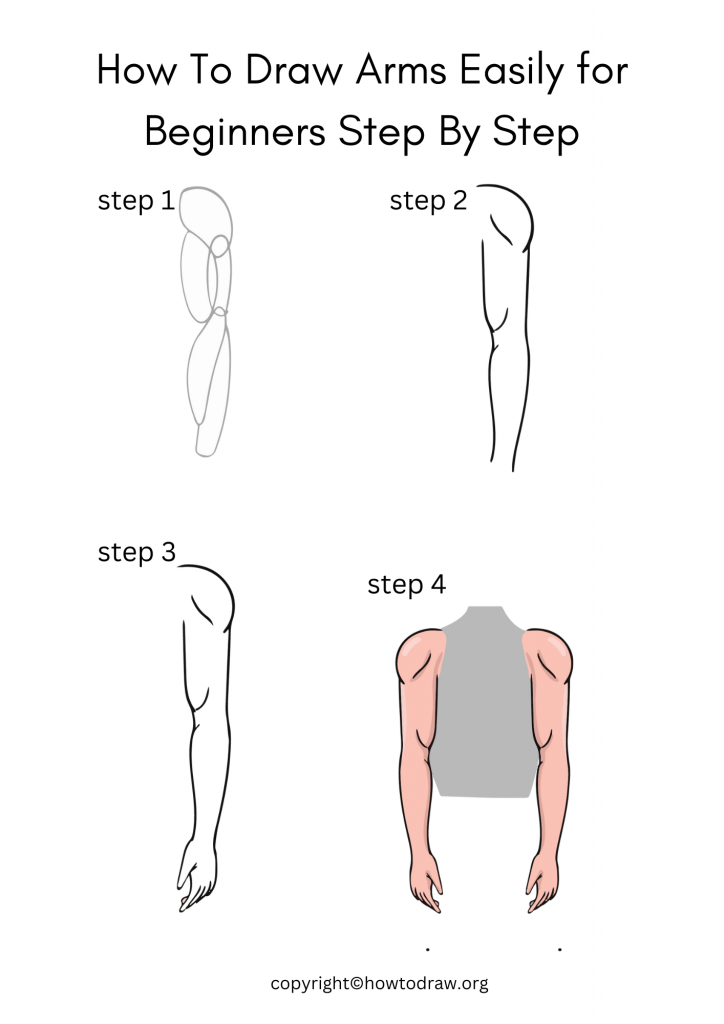
How To Draw Arms Easily for Beginners Step By Step
Are you a new artist having trouble drawing arms properly? In this article, we will demonstrate a step-by-step tutorial on how to draw arms easily for beginners. Let’s begin!
Step One: Begin by drawing the general outline of your arm using a pencil. Use simple shapes and lines to guide you in creating the overall shape.
Step Two: Then begin to add details using a pencil eraser. Include the veins, muscle and cartilage to give a realistic touch. Don’t forget to review and correct anything needed.
Step Three: When all the details are added, now comes the colors! Start by drawing in pale blue color for the sky and water on your arm. Follow that by adding darker shades for the veins and muscle mass.
These are some last-minute tips:
-Don’t forget that proportions are important when drawing arms. Ensure they fit the shape of body you want.
-Use light and dark tones to add depth and realism to drawings. Apply various tones to provide drawings with texture and interest.
-Keep your lines smooth and crisp – they will direct eyes around your image rapidly and effortlessly.
When depicting arms from the shoulder, care must be taken to properly record the arm shape from one view. To achieve this, start by drawing a rough outline of the arm, and then adding details based on the angle of view. Be sure to adjust proportions as needed to accommodate the person’s body type. Detail like veins and muscles added later with markers or Photoshop.

Skilled teacher, knowledgeable in and in adapting state content standards to individual needs in
Elementary-6th grade classrooms. Utilizes instructional materials, technology, and teaching methods to
engage students in effective learning opportunities in individual, small group, and whole-group settings to
maximize instructional time. Differentiates instruction for ELLs while exposing them to rigorous content,
with a focus on literacy skills in all subject areas. Establishes and maintains appropriate standards of
behavior in an inclusive and respectful environment for students from all socio-economic and cultural
backgrounds. Develops lesson plans using Backwards Planning Method to align content standards and
assessments with effective learning activities. Communicates and collaborates effectively with staff and
parents, and creates a safe and positive learning environment for students. Has taught in both in-person
and virtual environments. Professional Communicator with 20+ years of experience.